
You’ve followed a sourdough recipe and got a dough that’s too dry or too runny. You’re not alone — hydration affects crumb, handling, and bake time. In this guide you’ll learn exactly how to adjust hydration levels in sourdough recipes so your dough feels right and your loaves bake reliably.
You’ll see clear calculations, quick fixes, and sensory cues to help you change hydration on the fly. By the end you’ll know how to change a recipe from 65% to 75% hydration, what tools to use, and how to adapt for whole-grain and different flours.
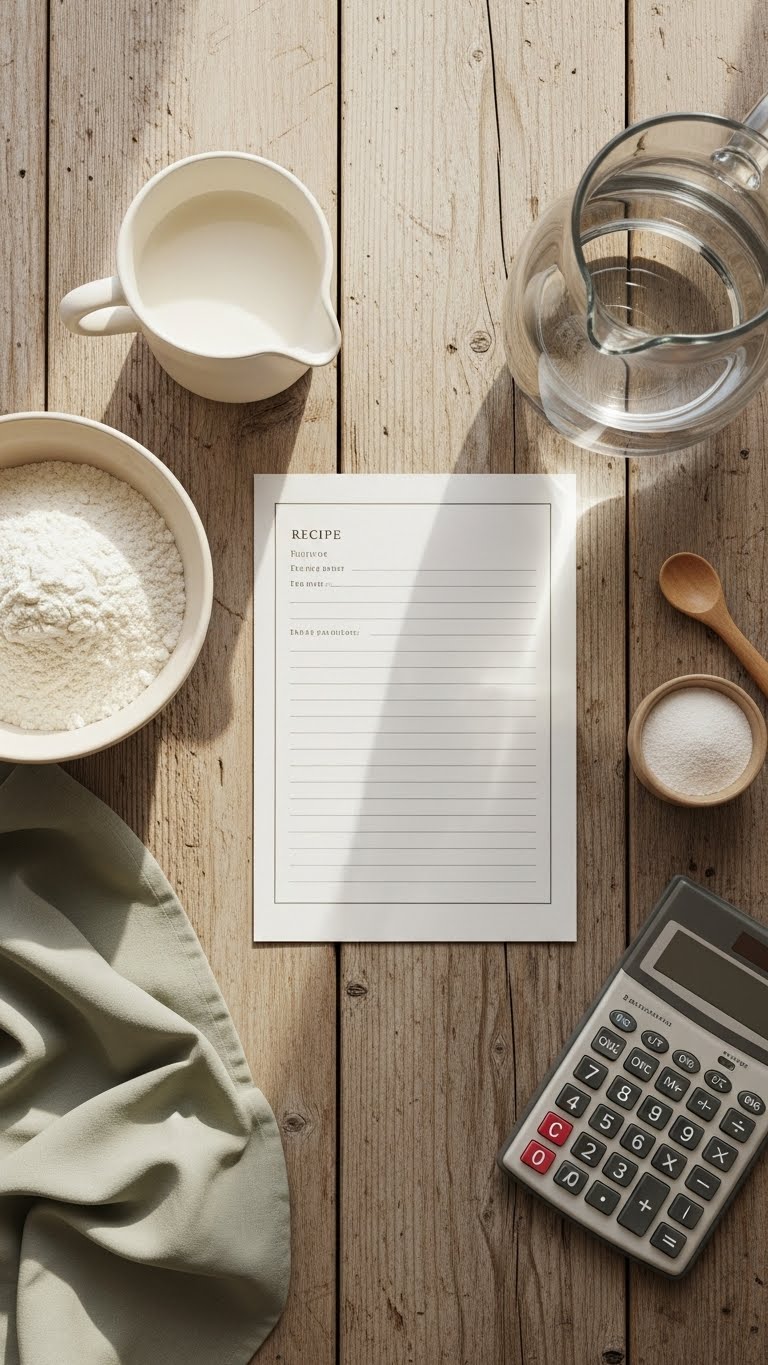
What You'll Need for adjusting hydration

- Tools: digital scale, mixing bowl, bench scraper, plastic dough scraper, proofing basket (banneton).
- Ingredients: measured flour, measured water, sourdough starter.
- Use a scale — grams, not cups. Weighing is the fastest way to control hydration.
- Tip: keep a notebook to record hydration percentage, flour type, and ambient temperature.
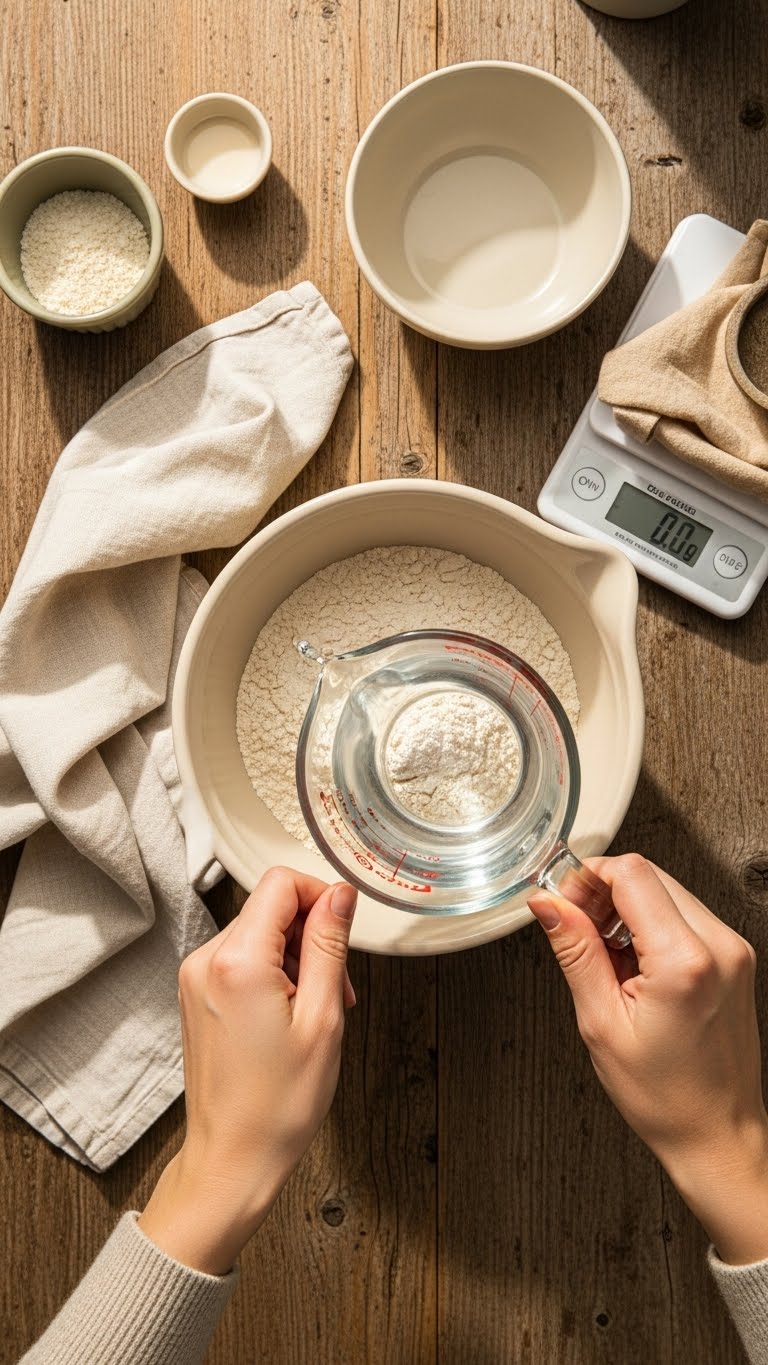
Getting Started: Calculate sourdough hydration percentage
Hydration = (weight of water ÷ weight of flour) × 100. Start by weighing both components.
- Example: 500 g flour + 350 g water = 70% hydration.
- If a recipe lists hydration, you can recalculate for your batch size. If it doesn’t, weigh and compute before changing anything.
Quick adjustments:
- To raise hydration by 5% in a 500 g flour dough, add 25 g water (500 × 0.05 = 25 g).
- To lower hydration by 5%, subtract 25 g water.
Note: starter hydration matters. If your starter is 100% hydration, its water is already part of the total water weight.
How to Adjust Hydration Levels in Sourdough Recipes — Step-by-Step
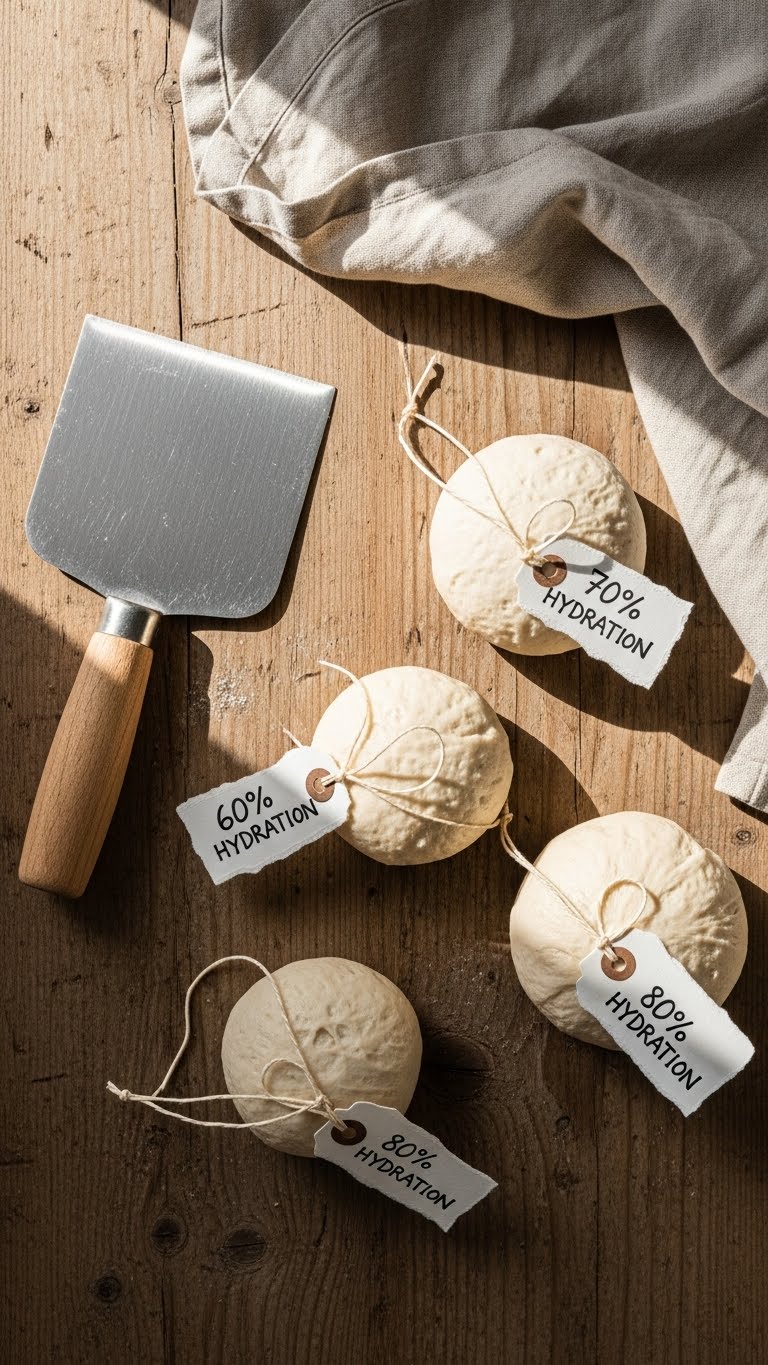
- Decide your target hydration based on flour type:
- White bread flour: 65–75% is common.
- Whole wheat/rye: add 5–10% extra water.
- Weigh your flour and water. Calculate current hydration.
- Add or remove water slowly:
- Do not add all extra water at once. Mix gradually.
- If dough’s dry, add water in 10–20 g increments.
- Observe texture:
- Desired feel: tacky and extensible, not a liquid pool.
- Windowpane test: stretch a small piece to see gluten development.
- Adjust ferment timing if hydration changes:
- Higher hydration ferments faster. Reduce bulk ferment by 10–20% time if dough is much wetter.
Pro tips:
- Use autolyse (20–60 minutes) to hydrate flour naturally before kneading.
- For sticky high-hydration dough, use wet hands and a bench scraper.
Troubleshooting hydration and dough consistency
Common issues and quick fixes:
- Dough too sticky and spreading:
- Add 10–30 g extra flour per 500 g flour, fold gently, rest 15 minutes.
- Chill dough for 20–30 minutes to make shaping easier.
- Dough too stiff and dry:
- Add 10–30 g water, knead or fold to distribute, rest 20–30 minutes.
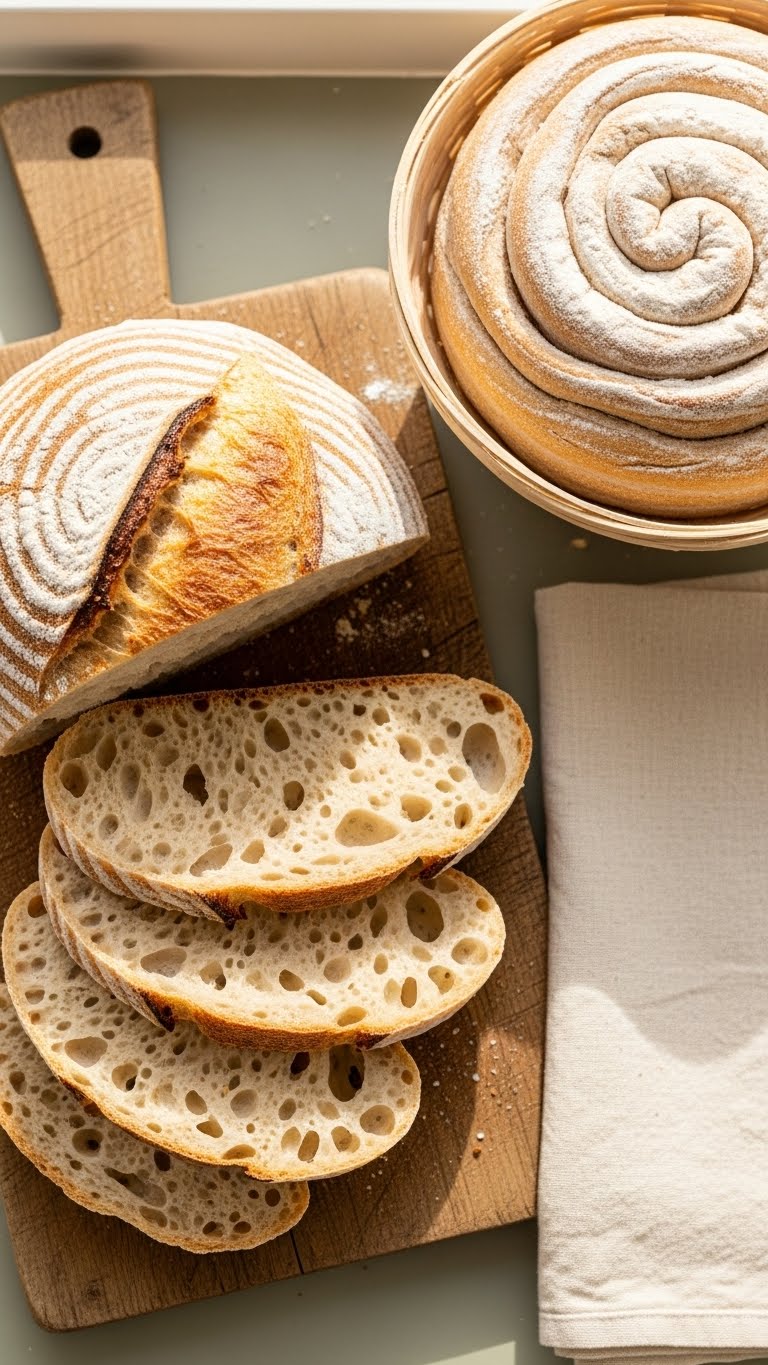
- Dense crumb:
- Check hydration — too low can cause tight crumb.
- Increase hydration by 5% next bake and note results.
- Too sour or over-proofed:
- Reduce bulk ferment time or lower ambient temperature.
Warnings:
- Avoid eyeballing large water additions. Small measured changes are safer.
- If you change hydration, expect shifts in shaping and bake time.
Final baking and storage tips:
- High-hydration loaves need longer steam and may bake a bit longer.
- Cool your loaf fully before slicing for better crumb set.
- Store at room temperature in a paper bag up to 2 days. Freeze slices for longer storage.
You’ve learned how to adjust hydration levels in sourdough recipes, how to calculate percentages, and practical fixes when dough is off. Try one small change at a time and record the result. Pin this guide for your next baking session and save time troubleshooting.
Which hydration tweak will you try first? Pin this guide for your next bake and share with friends who bake sourdough!