
If your sourdough feels slack, tears easily, or bakes with a dense crumb, you’re not alone. You can improve gluten structure without extra kneading by using the autolyse method. Autolyse sourdough dough lets flour hydrate and enzymes start work, which helps gluten development and makes the dough easier to handle.
You’ll learn what autolyse is, the exact ratios and times to use, step-by-step instructions you can try today, and how to spot a successful autolyse. This guide keeps things practical—no fuss, just better gluten in your next loaf.
What You'll Need for Autolyse Sourdough Dough
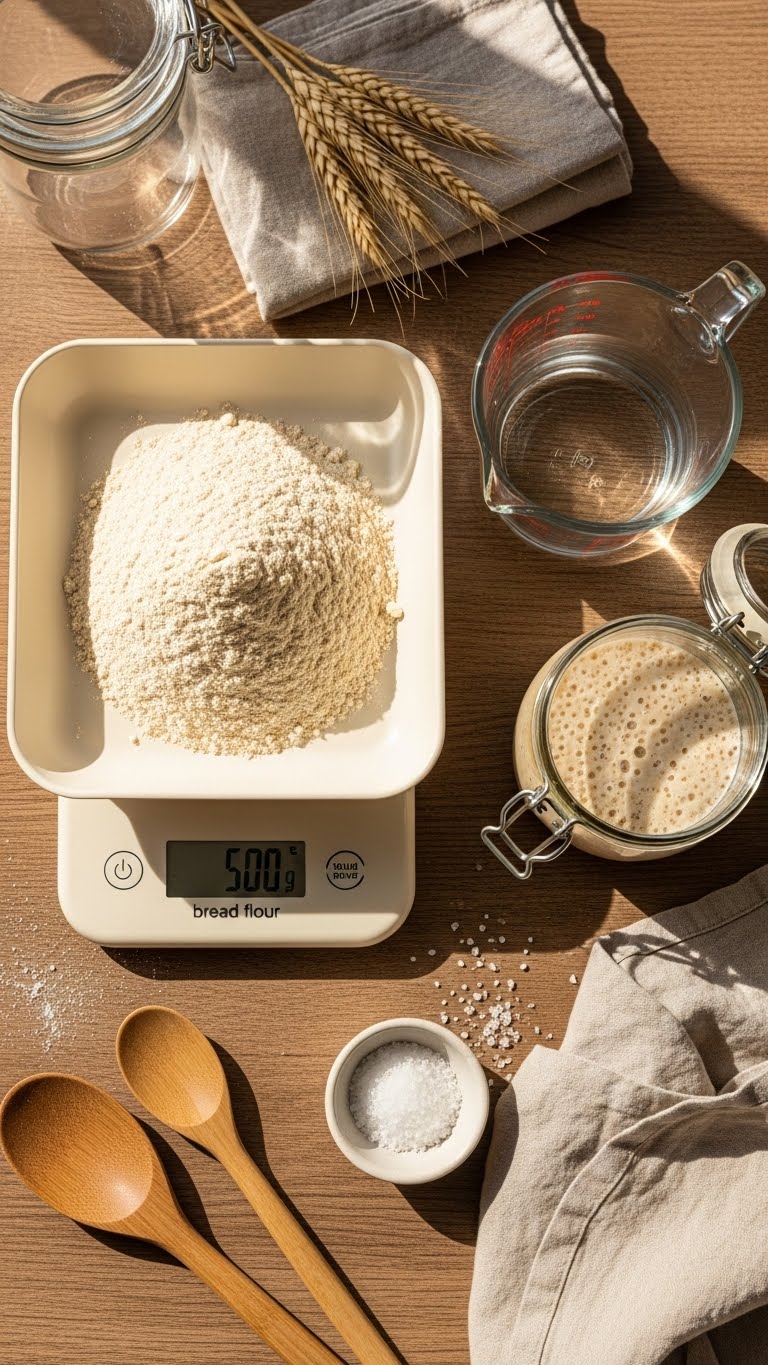
Gathering supplies first saves time and keeps the process smooth.
- Ingredients:
- 500g bread flour (or mix with 100–150g whole grain)
- 375–400g water (75–80% hydration for bread flour)
- Salt and starter are held back until after autolyse
- Tools:
- Large mixing bowl
- Digital scale
- Bench scraper
- Damp linen towel
- Quick tips:
- Use room-temperature water for a standard autolyse.
- If using whole-grain flour, expect longer autolyse time.
Getting Started: Mix and Rest
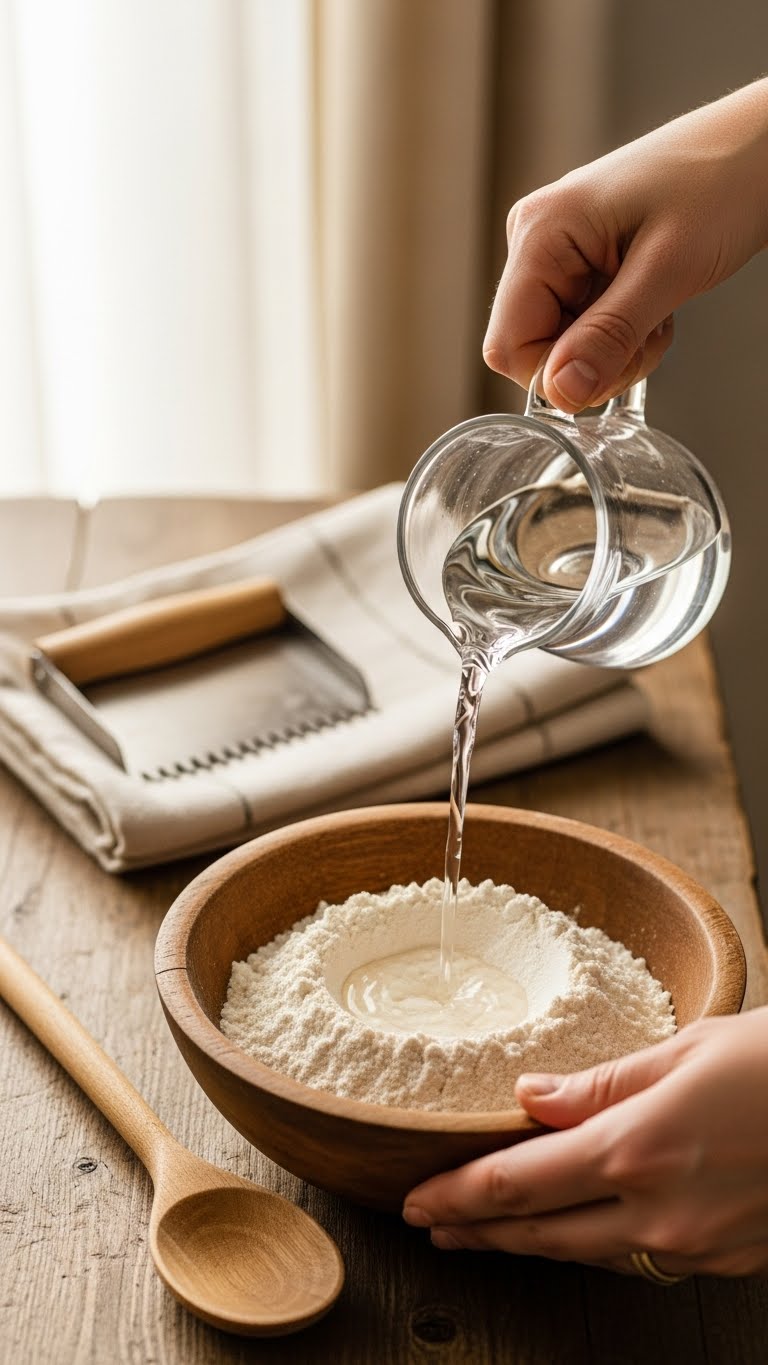
Autolyse is simple: mix flour and water, then rest.
- Weigh 500g flour into your bowl.
- Add 375–400g water and mix until no dry pockets remain.
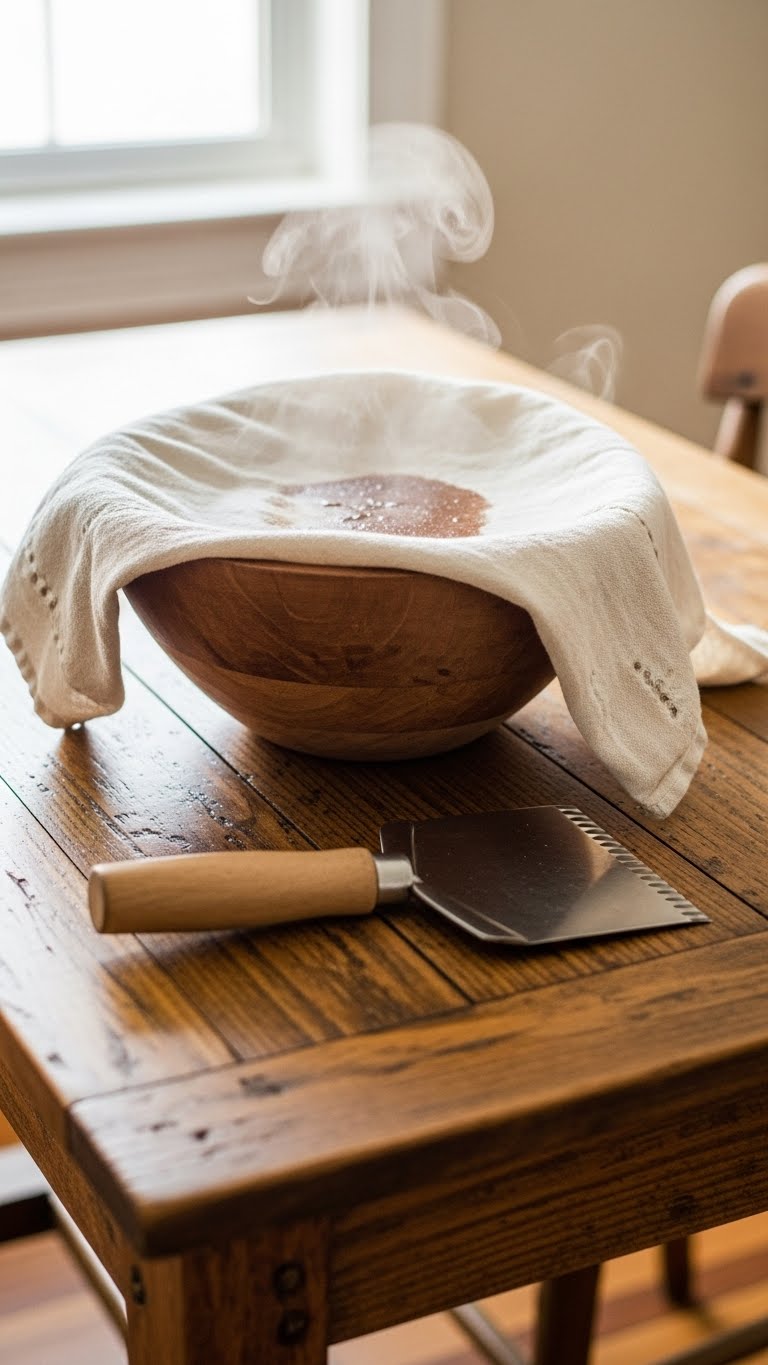
- Cover with a damp linen and let rest.
Timing guidance:
- 20–30 minutes: noticeable hydration, gentle gluten formation.
- 45–60 minutes: solid gluten development for most flours.
- Up to 2 hours: for higher whole-grain content or cooler kitchens.
Important: don’t add salt or starter yet—they slow enzymatic activity. Let the flour and water do the initial work.
Step-by-Step Autolyse Sourdough Dough Technique
Follow these steps after the rest period to finish dough mixing and build more strength.
- After autolyse, uncover and sprinkle 10–12g salt across the dough.
- Add your active starter (typically 100–150g depending on recipe).
- Mix gently until salt and starter are incorporated—use pinch-and-fold motion.
- Perform 3–6 sets of stretch-and-folds over the next 1–2 hours during bulk fermentation:
- Reach under the dough, stretch upward, fold over.
- Rotate the bowl and repeat at 20–30 minute intervals.
Pro tricks:
- If dough feels very slack, do shorter, more frequent folds.
- Cooler kitchens benefit from longer autolyse or slightly warmer water.
- Use higher hydration only if you’re comfortable handling sticky dough.
Troubleshooting Common Issues & Variations

If autolyse sourdough dough didn’t give the result you wanted, check these items.
- Dough too weak or tearing:
- Increase autolyse time by 15–30 minutes.
- Try one extra fold during bulk fermentation.
- Dough too tight or dry:
- Add 5–10g more water at initial mix.
- Ensure flour is fresh; older flour absorbs less.
- Not seeing gluten window:
- Continue gentle folds and give the dough more time in bulk fermentation.
- Use slightly warmer room temperature (2–4°F higher).
Variations:
- For whole-grain-heavy dough, autolyse 45–90 minutes.
- For high-hydration loaves, autolyse 60–120 minutes and use light oil on hands for handling.
Results to expect: a smoother, more extensible dough that’s easier to shape and yields a more open crumb. Look for a glossy surface and visible gluten strands during folds.
Baking note: After autolyse and bulk fermentation, shape, proof, and bake as your recipe directs. Autolyse won’t replace good fermentation, but it makes the dough friendlier to work with.
Warm up the oven, get your banneton ready, and enjoy the easier handling and better crumb you’ll notice.
Pin this guide for your next bake! Save this for later and share with friends who bake sourdough. Which autolyse time will you try first—30, 60, or 90 minutes? Ready to make this happen? Let's do it!