
You love waking up to fresh bread, but early-morning prep feels impossible. Learning how to do a cold proof overnight for easy morning baking solves that. With a hands-off overnight rest in the fridge, you’ll wake to dough that’s ready to shape and bake, giving you warm loaves with minimal morning work. This guide shows exactly what to do and when.
What You'll Need (ingredients + tools)
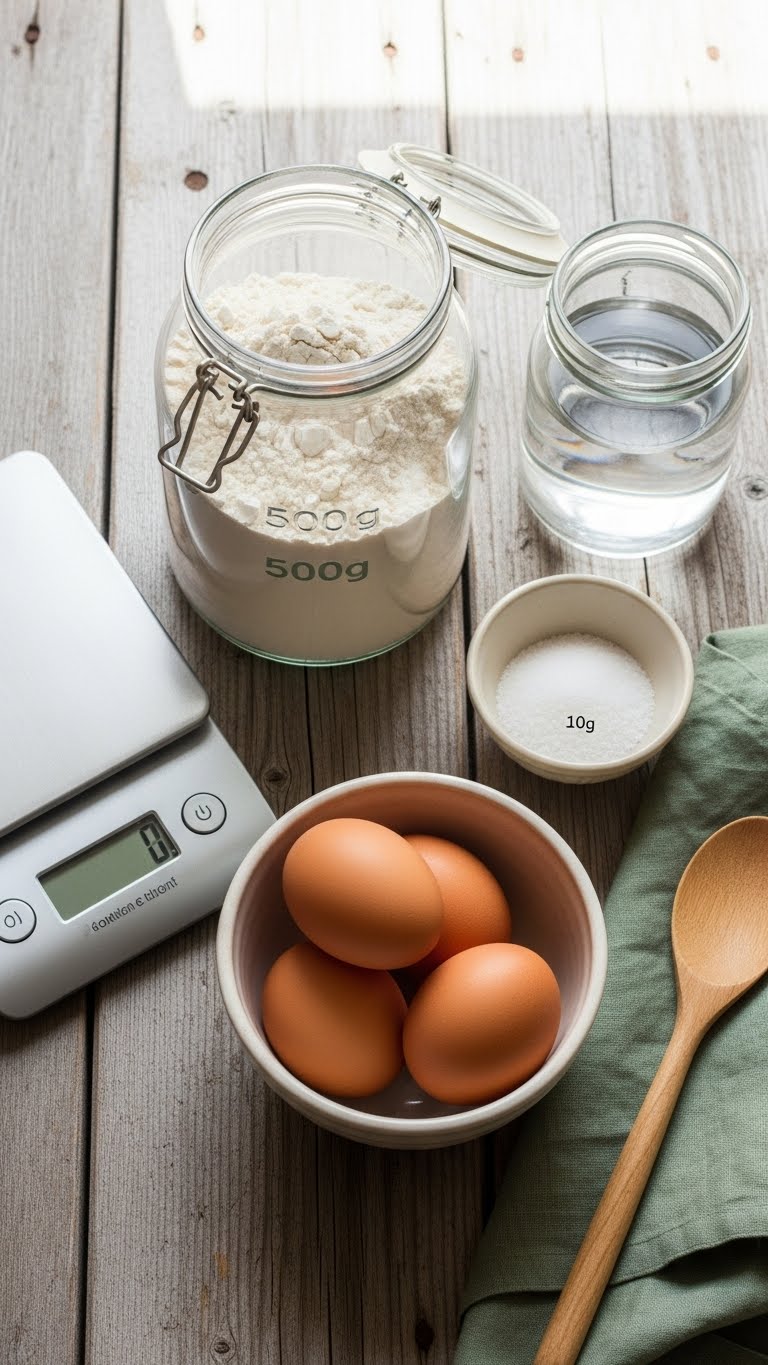
Start with a simple dough you trust: lean breads, basic sourdough, or enriched doughs work well. Gather tools so you can finish quickly in the morning.
- Ingredients example for one standard loaf: 500g bread flour, 325g water (65% hydration), 10g salt, 100g active sourdough starter or 7g instant yeast.
- Tools: banneton or bowl, plastic wrap or a lid, bench scraper, scale, and baking stone or Dutch oven.
Tip: use a slightly cooler mix temperature (about 24°C / 75°F) if your kitchen runs warm. That slows fermentation before the fridge step.
Getting Started: Mix, Autolyse, and Shape

- Mix flour and water and rest 20–30 minutes (autolyse).
- Add starter or yeast and salt, then develop gluten with 4–6 stretch-and-folds every 30 minutes over 2 hours.
- Lightly flour your surface.
- Turn the dough out and pre-shape into a round.
- Let rest 15 minutes, then do the final shaping.
Warning: don’t over-flour the dough. Use just enough to prevent sticking so the dough stays hydrated for a better crumb.
Pro tip: if your dough feels weak, do one extra fold before pre-shaping.
Cold Proof Overnight: Timing and Temperature
Now you’ll learn how to do a cold proof overnight for easy morning baking.
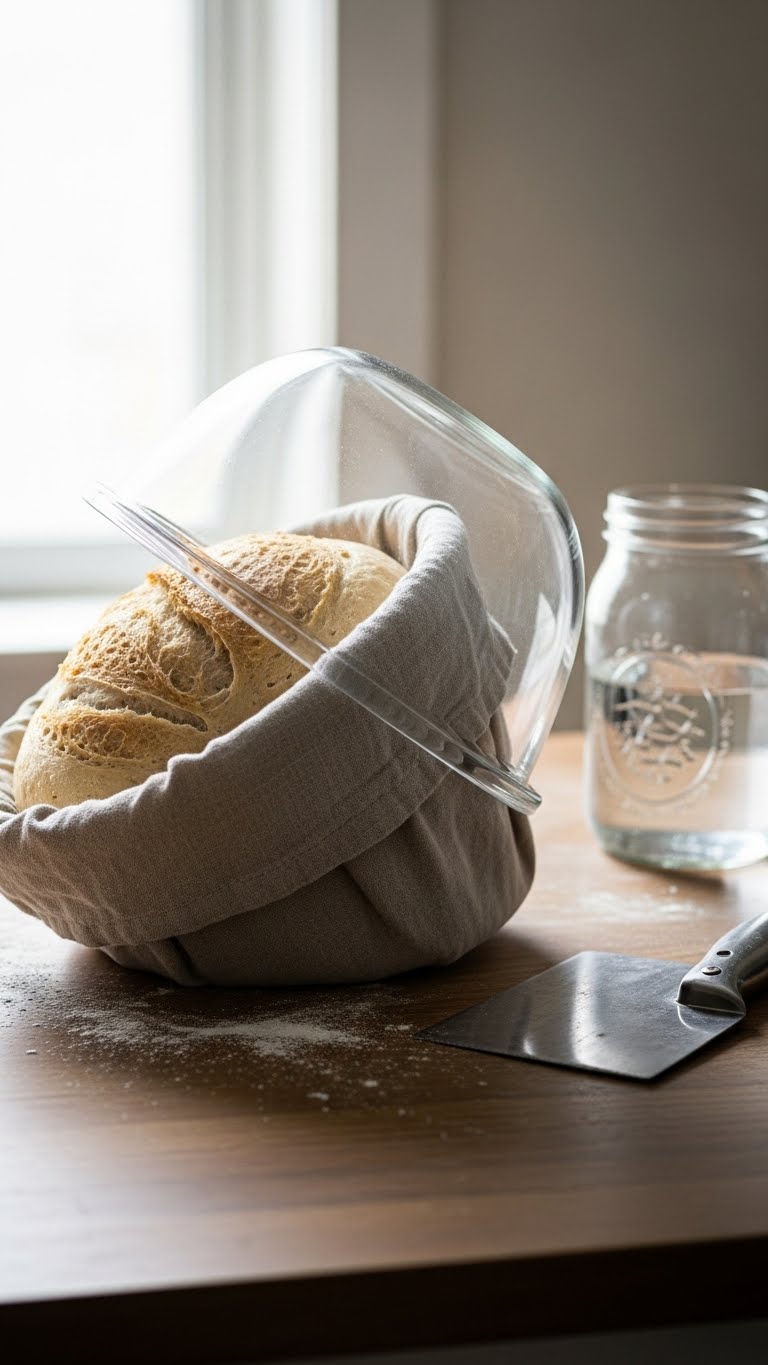
- Place the shaped loaf in the banneton, cover it snugly with a plastic bag or lid.
- Transfer to the fridge set between 35–40°F (2–4°C).
- Cold proof time: 8–14 hours depending on dough strength and fridge temperature.
Numbered expectations:
- 8–10 hours: good for active starters or higher yeast amounts.
- 10–14 hours: best for slower fermenting sourdough or if you want more flavor.
Tip: mark the dough’s rise with a piece of tape so you can track progress. If you underproofed before refrigerating, the fridge will slow it, but it won’t reverse underproofing.
Morning Baking: Finish, Score, and Bake
Remove the dough from the fridge and preheat your oven and baking vessel to 475°F (245°C) for at least 30 minutes.
- Let dough rest at room temperature 20–40 minutes—this short warm-up helps the oven spring.
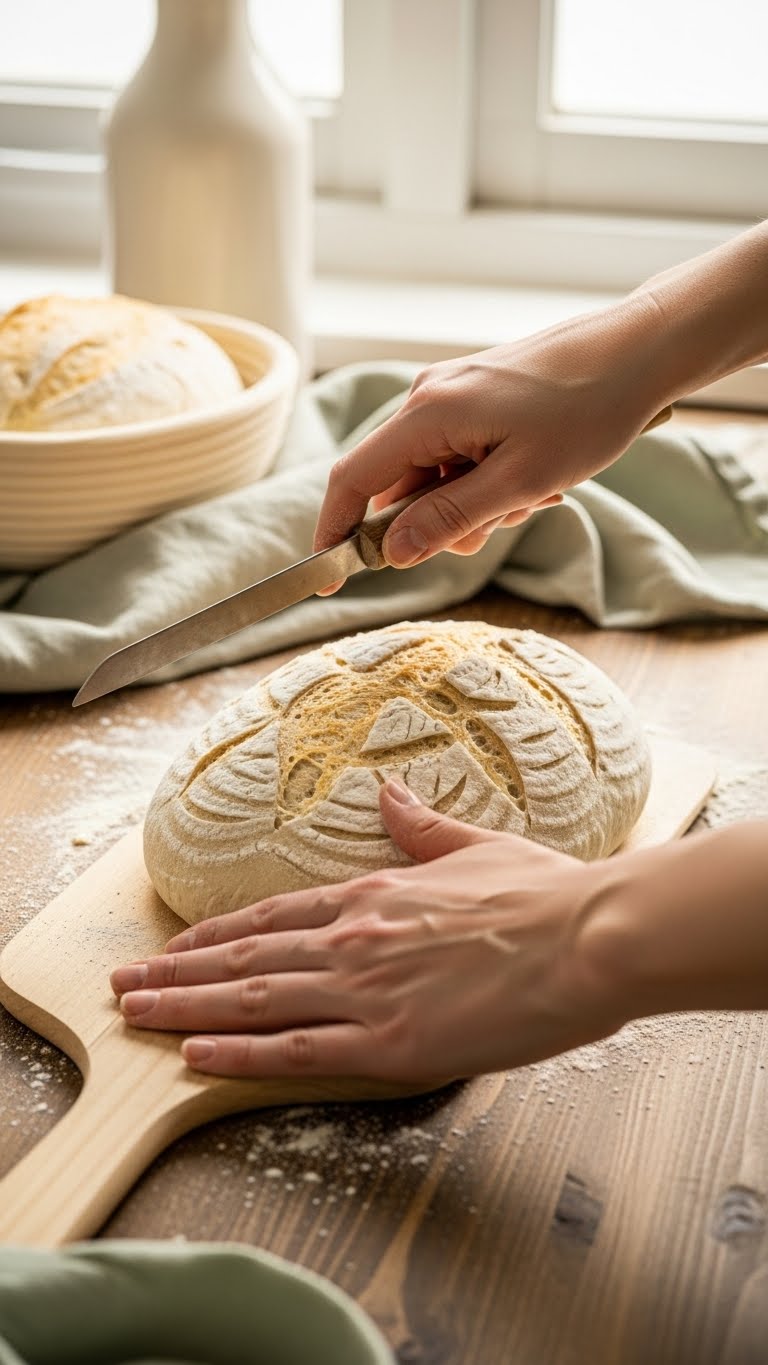
- Score the loaf and transfer it to the hot stone or Dutch oven.
- Bake 20 minutes covered, then 20–25 minutes uncovered at 450°F (230°C) until deep brown and hollow-sounding.
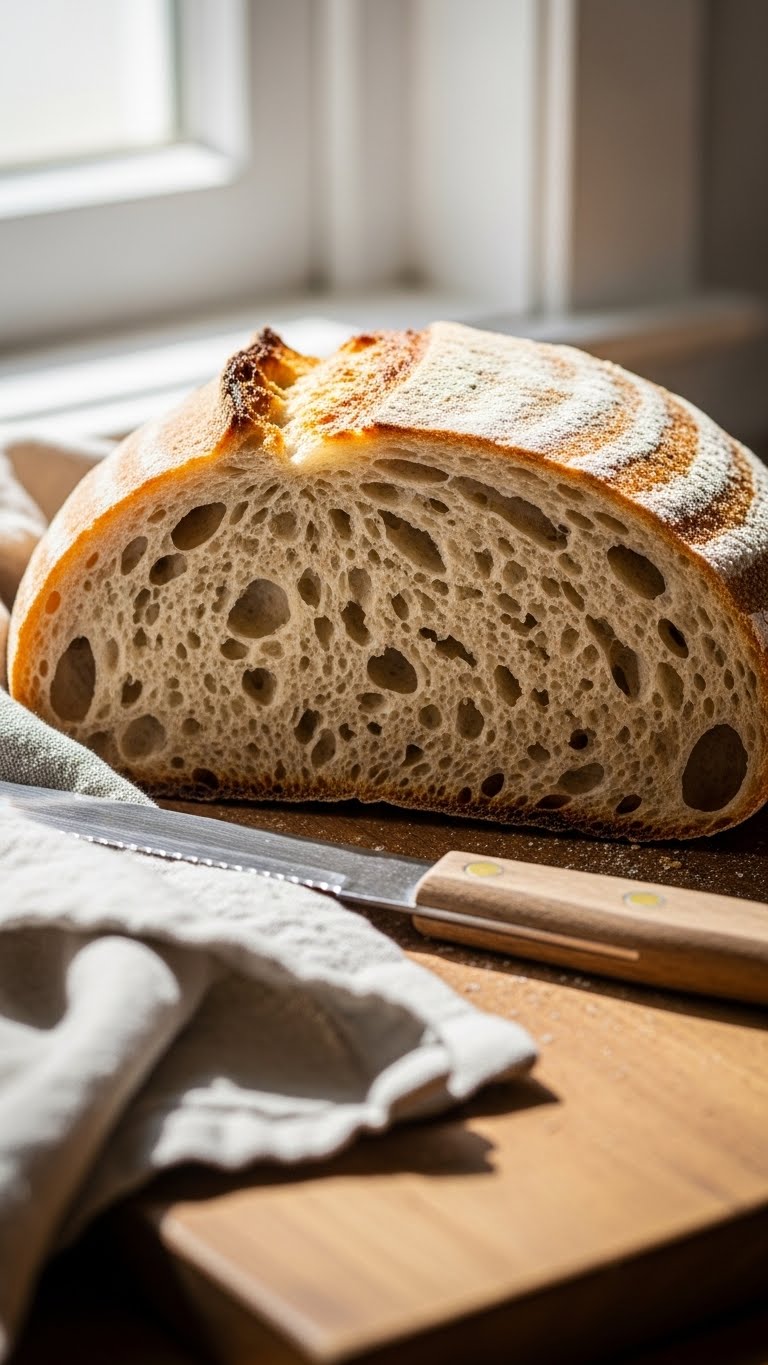
Quick check: internal temperature should reach 200–210°F (93–99°C) for fully baked bread.
Storage and shortcuts:
- Freeze sliced bread after cooling for up to 3 months.
- If short on time, cold proof for 6–8 hours and accept slightly less tang.
Troubleshooting Common Issues
- Dense crumb? Likely underproofed pre-fridge or insufficient gluten development.
- Overly sour? Try shorter cold proof or cooler fridge temperature.
- Flat loaf? Your dough may have been overproofed before refrigeration or shaped too loosely.
Fixes:
- Add an extra fold during bulk fermentation.
- Reduce fridge time by an hour next bake.
- Tighten your final shape for better oven spring.
You now know how to do a cold proof overnight for easy morning baking. With a few simple steps you’ll wake to ready-to-bake dough and a kitchen that smells like fresh bread. Pin this guide for your next weekend bake, save it for busy mornings, and share with friends who love homemade bread. Which tip will you try first? Ready to make this happen? Let's do it!