
You’ve got a bubbly jar tucked in the fridge but it’s not peaking when you need it. If you want reliable rise and consistent flavor, knowing how to feed your sourdough starter properly makes all the difference. Learn the simple habits and clear steps you can follow right now to feed your sourdough starter, keep it healthy, and have it ready when you bake.
This guide walks you through what you need, the exact feeding routine, timing, troubleshooting tips, and storage tricks. You’ll get practical numbers, quick shortcuts, and common mistakes to avoid so your starter performs at its best.
What You'll Need to Feed Your Sourdough Starter
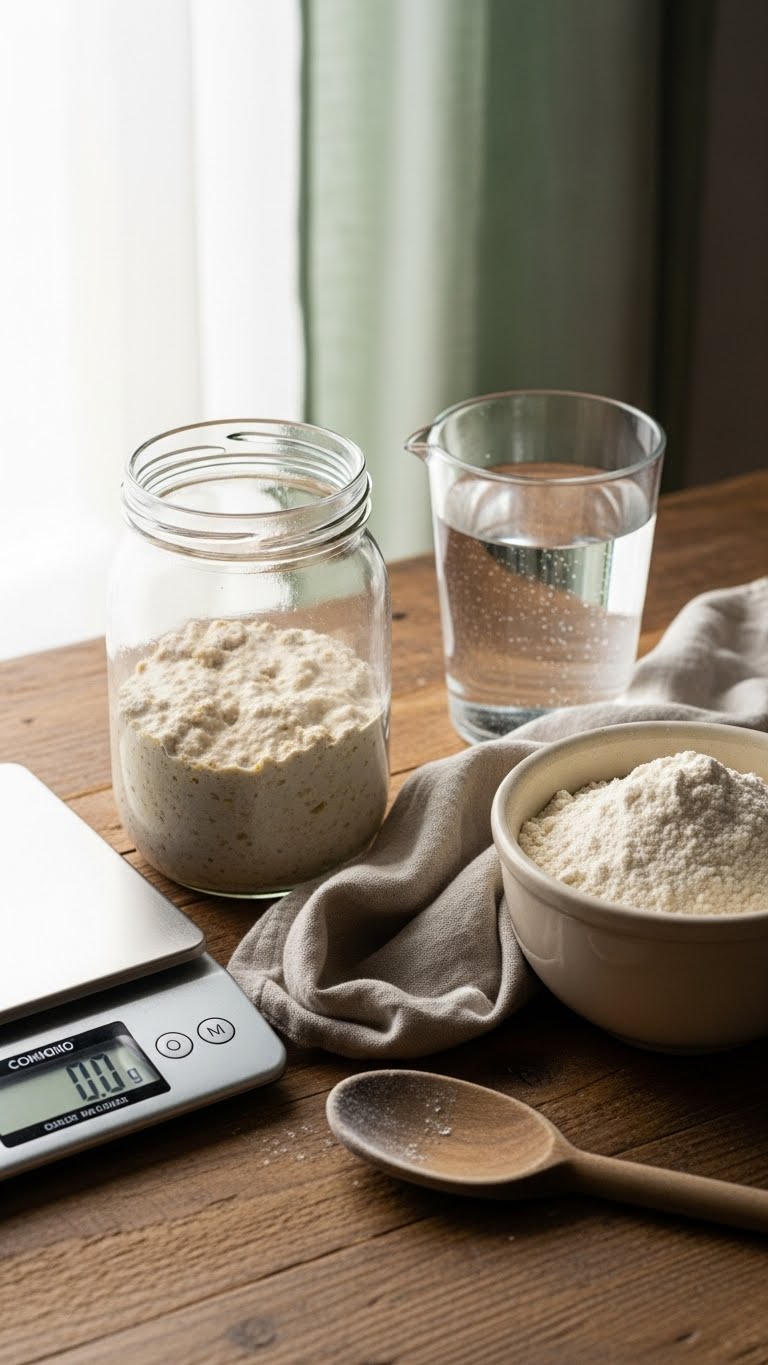
Gather simple tools and good ingredients. You’ll use:
- Digital kitchen scale (accurate to 1 g)
- Unchlorinated water (filtered or bottled), room temperature
- Bread flour or a 50/50 mix of bread and whole wheat
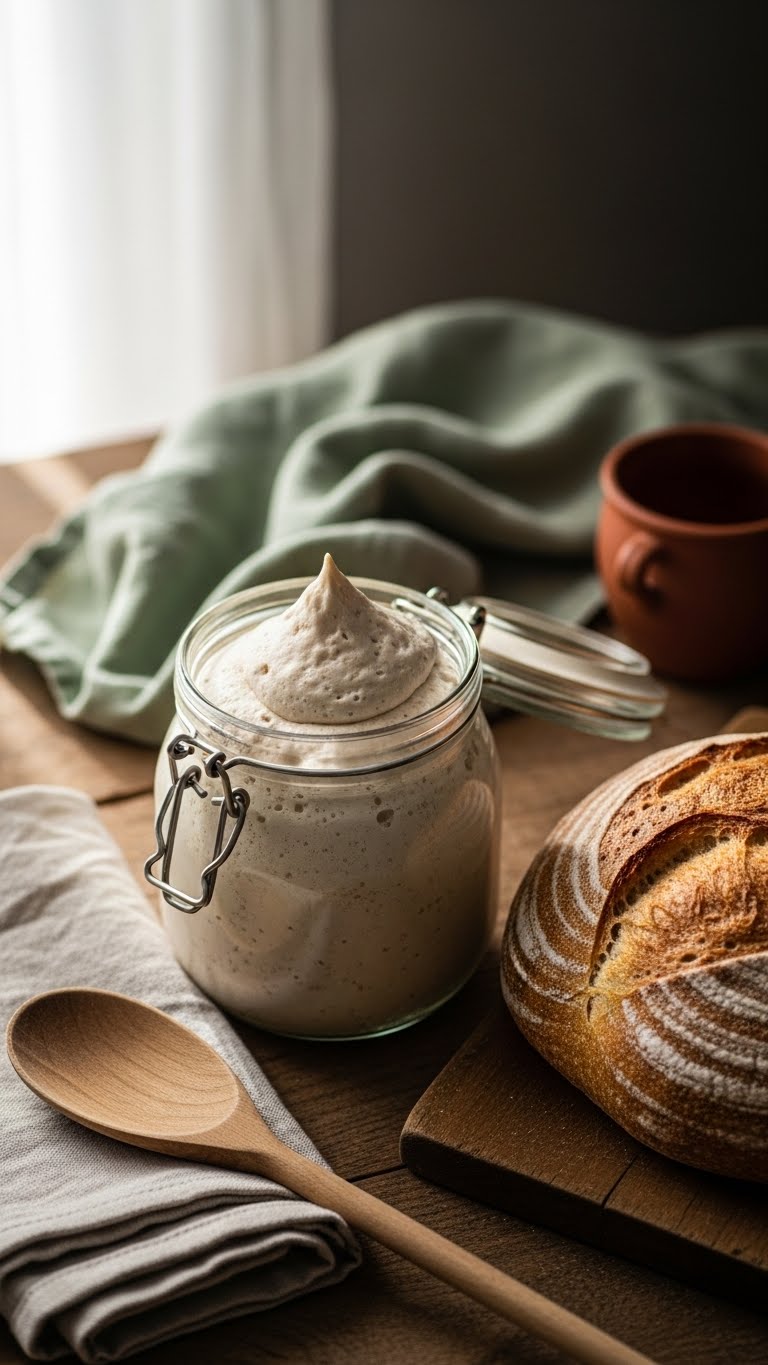
- Clean glass jar with a loose lid
- Spoon and cloth
Quick tips:
- Weighing is more reliable than cups. Use grams for precise feeding.
- Keep water near 75°F (24°C) for a lively feed.
- Avoid metal containers for storage.
Getting Started: How to Feed Your Sourdough Starter Properly
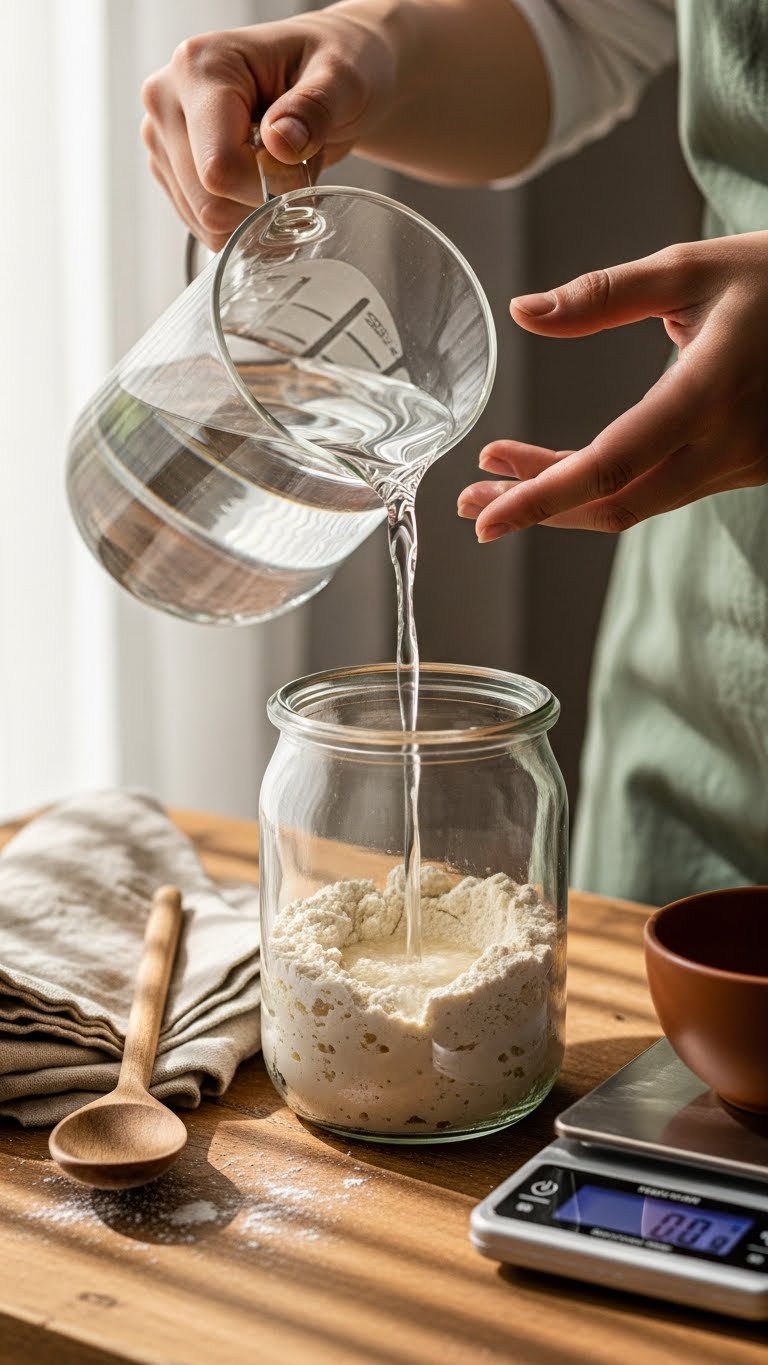
Consistency matters. Use these steps every feed:
- Discard down to 30–50 g of starter if kept at room temperature. (If refrigerated, you can skip discard before the first refresh.)
- Weigh the remaining starter. Note the weight.
- Feed at a ratio. For most starters use 1:2:2 (starter:water:flour) by weight. Example: 25 g starter + 50 g water + 50 g flour.
- Stir to a smooth, thick batter. Cover loosely and leave at room temperature to peak.
Why the ratio matters:
- 1:2:2 gives steady fermentation and strong rise.
- For faster build, use 1:3:3. For slow builds choose 1:1:1.
Feeding frequency:
- At room temp: feed every 12 hours.
- In fridge: feed once a week and before baking, refresh twice over 24 hours.
Feeding Schedule & Step-by-Step Process
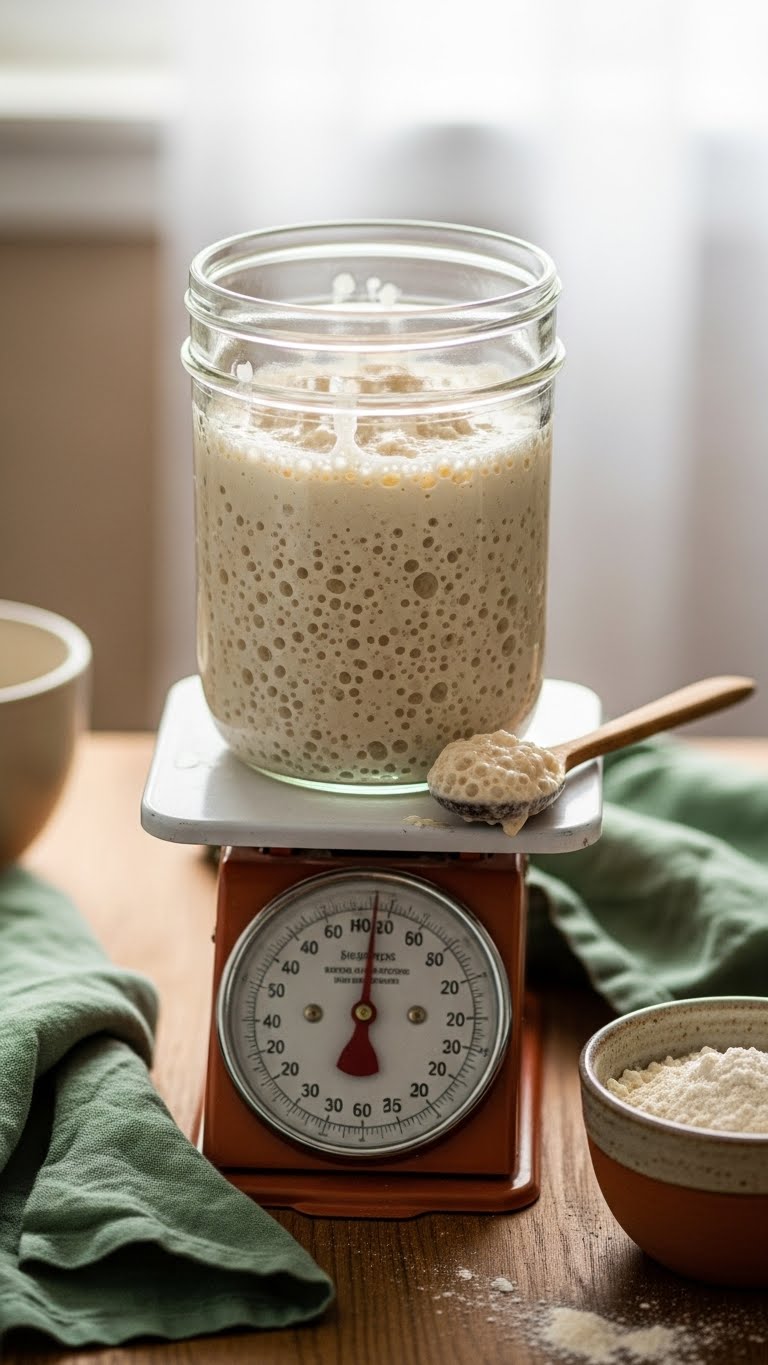
Step-by-step for a bake-ready starter:
- The night before baking: Pull from fridge and let warm for 30–60 minutes.
- Feed at 1:2:2 and leave at ~75°F to peak (usually 6–12 hours).
- When it’s doubled and full of bubbles, it’s ready to use—usually within 8–12 hours.
Quick practical tips:
- Use the “float test” only as a rough guide. A properly foamy, doubled starter is a better signal.
- If the starter smells very sour or has a layer of gray hooch, pour off hooch and give a couple of feeds to restore balance.
- Save discard in the fridge for pancakes or crackers—no waste.
Troubleshooting Common Issues When You Feed Your Sourdough Starter
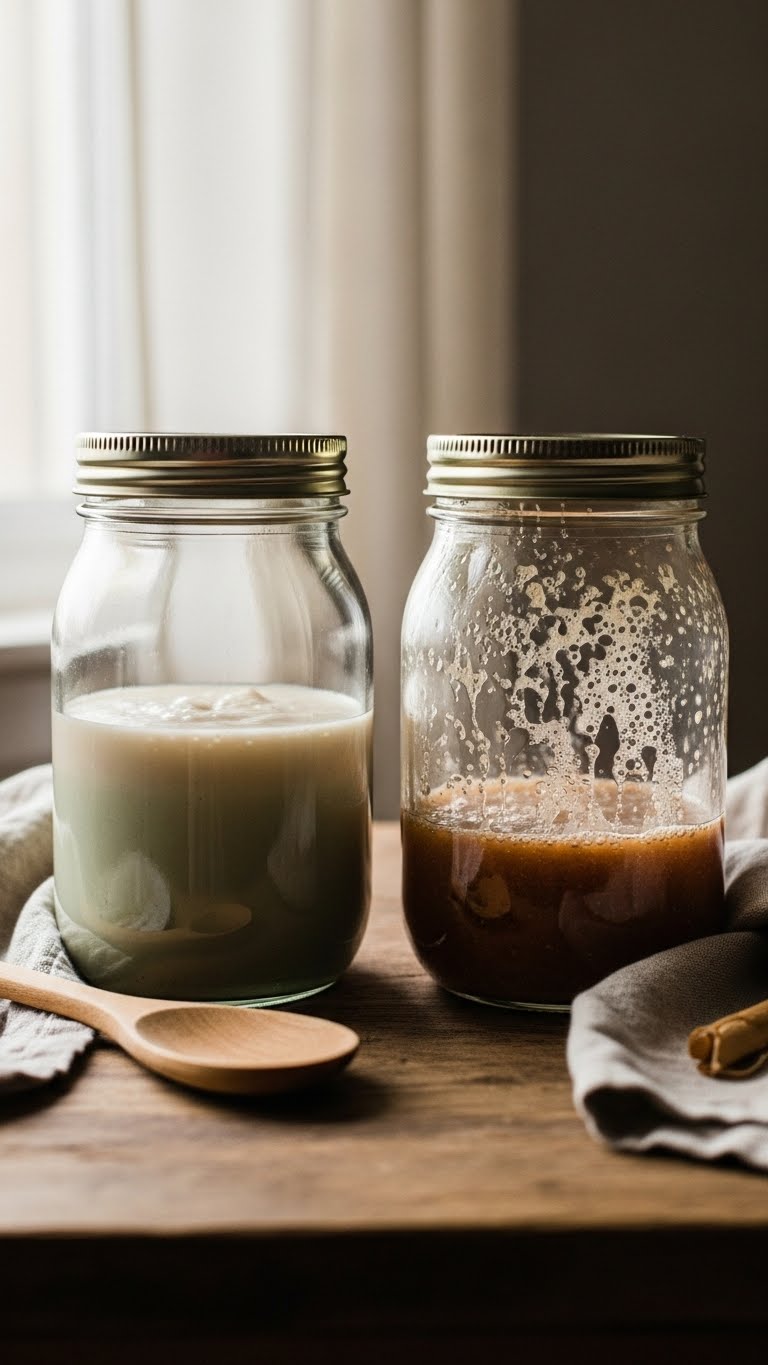
Common problems and fixes:
- Starter won’t rise: Increase feeding ratio to 1:3:3 and keep in a warmer spot (75–78°F).
- Hooch or off smell: Stir off hooch, then feed twice in 12 hours.
- Runny starter: Reduce water or increase flour until consistency is like thick pancake batter.
- Mold or pink streaks: Discard immediately—contamination needs a fresh starter.
Time-savers:
- Keep a small 30–50 g active starter for regular baking.
- Refrigerate larger starters between bakes and refresh twice before use.
- Use whole grain flour in one feed per week to boost activity.
Your starter should smell pleasantly tangy and look lively. With consistent feeds, you’ll get predictable rise and flavor.
You’ve got the tools and a clear routine now. Feed your sourdough starter properly, and you’ll enjoy steady rises and better flavor every bake. Pin this guide for your next bake day, save it for later, and share with friends who keep a starter. Which feed ratio will you try first? Ready to make this happen? Let's do it!