
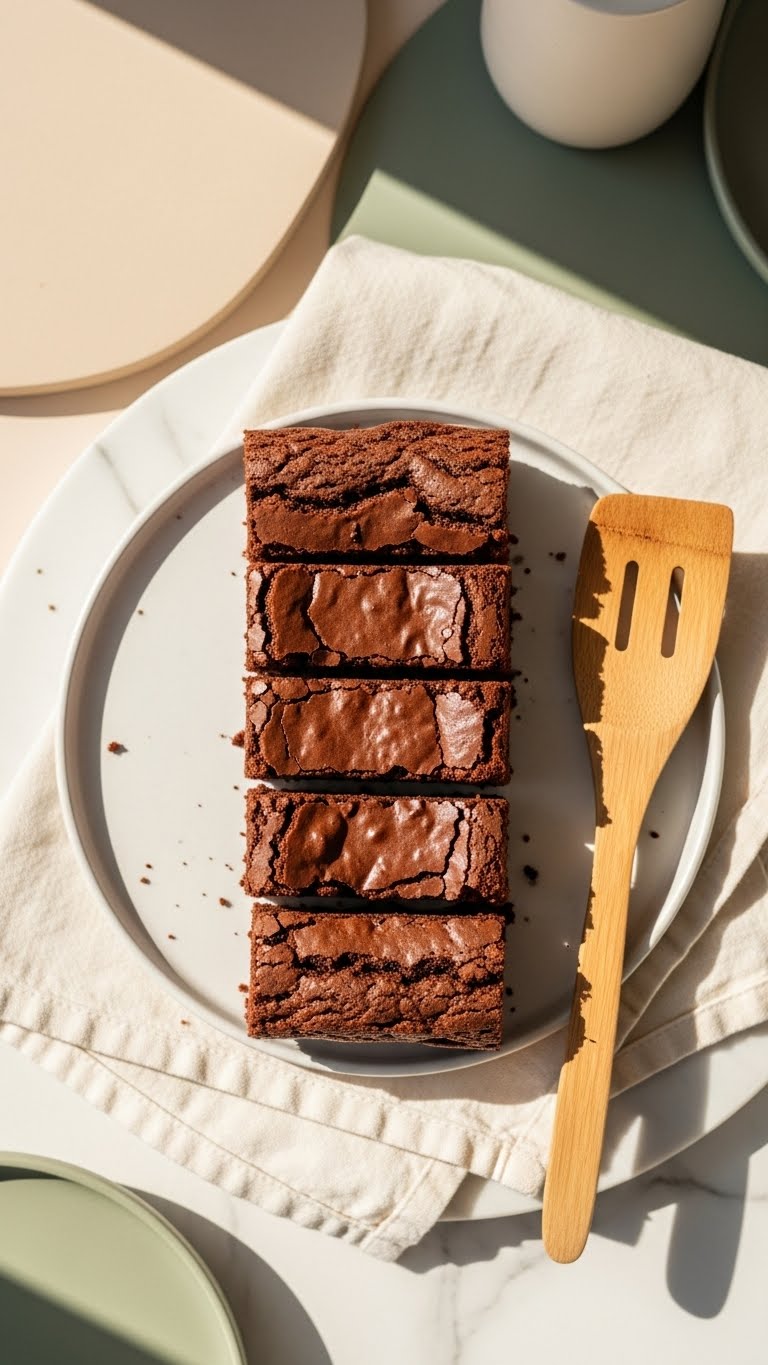
You love a brownie with that glassy, crackly top, but your sourdough brownies keep coming out dull or cakey. You can learn exactly how to get a shiny crust on sourdough brownies with a few reliable techniques. This guide shows you the ingredients, timing, and simple whisking tricks you'll use to nail that glossy, shatter-top finish every time.
Read on and you'll learn which ingredients matter, how to prep your sourdough starter and eggs, the step-by-step method that creates a shiny crust on sourdough brownies, plus quick troubleshooting and storage tips. Pin this for later — this is the shortcut to bakery-style brownies at home.
What You'll Need for a Shiny Crust on Sourdough Brownies
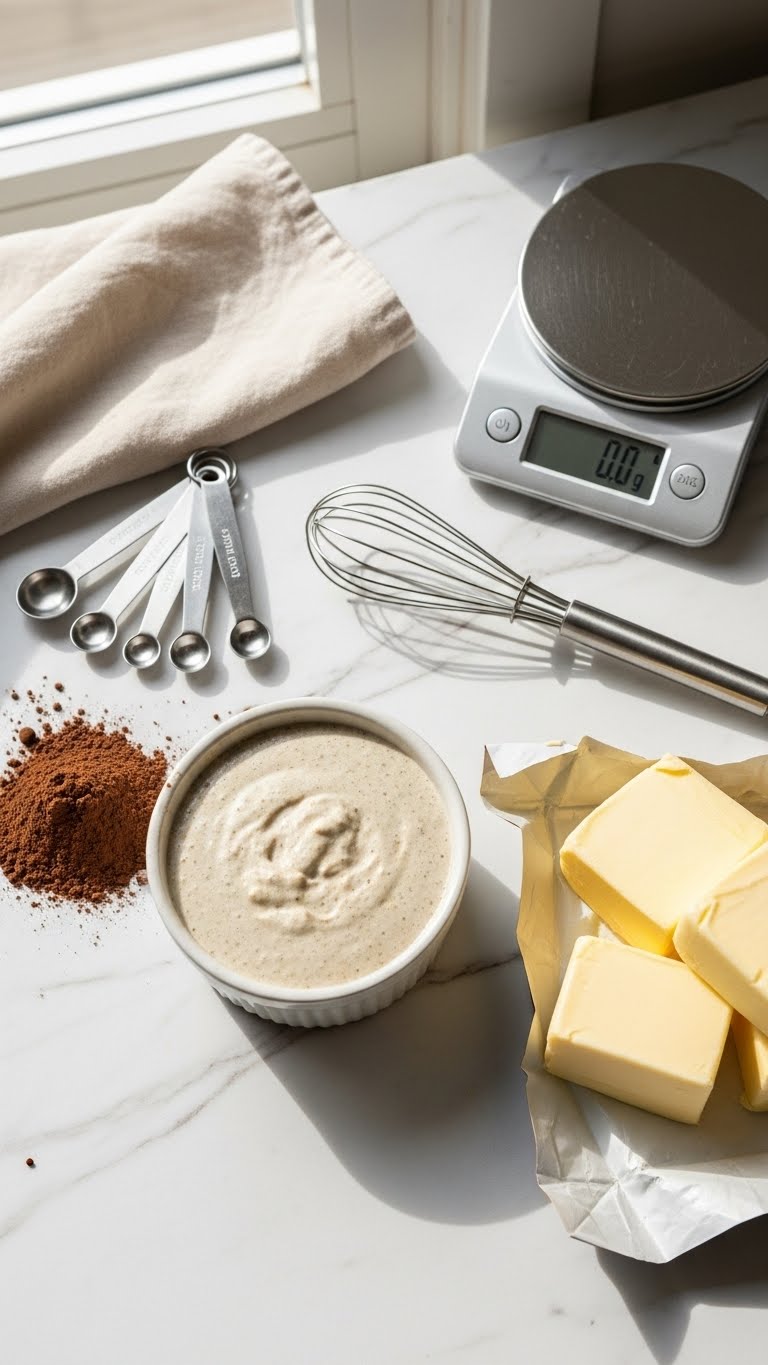
- Ingredients (for a 9×9-inch pan):
- 120 g unsalted butter
- 150 g semisweet chocolate (60–70% cocoa), chopped
- 200 g granulated sugar
- 3 large eggs, room temperature
- 1/2 cup (120 g) active sourdough starter (discard or fed; 100% hydration)
- 60 g all-purpose flour
- 40 g cocoa powder, sifted
- 1/4 tsp salt
- Tools:
- Digital scale, rubber spatula, whisk, 9×9-inch pan, parchment paper, oven thermometer
Quick tips:
- Use granulated sugar, not brown sugar, for the shiny crust.
- Weigh ingredients for consistent texture.
- Active starter at room temperature helps with moisture and flavor.
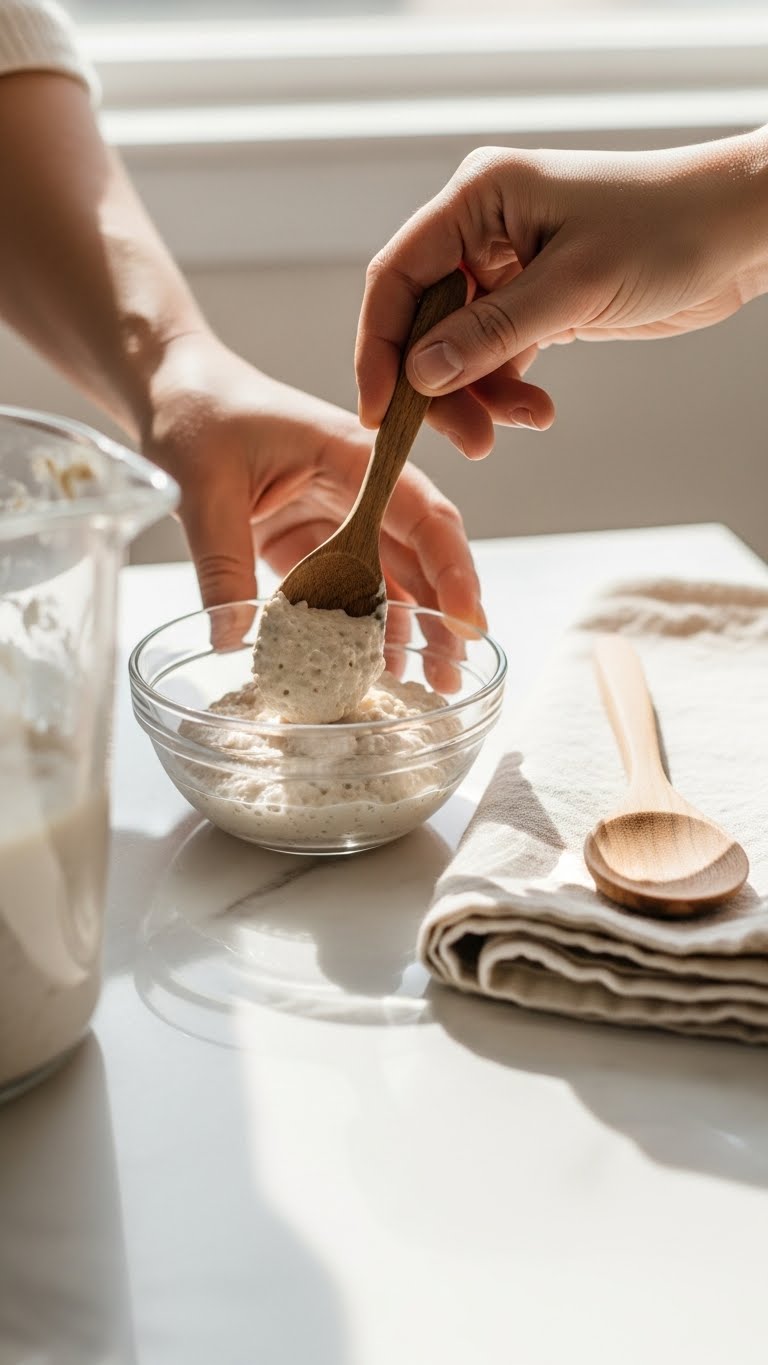
Prepare Ingredients and Your Sourdough Starter
- Bring eggs and starter to room temperature (about 30 minutes). Cold eggs fold poorly with sugar.
- Chop chocolate finely so it melts evenly when combined with butter.
- Sift cocoa and flour together to avoid lumps.
- If using discard, make sure it’s not overly acidic; a mild, fresh discard works best.
Pro tip: If your starter is very liquid, let it sit in a fine mesh strainer over a bowl for 10–15 minutes to slightly thicken. That helps keep batter stability and contributes to the shiny top.
Master the Technique Step-by-Step
- Preheat oven to 350°F (175°C). Line a 9×9-inch pan with parchment.
- Melt butter and chocolate together in a heatproof bowl over simmering water or short bursts in the microwave. Stir until smooth. Let cool slightly (warm, not hot).
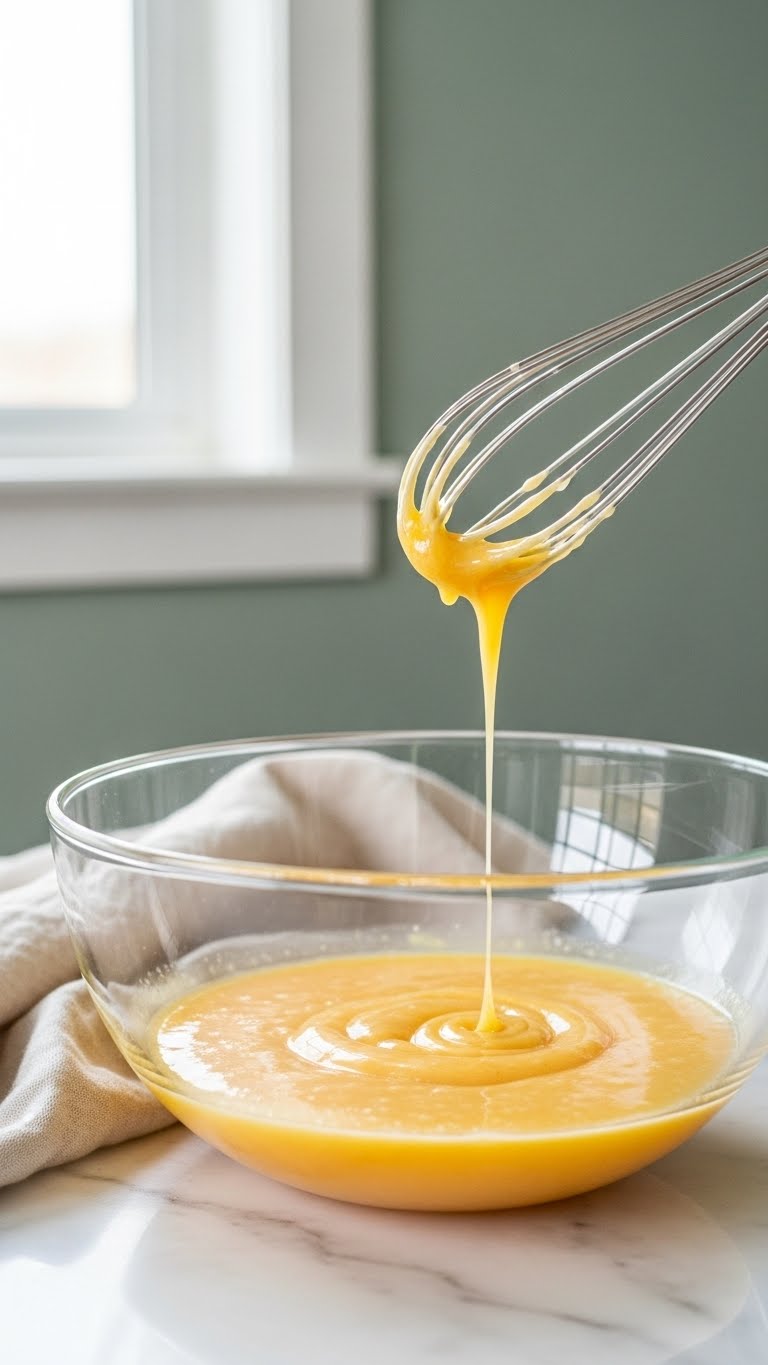
- Whisk sugar and eggs vigorously for 3–5 minutes until pale, slightly thickened, and glossy. This trap of sugar on the egg creates the brittle shiny crust.
- Use a hand whisk for about 4–5 minutes, or an electric mixer for 2–3 minutes.
- Fold a ladle of melted chocolate into the egg-sugar mixture to temper it, then fold in remaining chocolate and sourdough starter.
- Gently fold in sifted flour + cocoa + salt until just combined. Avoid overmixing.
- Pour into pan and bake 20–25 minutes. The center should jiggle slightly but a toothpick near the center will come out with a few moist crumbs.
Key notes:
- The whisking step is the most important for a shiny crust on sourdough brownies. Be patient.
- Granulated sugar forming a fine emulsion with eggs is what creates that crackly glass top.
- Don’t bake until fully set; slight underbaking helps the crust form.
Troubleshooting Common Issues & Storage Tips
- Dull top? You may have:
- Not whisked eggs long enough — whisk 3–5 minutes.
- Used brown sugar or too much moisture — stick to granulated sugar and correct starter hydration.
- Too cakey? You likely overbaked or overmixed after adding flour. Reduce bake time by 3–5 minutes.
- Cracked but not glossy? That’s usually oven hot spots or sugar not fully dissolved. Use an oven thermometer and ensure smooth sugar-egg emulsion.
- Storage:
- Keep brownies room temperature in an airtight container for 2 days.
- Refrigerate up to 5 days but bring to room temp before serving to revive shine.
- Freeze sliced brownies for up to 2 months; thaw slowly to keep crust intact.
Which tip helps most will depend on your pantry. Try one change at a time and note results.
A warm, glossy crust is within reach. Pin this guide for your next bake and share with friends who crave bakery-style brownies. Which tip will you try first? Ready to make this happen? Let's do it!