
You want a loaf that fills the kitchen with a savory, herby aroma the moment you open the oven. This garlic rosemary sourdough gives you that — a crusty exterior, chewy crumb, and a scent that makes guests ask what’s baking. Follow this guide and you’ll learn how to make garlic rosemary sourdough that smells amazing, step by step. You’ll get ingredient amounts, timing, shaping tips, and storage advice so you can bake with confidence.
What You’ll Need for Garlic Rosemary Sourdough

- 500 g (4 cups) bread flour
- 350 g (1 1/2 cups) water, room temperature
- 100 g active sourdough starter (fed 4–8 hours before)
- 10 g (2 tsp) fine sea salt
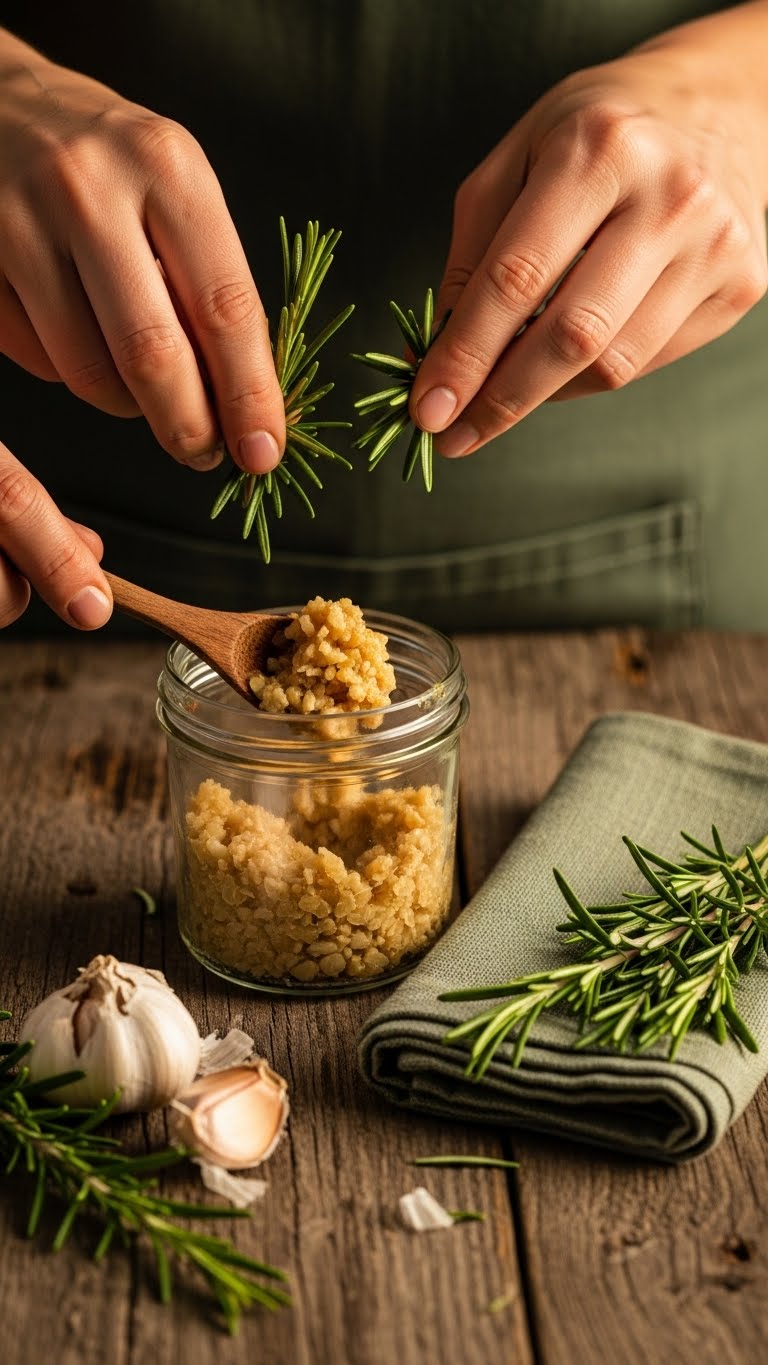
- 3–4 garlic cloves, roasted and mashed (or 1 tbsp garlic oil)
- 2 tbsp finely chopped fresh rosemary
- Tools: Dutch oven or baking stone, bench scraper, kitchen scale, proofing basket or bowl lined with linen
Tips:
- Weigh ingredients with a scale for consistent results.
- If you prefer a milder scent, use 1 garlic clove or mix garlic into olive oil before folding.
Preparing Your Ingredients
- Feed your starter so it doubles within 4–8 hours. Use a bubbly, active starter at peak.
- Roast garlic at 400°F (200°C) for 25–30 minutes until soft and caramelized for a sweet, mellow flavor. Mash into a paste.
- Mix the chopped rosemary with a pinch of flour to prevent clumping.
Pro tip: If you’re short on time, use a 100 g fresh starter mixed with 25 g commercial yeast for a faster rise — flavor will be slightly different but still fragrant.
Step-by-Step Instructions
- Autolyse: Combine 500 g flour and 350 g water. Mix until no dry flour remains. Rest 30–60 minutes.
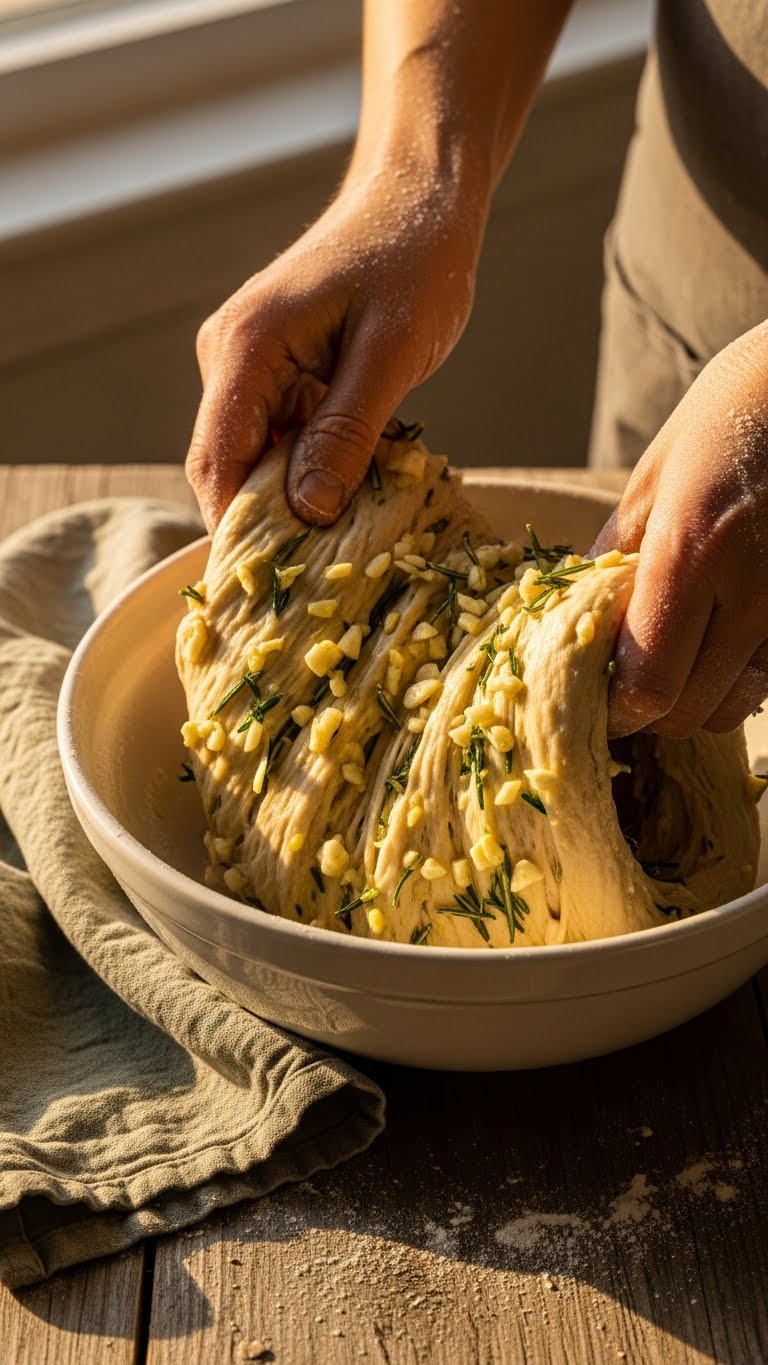
- Add starter & salt: Mix in 100 g starter, mashed garlic, and 10 g salt. Use pinch-and-fold until incorporated.
- Bulk ferment: Over 3–4 hours, perform 4 sets of stretch-and-fold every 30 minutes. Dough should become smooth and elastic.
- Shape: Lightly flour the surface. Turn dough out, pre-shape, rest 20 minutes, then final shape into a tight boule. Dust with flour.
- Proof: Place seam-side up in a floured basket. Refrigerate 8–12 hours for overnight proofing to deepen flavor.
Warnings:
- Don’t let garlic burn while roasting; burnt garlic tastes bitter.
- If dough is too sticky, avoid adding more than 10–20 g extra flour — tackiness helps oven spring.
Baking and Finishing Touches
- Preheat oven and Dutch oven to 500°F (260°C) for 45 minutes.
- Score the loaf with a sharp lame for controlled expansion.
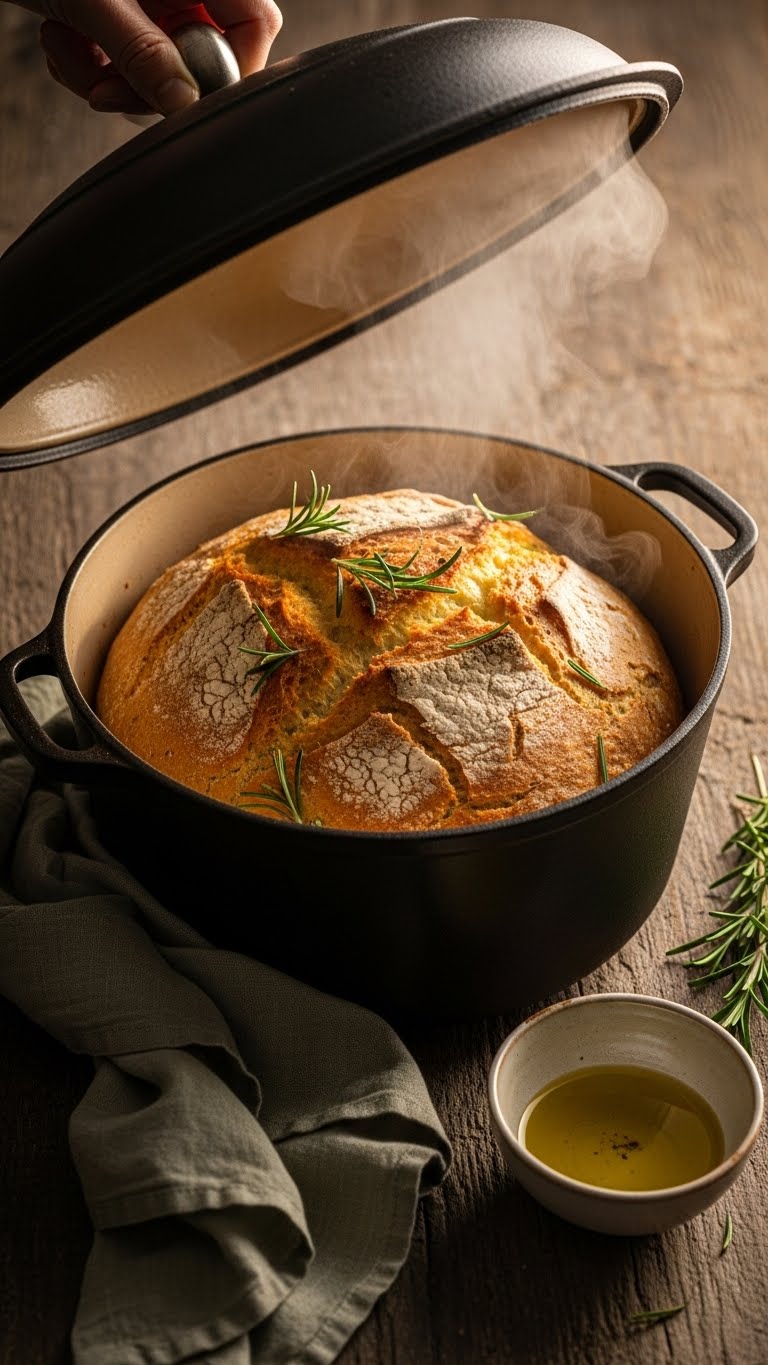
- Bake covered at 460°F (240°C) for 20 minutes, then uncover and reduce to 430°F (220°C) for 20–25 minutes until crust is deep golden.
- Optional: brush with 1 tbsp olive oil mixed with a pinch of rosemary immediately after baking for extra shine and scent.
You’ll know it’s done when the crust is firm and the internal temp reads 205–210°F (96–99°C). Cool at least 1 hour before slicing so the crumb sets.
Serving and Storage Tips
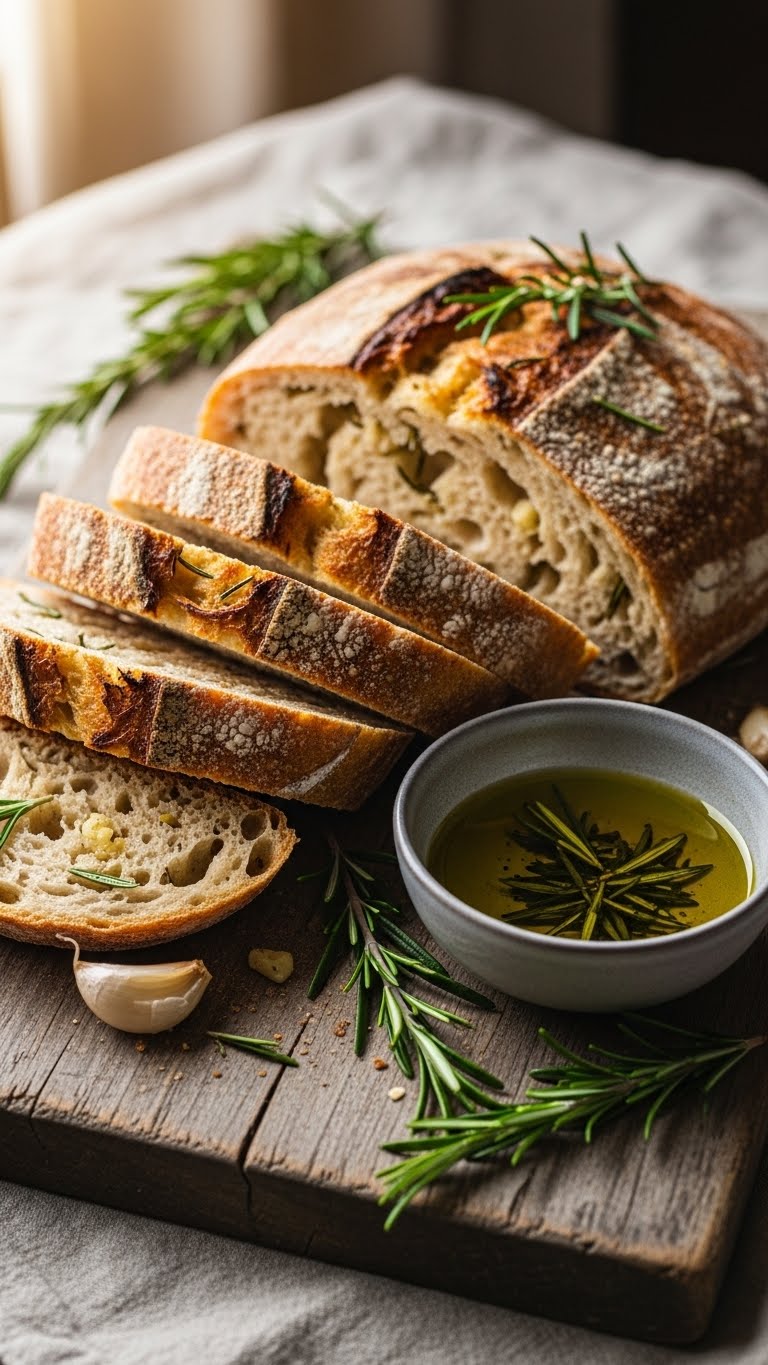
- Serve warm with butter or olive oil — the aroma is strongest in the first hour.
- Store at room temperature in a paper bag for 1–2 days to keep crust crisp.
- For longer storage, slice and freeze in airtight bags for up to 3 months. Reheat at 350°F (175°C) for 10–15 minutes.
- To refresh a day-old loaf, spritz with water and bake at 400°F (200°C) for 8–10 minutes.
Common issues:
- Dense crumb: under-proofed or starter not active.
- Weak rise: dough too cold — aim for 75–78°F (24–26°C) during bulk ferment.
This recipe gives you a loaf with a bold garlic-rosemary aroma and a crust that snaps. Try swapping roasted garlic for garlic oil if you want a more evenly distributed flavor.
Your kitchen will smell like a bakery in minutes. Pin this guide for your next bake and save the recipe so you can repeat the process. Which tip will you try first — overnight proofing or roasted garlic? Ready to make this happen? Let’s do it!