
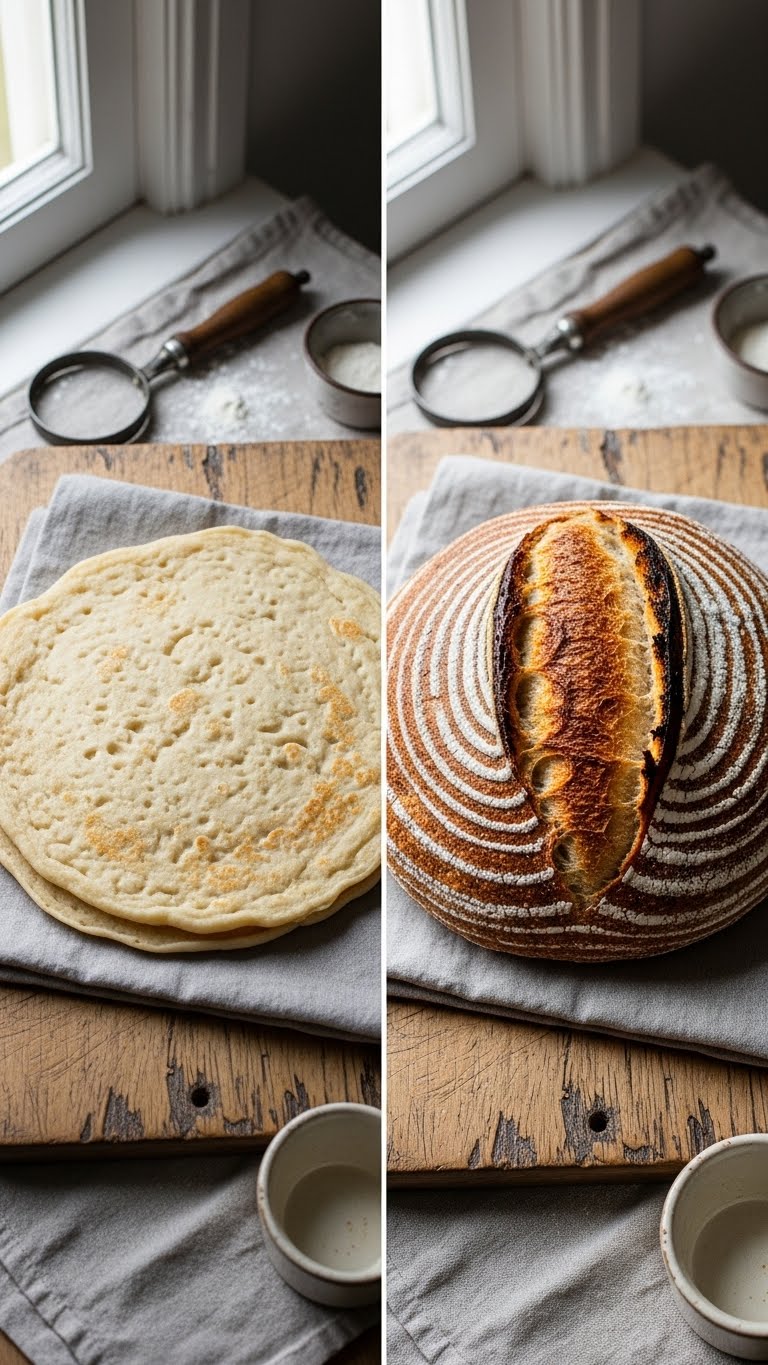
Flat sourdough loaves that spread and look pancake-flat are frustrating, but fixable. If you're wondering how to prevent flat sourdough loaves from spreading, you'll learn practical, tested steps that you can start using this afternoon. This guide shows you how to strengthen dough, shape for height, proof correctly, and bake with steam so your loaves rise tall and hold their shape.
Read on for simple adjustments—hydration, handling, timing, and oven technique—that stop spreading and give you a bakery-style bloom. You'll get exact measurements, timing windows, and quick troubleshooting tips.
What You'll Need to Prevent Flat Sourdough Loaves from Spreading
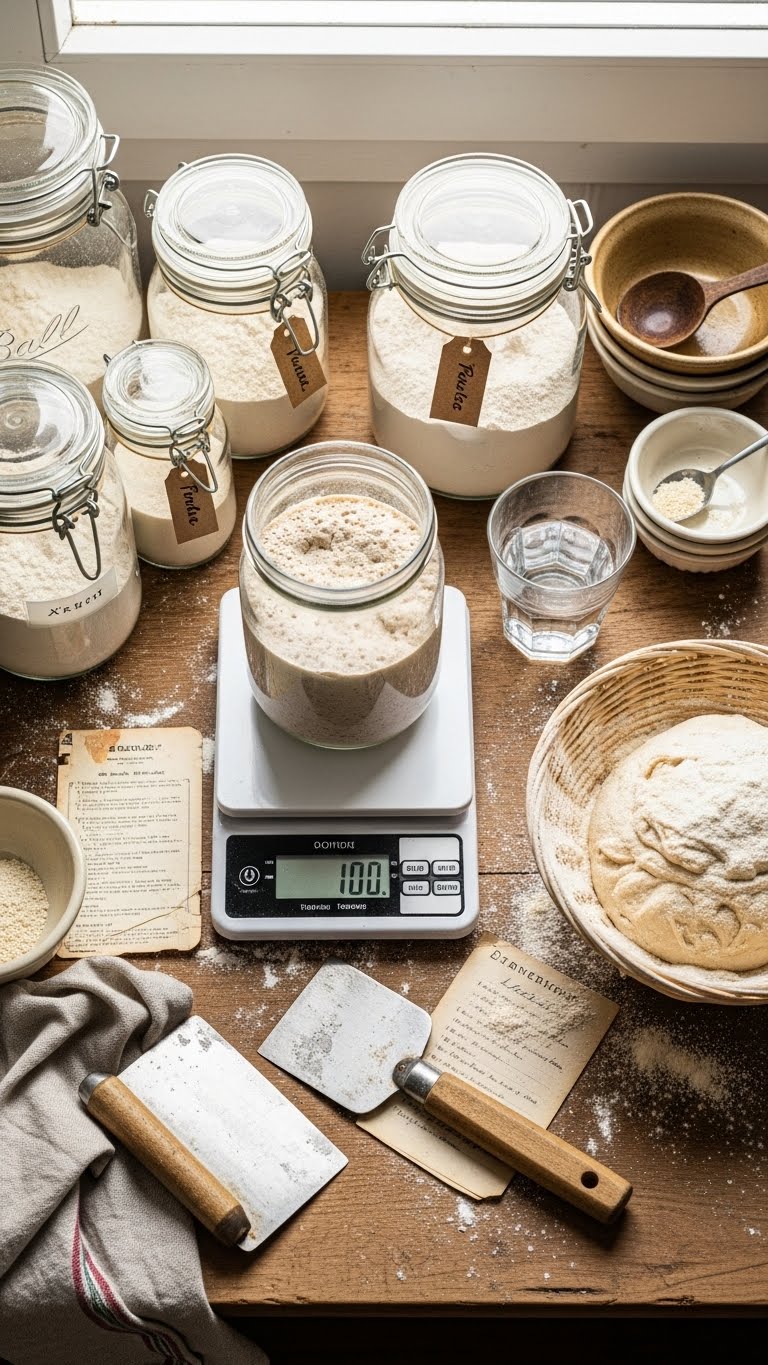
- Ingredients
- 500 g bread flour, or a mix of 400 g bread + 100 g whole wheat
- 325–350 g water (65–70% hydration) — reduce if dough is slack
- 100 g active starter (about 20% of flour weight)
- 10 g salt
- Tools
- Scale, bench scraper, banneton, Dutch oven or baking stone, lame or sharp blade
- Tips:
- Use 65–70% hydration to start if your loaves are spreading.
- Feed starter so it’s peak active (bubbly and doubled) before mixing.
Getting Started: Build Strength and Shape
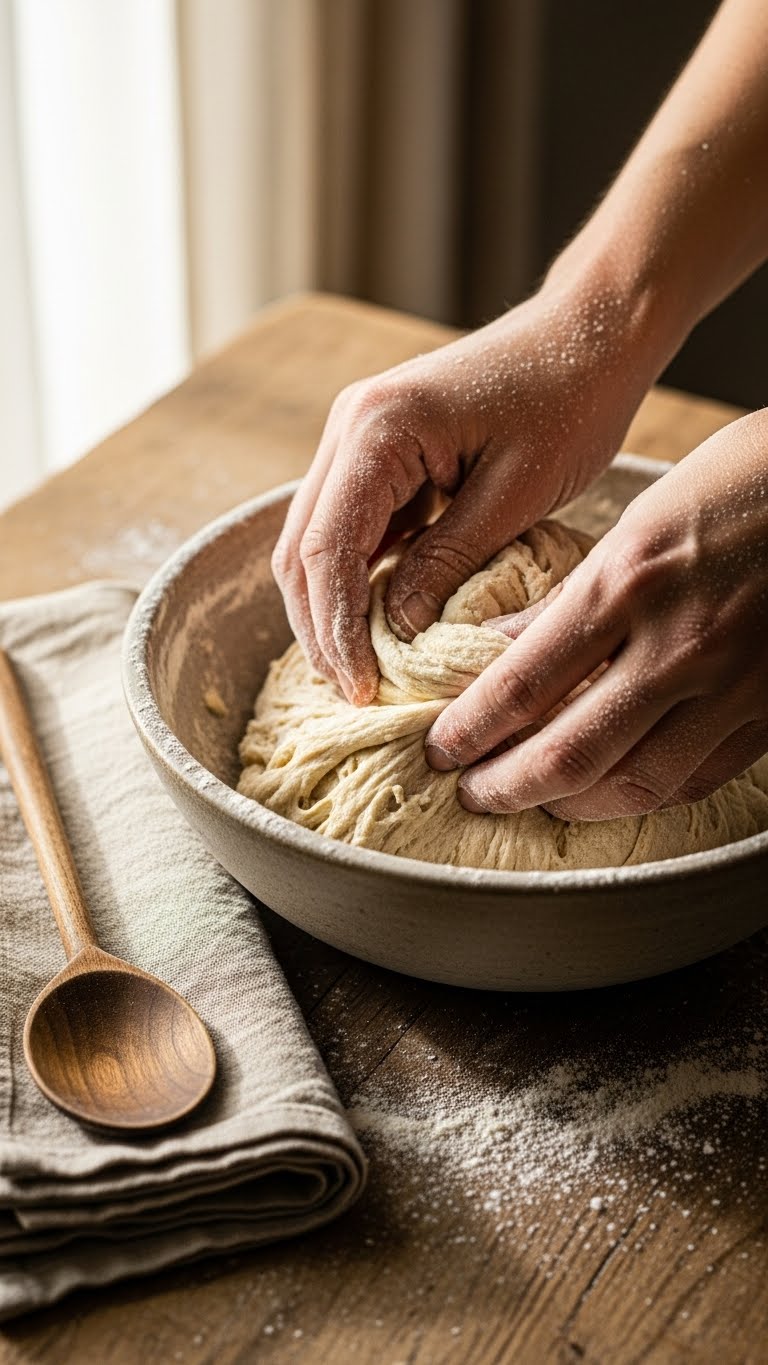
Start by developing gluten and tension—this prevents spread.
- Mix flour and water; autolyse 30–45 minutes.
- Add starter and salt; use 4–6 stretch-and-folds over 2 hours during bulk fermentation.
- Look for dough that’s smooth, slightly tacky, and holds shape when gently pulled.
Shaping:
- Pre-shape into a tight round; bench rest 20–30 minutes.
- Final shape with deliberate tension: cup the dough and drag to create a taut skin.
- Place seam-side up in a well-dusted banneton for proofing.
Quick tricks:
- If dough is slack, reduce water by 10–20 g next bake.
- Use rice or semolina flour in banneton to prevent sticking.
The Technique Step-by-Step to Stop Loaves Spreading
- Final proof:
- Room-temp proof 2–4 hours, or 12–18 hours in the fridge (cold retard) for increased strength.
- Use the poke test: a slow, gentle bounce-back indicates ready dough.
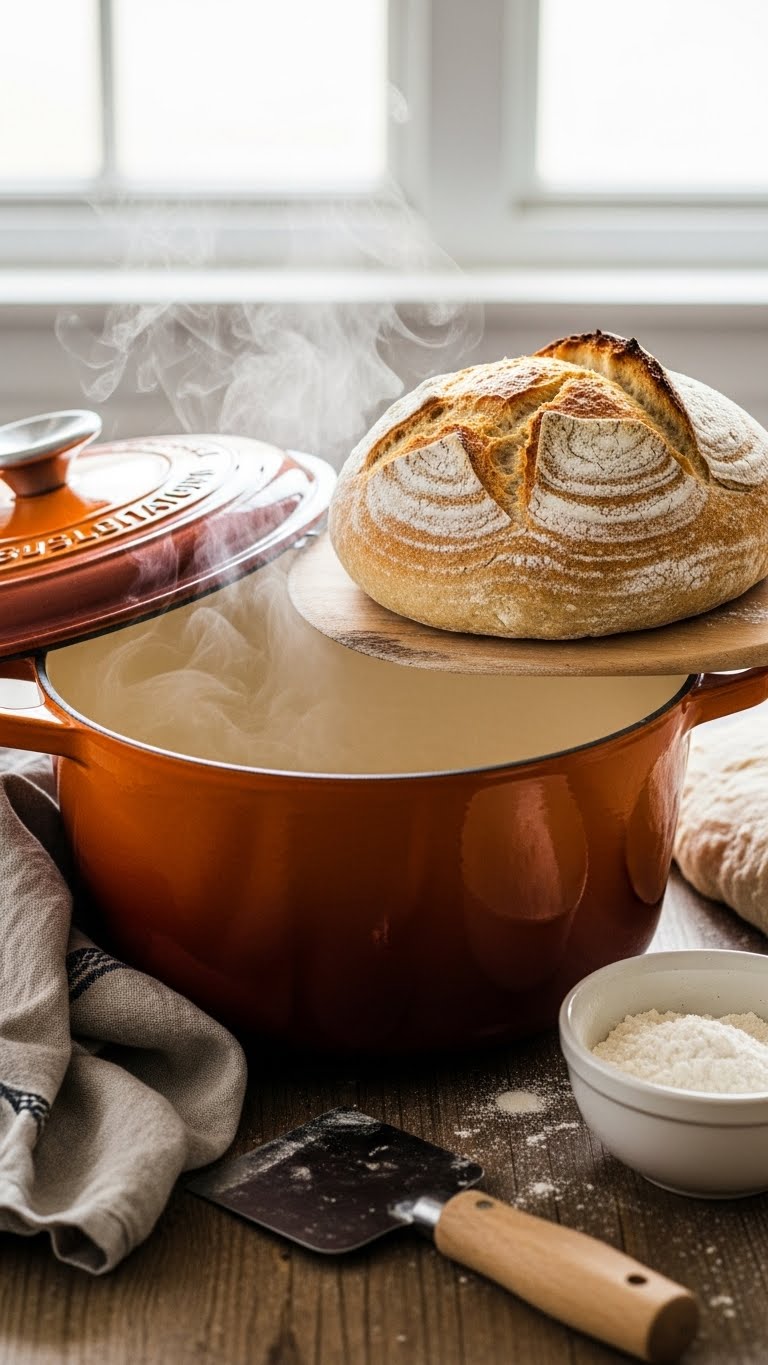
- Scoring and bake:
- Preheat oven with Dutch oven to 475°F (245°C) for 45–60 minutes.
- Transfer loaf seam-down, score at a 35–45° angle to create an ear.
- Bake covered 20 minutes with steam, then 20–30 minutes uncovered at 430°F (220°C) until crust is deep brown.
- Cool fully on a rack 1–2 hours before slicing to set crumb.
Pro tips:
- Steam for the first 15–20 minutes traps heat and prevents the crust from forming too fast, which helps oven spring.
- A tight seam and a higher final proof (but not overproof) reduce spreading.
Troubleshooting Common Issues (Flat Sourdough Loaves)
- Dough too wet: lower hydration to 60–65% next time.
- Weak starter: feed starter 2–3 times before bake until very bubbly.
- Underdeveloped gluten: add more stretch-and-folds or longer bulk fermentation.
- Overproofing: dough that collapses when disturbed is overproofed; shorten proof time or cool in fridge.
- Poor shaping: practice creating surface tension; rehearse pre-shape + final shape technique.
Shortcuts:
- Use a Dutch oven to improve oven spring without fancy steam setups.
- If short on time, a 1–2 hour room-temp proof with stronger shaping helps.
Enjoy the sensory rewards: a crackly crust, a glossy ear, and an airy crumb. With small adjustments to hydration, handling, and proofing, you’ll stop flat loaves from spreading and get taller, more attractive sourdough every bake.
Warm up your oven and give these steps a try—your next loaf can be the one you pin and share.
Pin this guide for your next bake! Save it for later and share with friends who need this. Which tip will you try first? Ready to make this happen? Let's do it!