
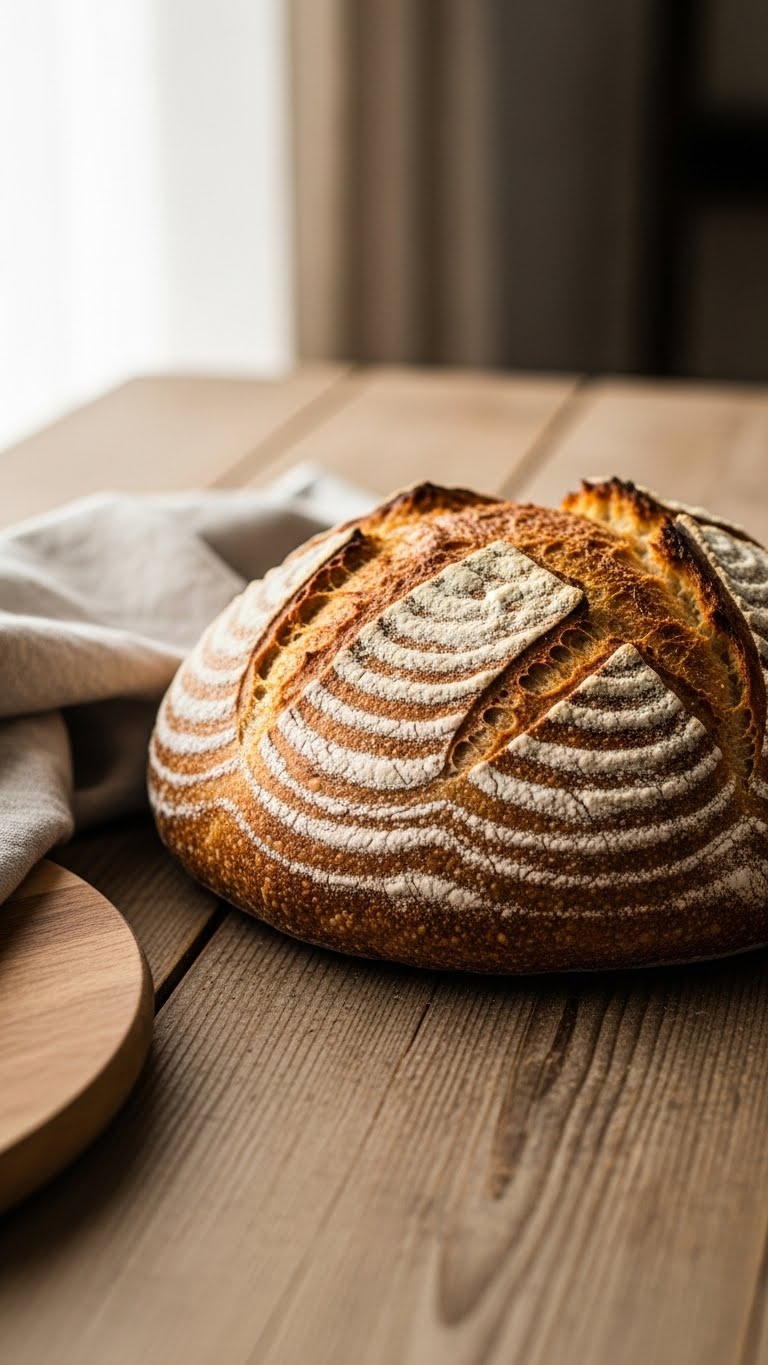
You love the smell of baking bread, but your boules always spread instead of forming a neat dome. If you want a tight, glossy surface and a high oven spring, learning how to shape sourdough into a boule with tight surface tension is the missing step.
This guide shows exactly what you need and how to shape a boule step-by-step. You’ll learn simple motions, timing, and quick fixes so your dough holds its shape and looks pin-worthy. Read on to master shaping and get a bake-ready boule every time.
What You'll Need to Shape a Sourdough Boule
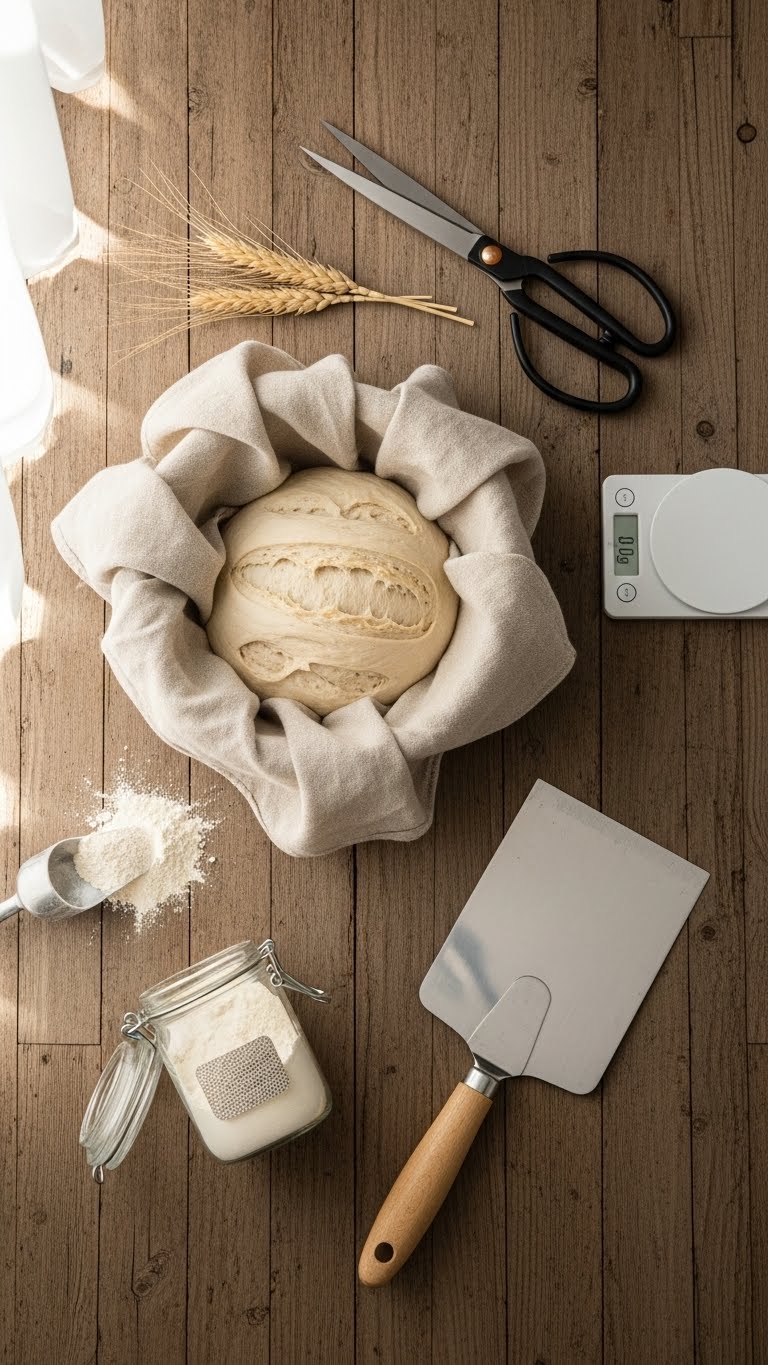
Gather these essentials before shaping:
- Tools: bench scraper, banneton or bowl lined with linen, dough scraper, and sharp scissors or lame.
- Ingredients: your fed sourdough starter, 500 g bread flour dough (approx. 65% hydration), extra flour for dusting.
- Timing: bulk ferment 3–5 hours at room temperature or until puffy; final proof 1–3 hours or retarded overnight in fridge.
Quick tips:
- Use a digital scale for consistent weights.
- Aim for 65–72% hydration for easier shaping if you’re new to this.
- Keep your hands lightly floured but not dry; tack helps create tension.
Getting Started: Prepare Your Dough for Shaping
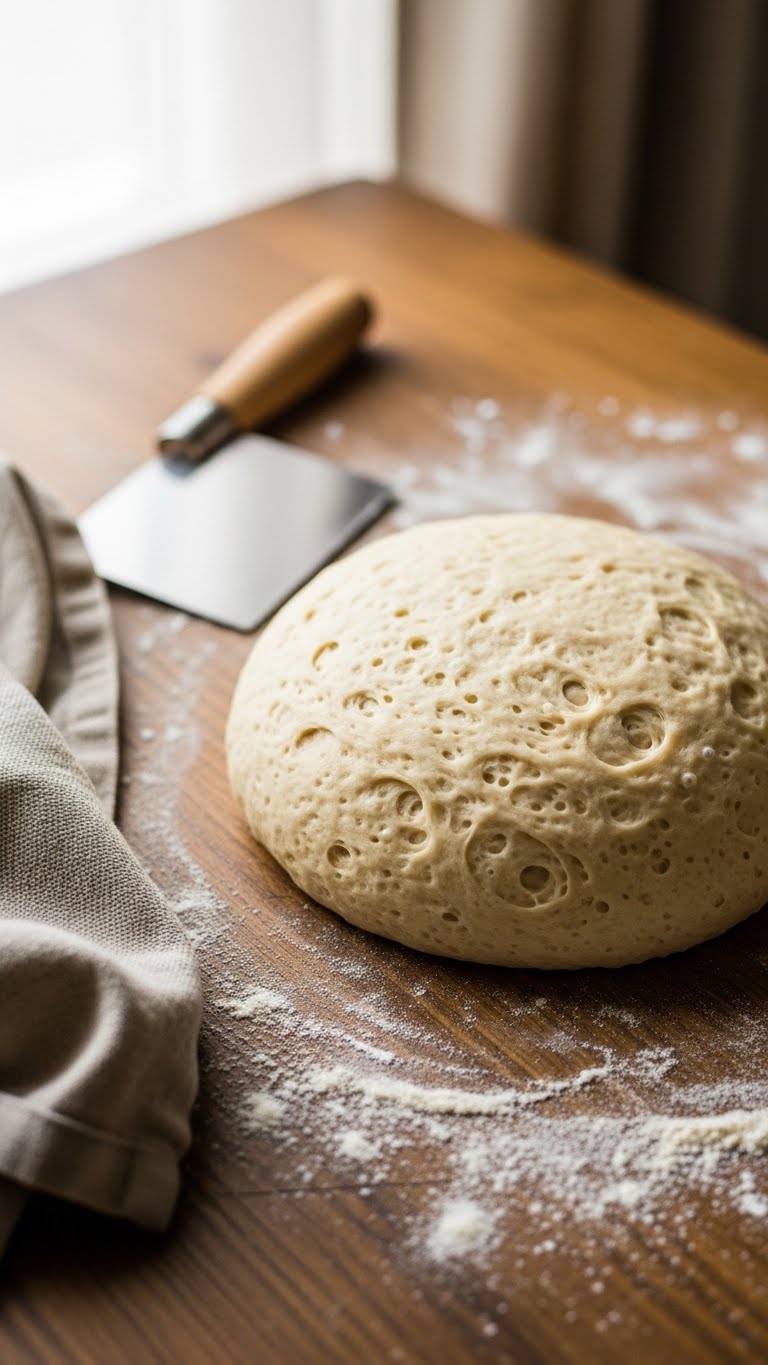
Before shaping, do this:
- Gently turn dough out onto the floured surface. Handle it softly to preserve gas.
- Perform a quick preshape: fold dough onto itself to form a loose round. Rest 20–30 minutes under a damp towel (bench rest).
- This rest relaxes gluten and makes final shaping easier.
Why preshape matters:
- Preshaping builds initial strength without overworking.
- It helps you spot weak areas and adjust flour or tension during the final shape.
The Technique Step-by-Step: Forming a Boule with Tight Surface Tension
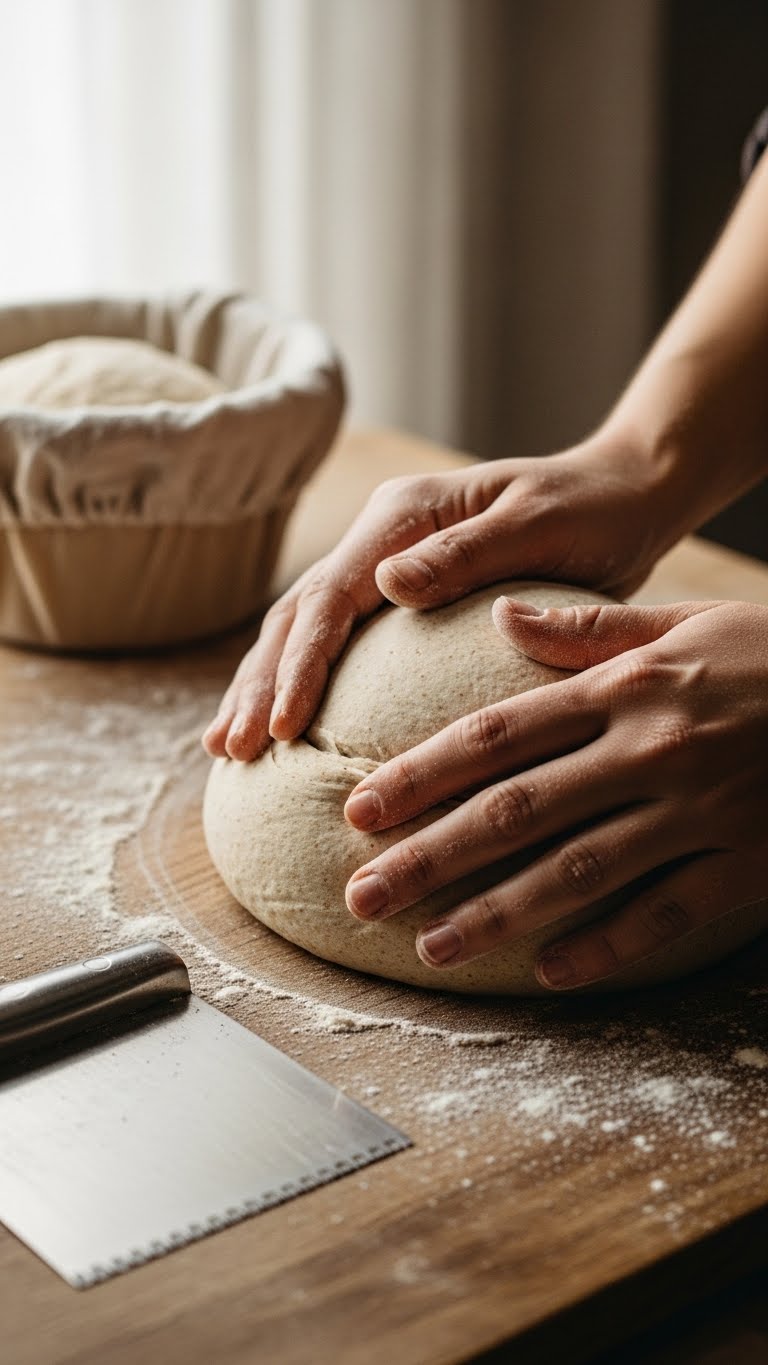
Follow these numbered steps to create strong surface tension:
- Cup and Pull: Cup the dough with both hands. Use your fingers to pull the dough towards you across the surface, creating a smooth top. Repeat 3–5 times.
- Rotate and Tuck: Rotate the dough 90 degrees, pull the edge, and tuck it under the loaf with each turn. Keep motions confident and even.
- Tighten: Place the dough seam-side down. With cupped hands, drag the dough slightly against the work surface while turning it. This tightens the skin. Repeat until the boule feels like a taut balloon.
- Seal and Rest: Pinch the final seam to seal air pockets. Dust lightly with flour and place seam-side up in a banneton or linen-lined bowl.
Timing and feel:
- The boule should feel springy and hold a slight dome. If it collapses, it was overworked or under-proofed.
- Final proof 45–90 minutes at room temp, or overnight in the fridge for a deeper flavor and easier scoring.
Pro tips:
- Use the heel of your hand for stronger pulls.
- Keep movements smooth; jerky tugs break the surface.
- For very wet dough, use a bench scraper to help tuck edges.
Troubleshooting and Storage: Fix Common Shaping Problems
If your boule spreads:
- Check fermentation: over-proofed dough won’t hold tension.
- Reduce hydration slightly (2–3%) if dough is unmanageably slack.
- Strengthen dough with an extra coil fold during bulk ferment.
If surface cracks or tears:
- Dough may be too dry on the surface—use a damp towel during proof.
- Try lighter pulls—tightening too quickly can cause splitting.
Storage and make-ahead:
- Bake same day after room-temp final proof, or retard in fridge up to 24 hours.
- Store cooled bread in a paper bag for 2 days, then freeze if longer preservation is needed.
You’ve learned how to shape sourdough into a boule with tight surface tension. Practice the gentle pulling and rotating motions, keep your bench-rests timed, and don’t be afraid to adjust hydration. Pin this guide for your next bake and save these steps for easy reference. Which shaping tip will you try first? Ready to make this happen? Let’s do it!