
You love fresh sourdough, but when you try to slice it you end up squishing the loaf and losing that gorgeous crumb. Learn how to slice sourdough bread without squishing the loaf so each slice keeps its airy texture and crisp crust. In this short guide you'll get simple tools, exact steps, and quick fixes so you can cut perfect slices every time—ready for toast, sandwiches, or brunch.
What You'll Need (tools and quick prep)
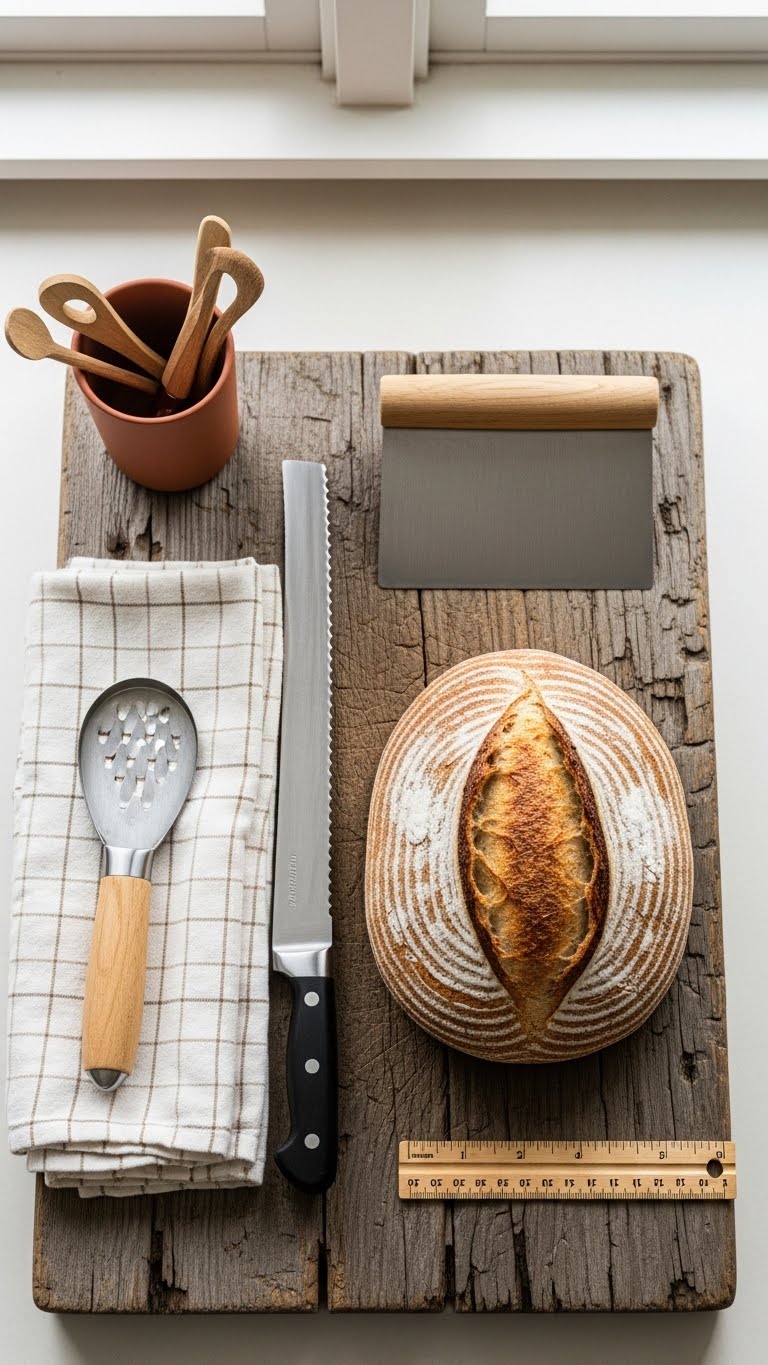
Gather simple tools so you can focus on technique, not improvising mid-cut. You'll need:
- Serrated bread knife, ideally 10–12 inches long
- Sturdy cutting board (wood works best)
- Clean kitchen towel to steady the loaf
- Bench scraper or long spatula for lifting slices
- Optional: unflavored dental floss or a bread guide
Prep tip: let a fresh loaf cool at least 1–2 hours before slicing. If it's just-baked and you must slice sooner, chill it in the fridge for 20–30 minutes to firm the crumb.
Getting Started: positioning and safety
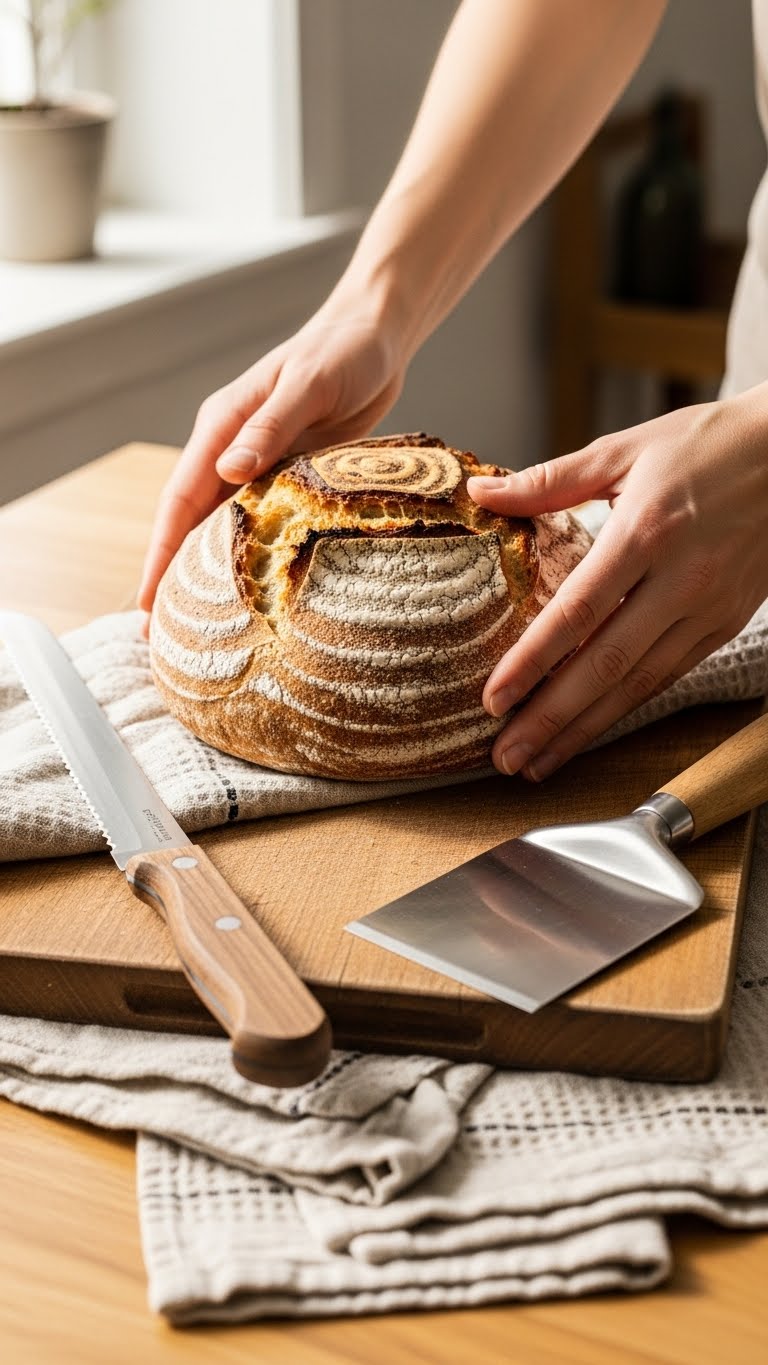
Position the loaf on a flat, non-slip surface. Place a folded linen towel or damp paper towel under the cutting board to prevent movement. Hold the loaf gently with fingertips curled under—this keeps your fingers safe and prevents squishing.
Make sure your knife is sharp. A serrated knife works by sawing, not pressing. If your knife drags or slips, stop and sharpen or switch knives. Keep the knife angled slightly toward you so gravity assists the cut and you use full blade length.
The Technique Step-by-Step (how to slice without squishing)
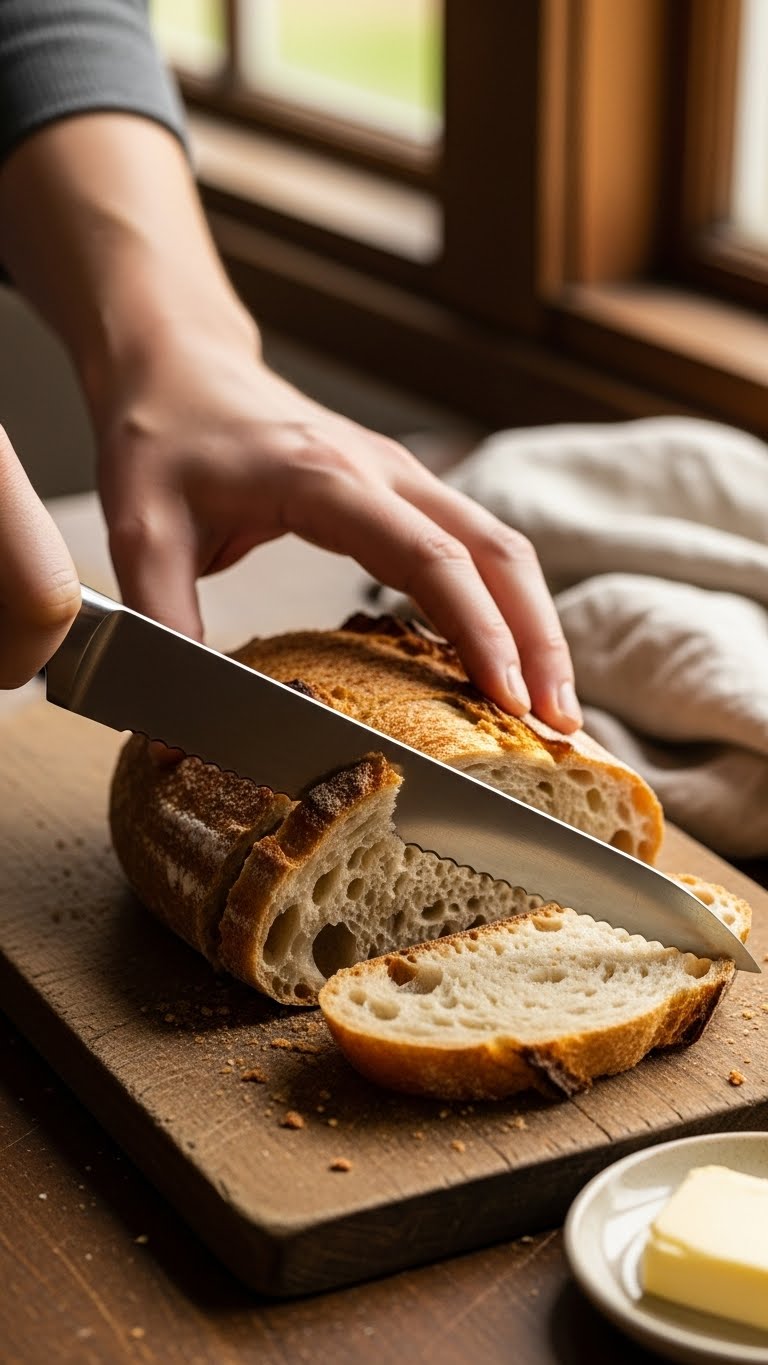
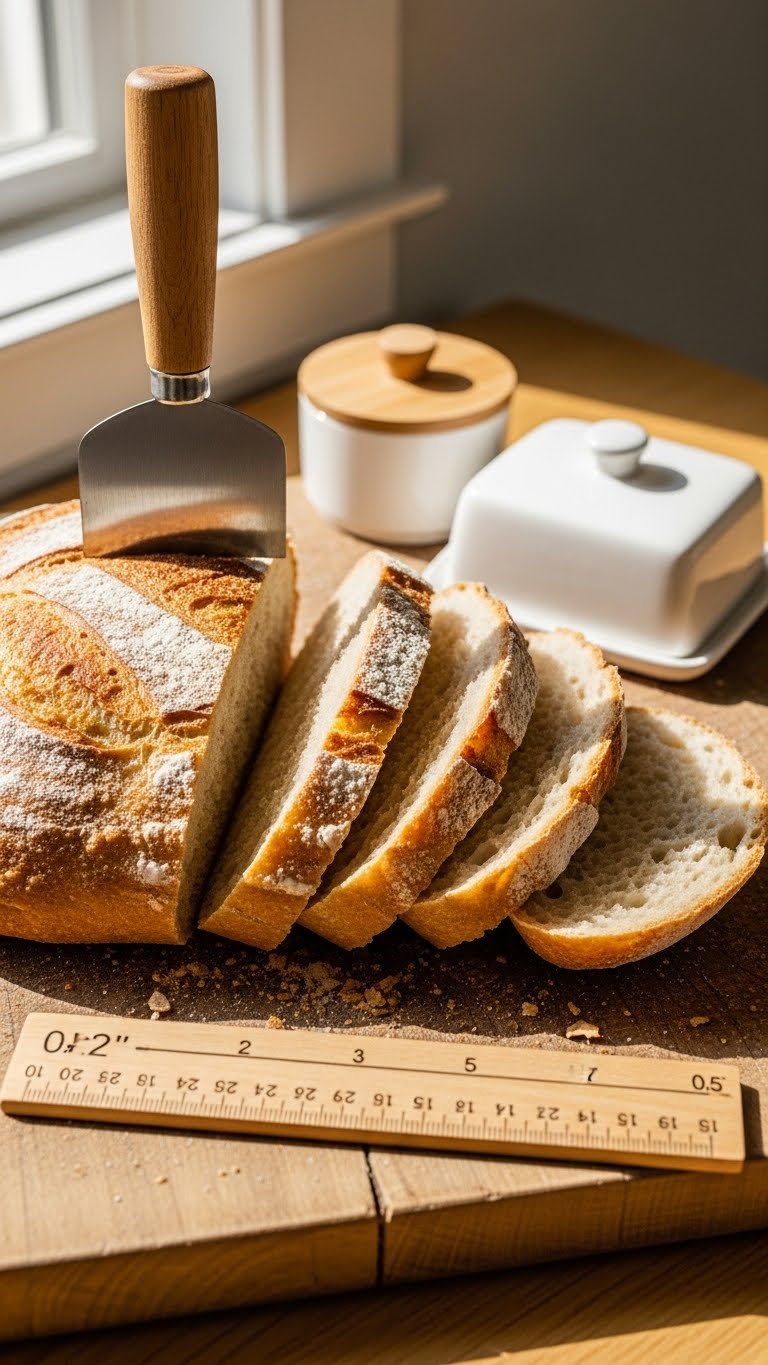
- Line up your first cut where you want the slice edge to be. Aim for ½ to 1 inch thick slices depending on use.
- Place the tip of the serrated knife on the crust without pressing. Use a light sawing motion to score the crust for 2–3 strokes.
- Once scored, use long, even strokes with the full length of the blade. Let the saw do the work—do not push down.
- Support the loaf with your non-dominant hand, fingertips curled and resting lightly on the top.
- After the blade passes through, lift the slice with a bench scraper or long spatula to avoid tearing.
Pro tips:
- For very open crumbs, use slow, gentle strokes and a longer knife.
- If the loaf moves, slide a damp cloth under the board. Stability prevents accidental pressure that squishes the loaf.
- Want paper-thin slices for crostini? Use dental floss wrapped around the loaf and pull straight down for ultra-thin cuts.
Troubleshooting Common Issues and variations
Problem: loaf squishes when you start cutting.
- Fix: stop, chill the loaf 20–30 minutes, and try again. The crumb firms up and resists pressure.
Problem: knife drags or tears crumb.
- Fix: sharpen or switch to a longer serrated knife. Clean crumbs from the blade between cuts.
Problem: slices collapse after cutting.
- Fix: cut slightly thicker slices (¾–1 inch) for fragile crumb, or chill briefly before slicing.
Variations:
- For sandwiches, aim for ¾ inch slices for structure.
- For toast, ½ inch slices crisp faster and feel lighter.
- To freeze, slice and separate with parchment, then freeze in a resealable bag for quick use.
A final note: practice makes a difference. The more loaves you slice with the same setup, the less pressure you'll apply intuitively.
You now know how to slice sourdough bread without squishing the loaf and have easy fixes for common problems. Enjoy evenly cut slices with intact crust and tender crumb every time. Pin this guide for your next brunch, save it for future loaves, and share with friends who love sourdough. Which tip will you try first?