
You want fresh, tangy sourdough but don’t want a month-long project. This quick, practical guide shows you how to start a sourdough starter from scratch in 7 days, with clear daily actions so you’ll have an active, bubbly starter by the end of week one. You’ll learn what to use, how to feed, common fixes, and storage tips so you can bake confidently.
Use this guide to follow simple measurements and a daily routine that anyone can stick to. How to start a sourdough starter from scratch in 7 days becomes approachable when you have a plan and a few tricks that save time and prevent common mistakes.
What You'll Need to Begin Your Starter
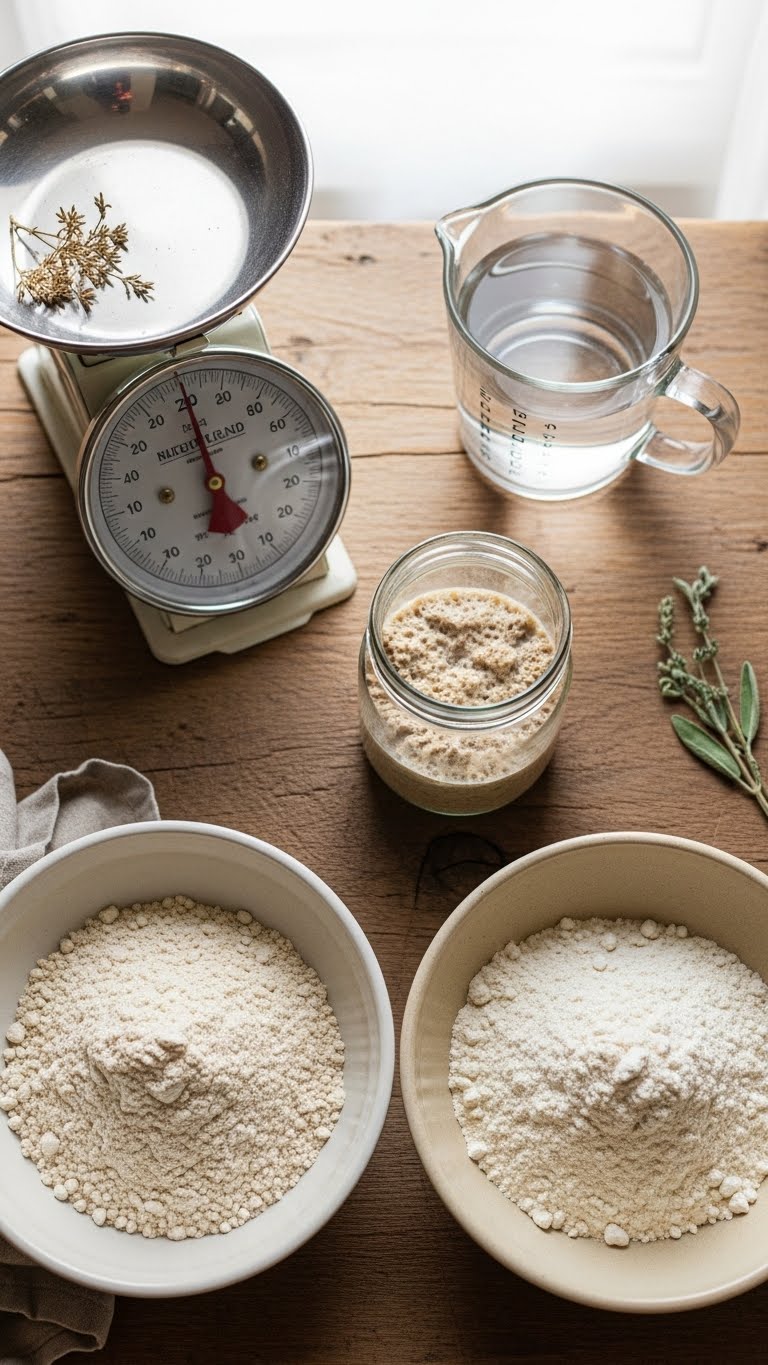
Gather simple, pantry-friendly supplies so you can start right away. You’ll feed by weight for consistency, but cup conversions are included.
- Materials:
- 1 clean glass jar (500 ml / 1 pint) with loose lid or cloth
- Digital kitchen scale (recommended)
- Filtered or bottled water (no chlorinated tap water)
- Whole wheat flour and all-purpose flour
- Basic measurements:
- Day 1: 50 g whole wheat flour + 50 g water
- Feedings: 50–100 g flour + 50–100 g water depending on jar size
- Tips:
- Room temp near 72–78°F (22–26°C) speeds activity
- Use a rubber band to mark starter height
Getting Started — Day 1 to Day 3 (Build the Base)

Start with a simple mixture that invites wild yeast.
- Day 1 — Mix 50 g whole wheat flour with 50 g water in your jar. Stir until smooth, scrape down sides, cover loosely. Mark level.
- Days 2–3 — Discard half the starter (about 50 g), then feed with 50 g all-purpose + 50 g water once every 24 hours.
- Keep the jar in a warm spot out of direct sunlight.
Why whole wheat? It’s rich in nutrients and jump-starts activity. Expect minimal bubbles early — that’s normal. Smell may be mild or slightly yeasty.
Step-by-Step Instructions — Days 4 to 7 (Double and Thrive)
From day 4 you’ll speed up feedings and watch for doubling. This is the heart of how to start a sourdough starter from scratch in 7 days.
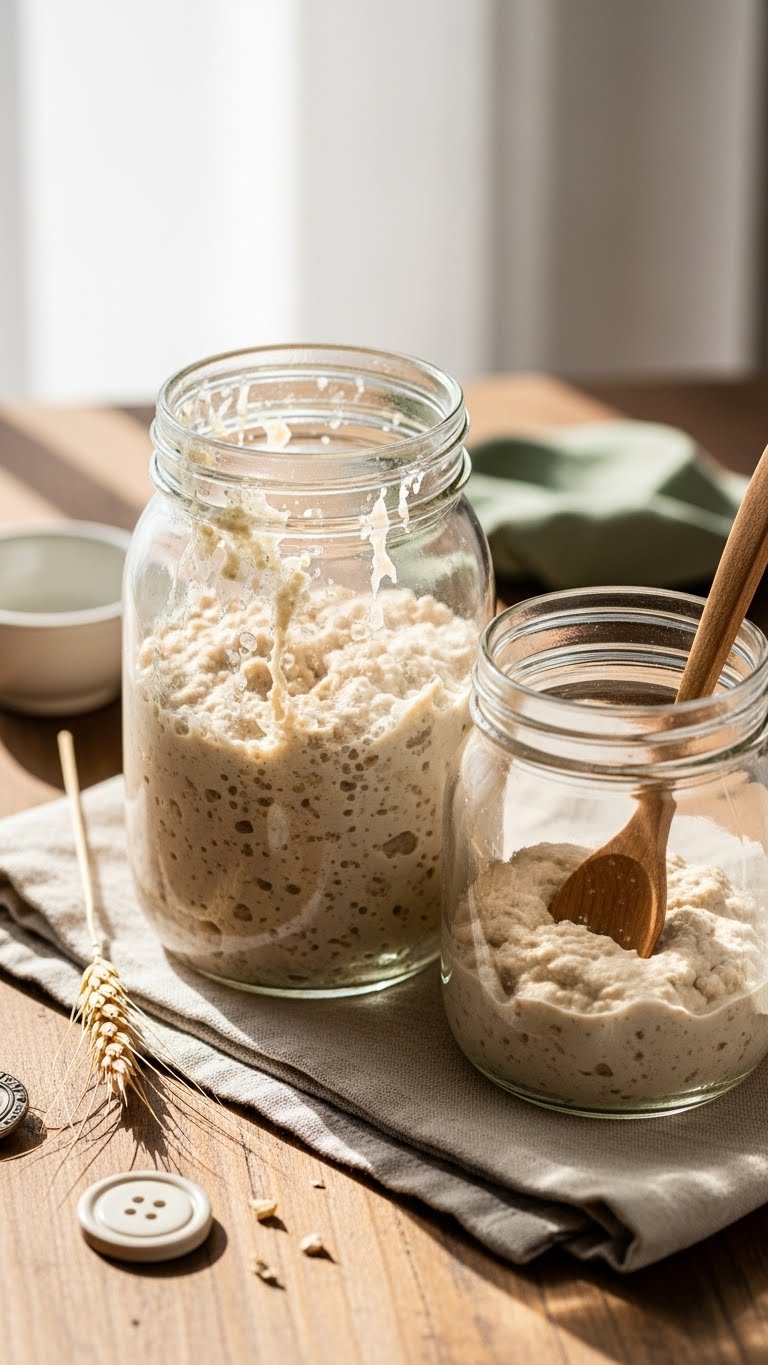
- Feed Schedule (days 4–7):
- Morning: Discard half, then feed 50 g starter + 50 g all-purpose flour + 50 g water (or scale up to 100 g:100 g:100 g for bigger batches).
- Evening (~12 hours later): Repeat discard and feed.
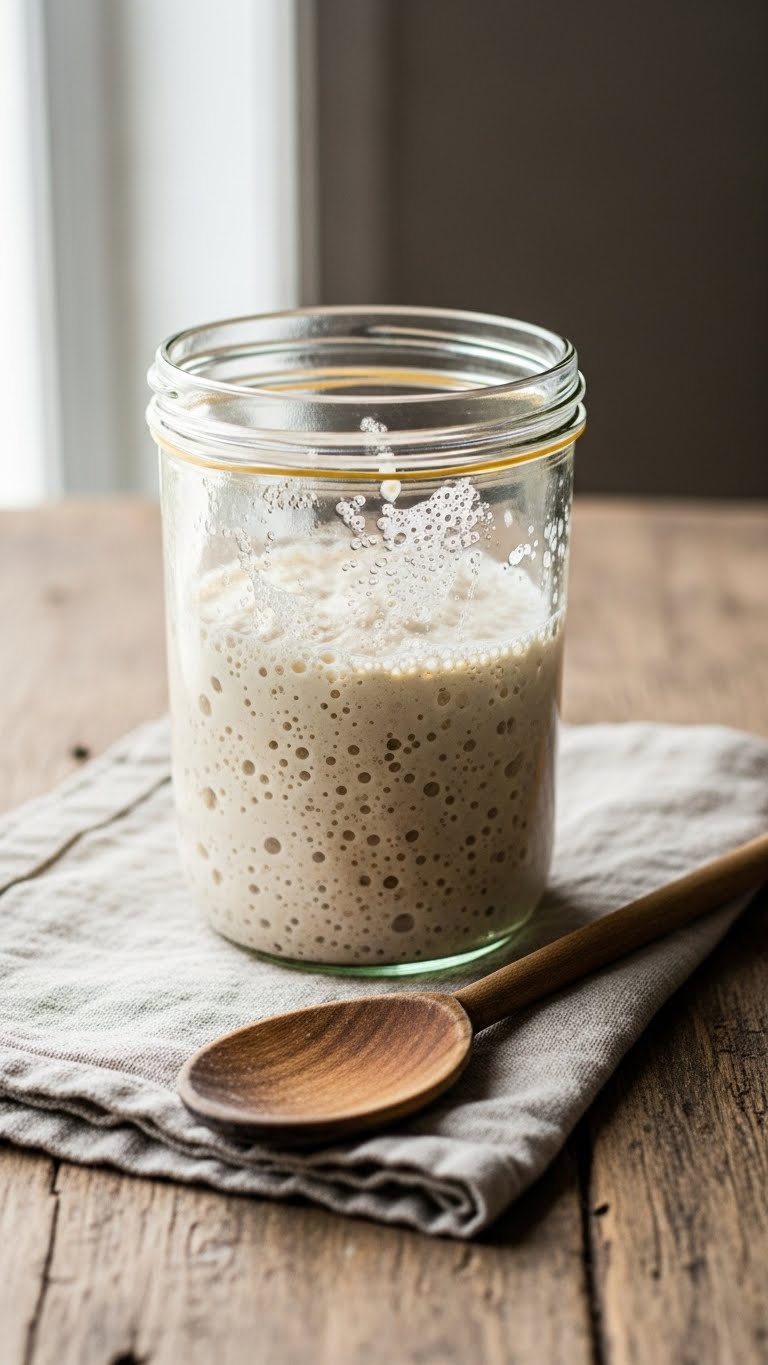
- What to look for:
- Bubbles throughout, a loose, sponge-like texture
- Rise to about twice its resting height within 4–6 hours after feeding
- A pleasant, tangy aroma (not foul)
- Pro tricks:
- Use warm water (about 80°F / 27°C) to speed activity if your room is cool.
- Keep feedings consistent — timing builds predictable strength.
By day 7 you should have an active starter that doubles in 4–6 hours — that’s when it’s ready for baking.
Troubleshooting Common Issues and Storage
If you hit a snag, don’t worry — most issues are fixable.
- No bubbles by day 4:
- Try once-daily feeding with whole grain for a day, or move to a warmer spot.
- Foul smell or pink/orange tinge:
- Warning: discard immediately — this indicates contamination.
- Hooch (dark liquid on top):
- Pour off or stir it back and feed — it signals hunger.
- Ready to store:
- If baking often, keep at room temp and feed daily.
- To slow activity, refrigerate and feed weekly. Before baking, bring to room temp and feed twice.
Common mistakes: inconsistency in feed amounts, covering starter airtight (it needs to breathe), and using chlorinated water.
You’ve followed this plan and seen the change: bubbles, rise, and a tangy aroma. That means you learned how to start a sourdough starter from scratch in 7 days — and you’re ready to bake.
Warm up your oven and plan your first loaf. Pin this guide for your next bake and save these steps — which tip will you try first? Save this for later and share with friends who need this!