
Keeping your starter happy between bakes doesn't have to be a chore. If you bake once a week or less, knowing exactly how to store sourdough starter in the fridge between bakes saves time, prevents waste, and keeps your starter ready to spring back to life when you need it. This guide shows you simple fridge storage steps, clear feeding schedules, and quick revival tips so your sourdough starter stays strong and predictable.
You'll learn what to prep, how to refrigerate without damaging the culture, and how to revive it for baking. Follow these steps and you’ll spend less time babysitting and more time baking.
What You'll Need to Store Sourdough Starter in the Fridge
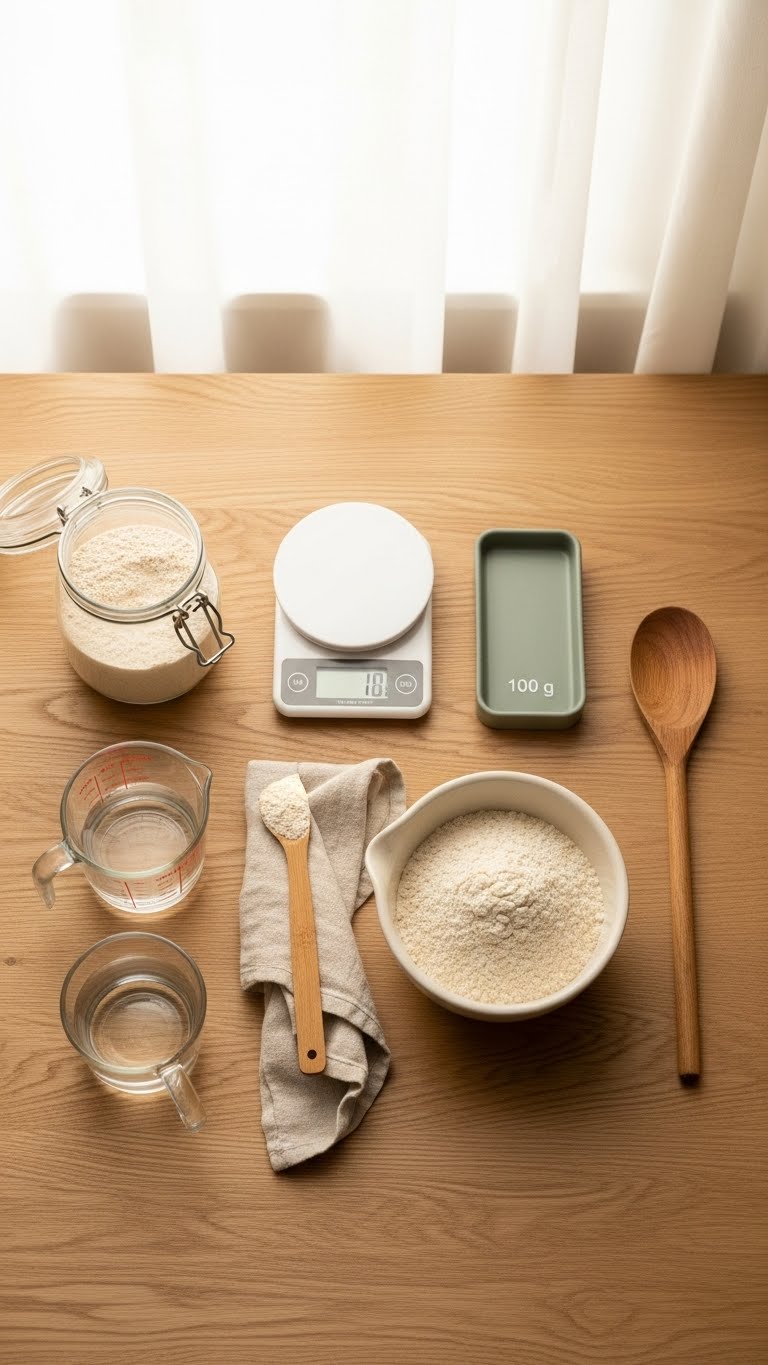
- Glass jar with loose-fitting lid (500–750 ml)
- Digital scale (grams make feeding easier)
- Unchlorinated water at room temperature
- Bread flour or all-purpose flour (100% hydration preferred)
- Spoon and clean towel or lid
Quick tips:
- Feed by weight: 50 g starter : 50 g water : 50 g flour for small batches.
- Plan: feed then chill, or feed weekly if you store long-term.
Feed and Refrigerate: Step-by-Step Fridge Storage
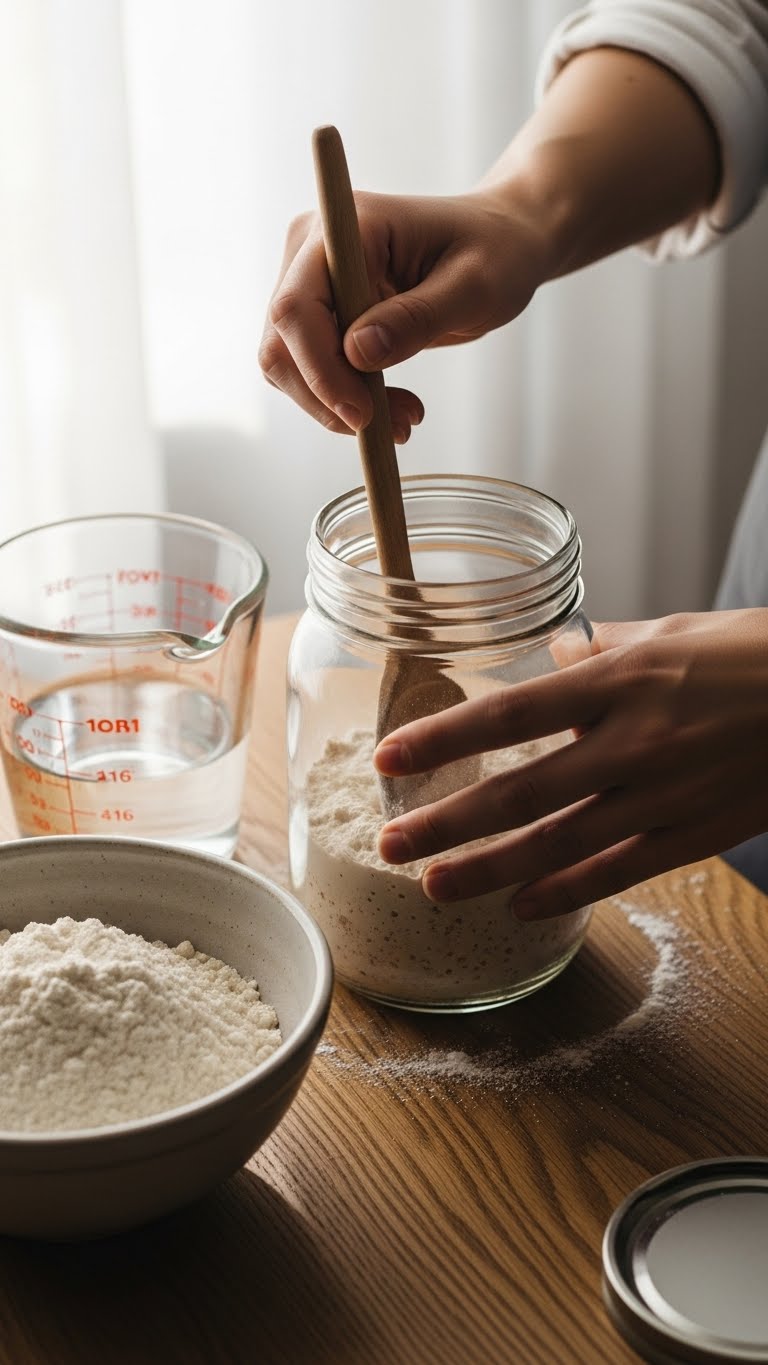
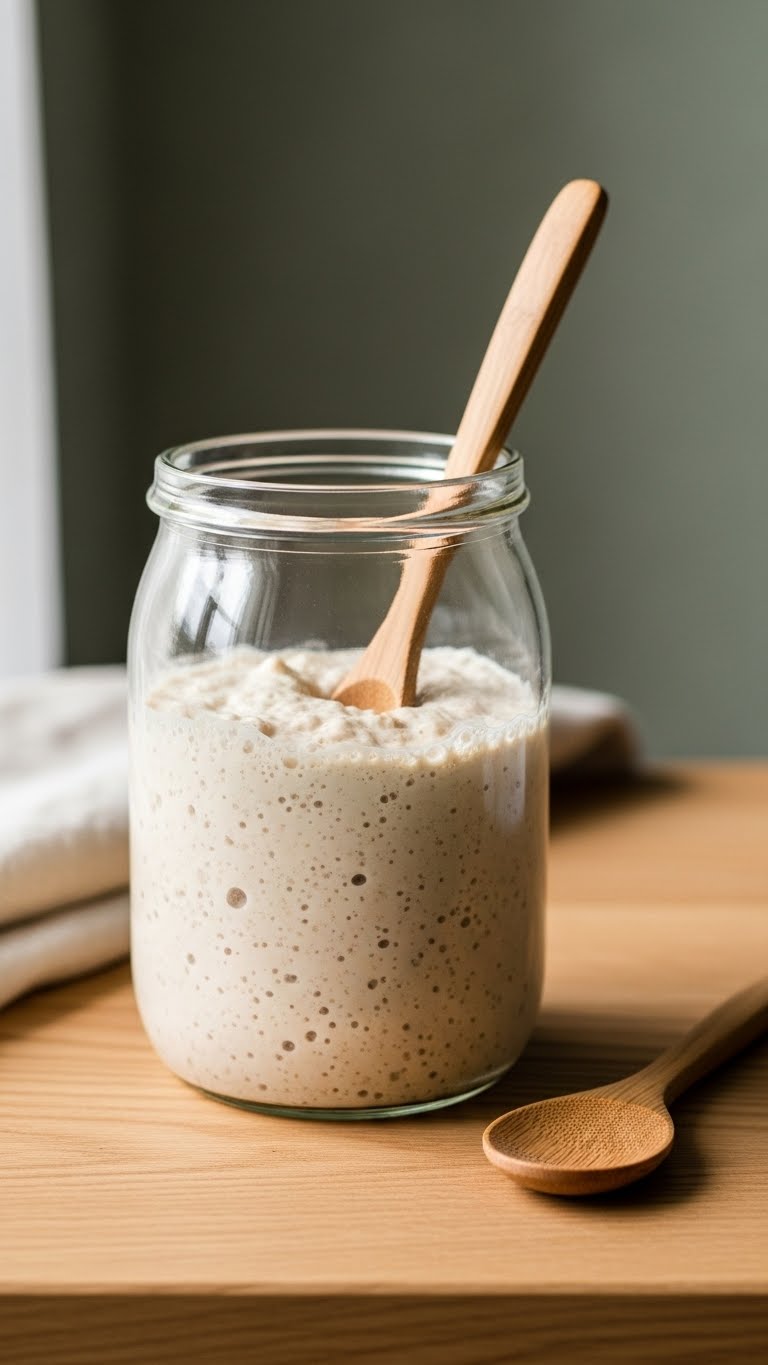
- Feed your starter 4–8 hours before you plan to refrigerate. Use a 1:1:1 weight ratio (for example, 50 g starter + 50 g water + 50 g flour). Let it become bubbly and slightly risen.
- Stir and transfer to a clean jar. Leave headspace so gas can expand during the first day.
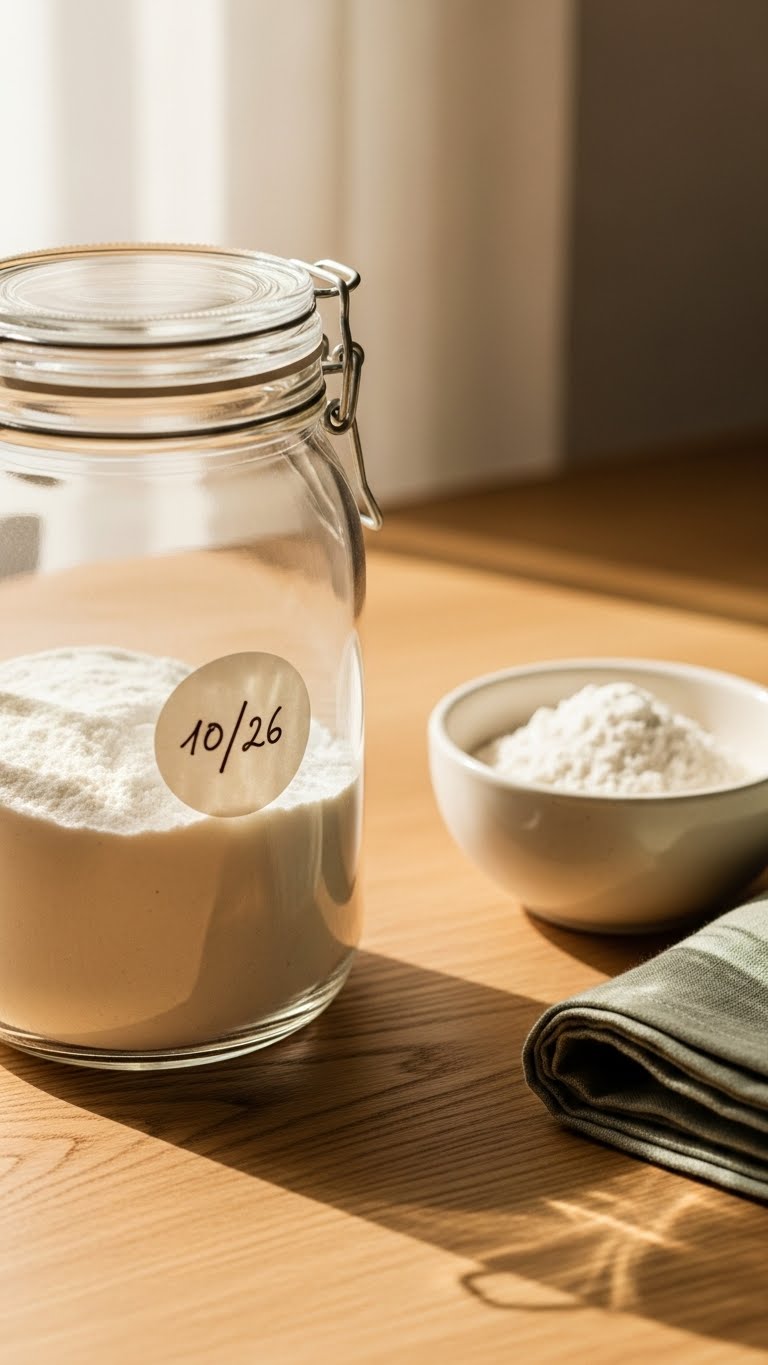
- Cover loosely with a lid or cloth—don’t seal airtight. This prevents pressure build-up.
- Place in the coldest part of your fridge (usually the back shelf). Label with the date.
Timing and expectations:
- For normal short-term storage (up to 2 weeks), feed before chilling and expect reduced activity.
- For storage longer than 2 weeks, plan to feed it once every 7–10 days while chilled.
Warnings:
- Do not freeze unless you want long-term inactive storage and are prepared for slower revival.
- If you spot pink or orange tints, discard the starter—that indicates contamination.
Revive Your Starter After the Fridge (Fridge Storage Sourdough)
When you're ready to bake:
- Bring jar to room temp for 1–2 hours.
- Discard all but 20–50 g of starter.
- Feed with 50 g water + 50 g flour (1:2:2 scaling if you kept 50 g starter).
- Repeat feeding every 8–12 hours until it doubles and is bubbly. This usually takes 1–3 feeds depending on dormancy length.
Quick checks:
- Active smell: pleasant sour, not sharp acetone.
- Bubbles and rise: your indicator to mix dough.
Time-saver:
- If you need to bake the same day, plan to feed 24 hours before and again 4–6 hours before mixing dough.
Troubleshooting & Common Mistakes (Store Sourdough Starter Fridge Questions)
- My starter smells like nail polish remover: That acetone smell means hunger. Feed twice, 8–12 hours apart, until it smells tangy and fruity.
- No rise after feeding: Try warmer room temperature (22–25°C / 72–77°F) and slightly smaller feeding ratio (1:1:1) to speed recovery.
- Mold or pink/orange tint: Discard immediately and start fresh.
- How long can you store sourdough starter in the fridge? Expect 1–3 weeks without feeding for stable starters. Beyond that, plan weekly feedings or use a longer-term preservation method like drying.
Pro tricks:
- Keep a small backup jar in the freezer as a safety net.
- If you bake infrequently, maintain a smaller jar to reduce waste and simplify feedings.
Storing your starter well saves time and keeps your fermentation predictable. Use these steps to maintain a healthy culture and to get back to baking quickly.
You’ve got an easy fridge routine now—feed, chill, revive, bake. Pin this guide for your next bake and save it for reference. Which tip will you try first? Ready to make this happen? Let's do it!