
You’re planning a trip but you don’t want to say goodbye to your bubbly friend. Traveling with your sourdough starter can feel stressful, but it’s totally doable with a little planning. This guide shows exactly how to pack, preserve, and revive your starter so it survives travel and bakes great on arrival.
You'll learn what to pack, step-by-step prep for short and long trips, quick troubleshooting, and smart storage options. Follow these practical steps and you'll keep your starter alive and active whether you're gone for a weekend or a month.
What You'll Need (Starter travel kit)
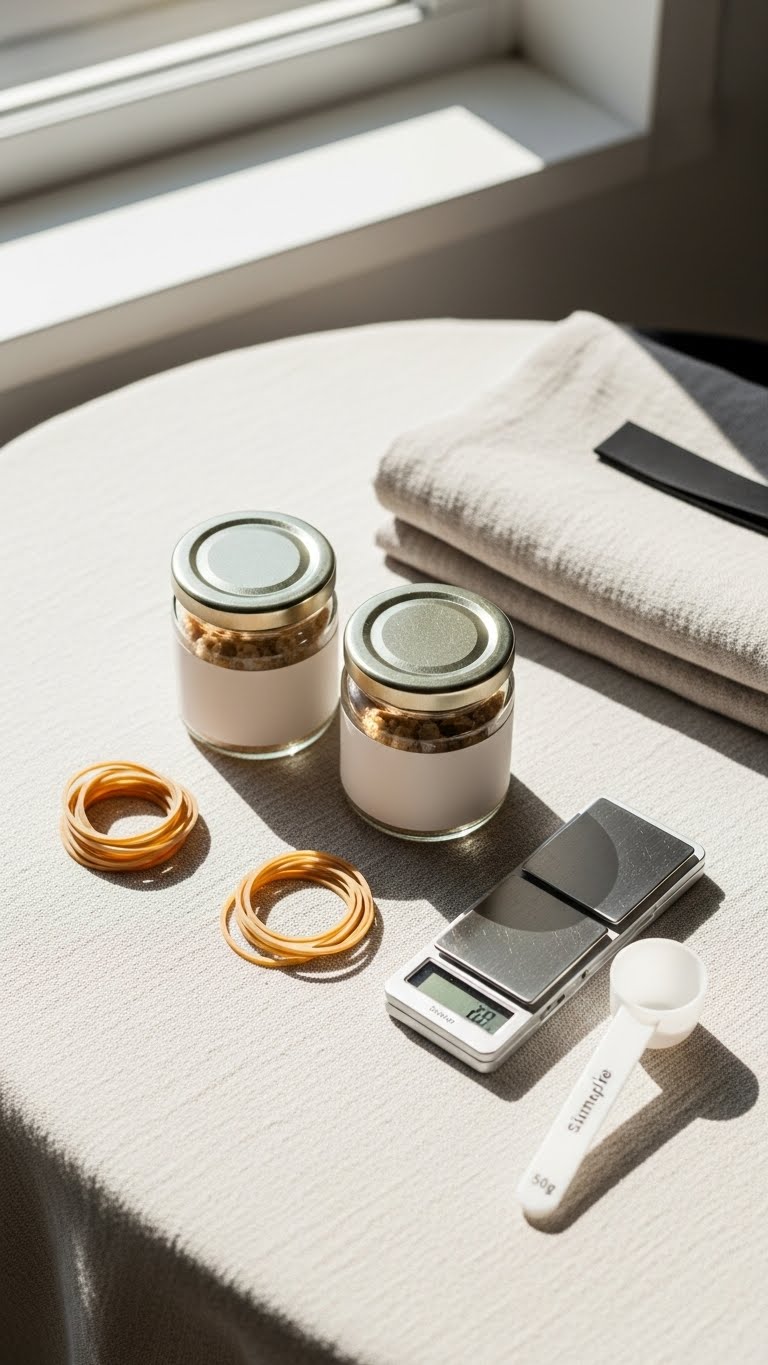
- Starter amount: bring 50–100 g of starter for a trip under a week; bring 20–30 g dried starter for longer trips.
- Containers: 1–2 small glass jars with tight lids (Mason-style or screw-top).
- Insulation: small ice pack or cooler bag for warm climates.
- Tools: small scale, spoon, jar labels, and a resealable plastic bag for dried starter.
- Extras: extra flour and a small bottle of water if you plan to revive on the road.
Tip: label jars with the date and feeding ratio. This helps if you pause feedings during travel.
Preparing Your Starter for Short Trips (Under 48–72 hours)
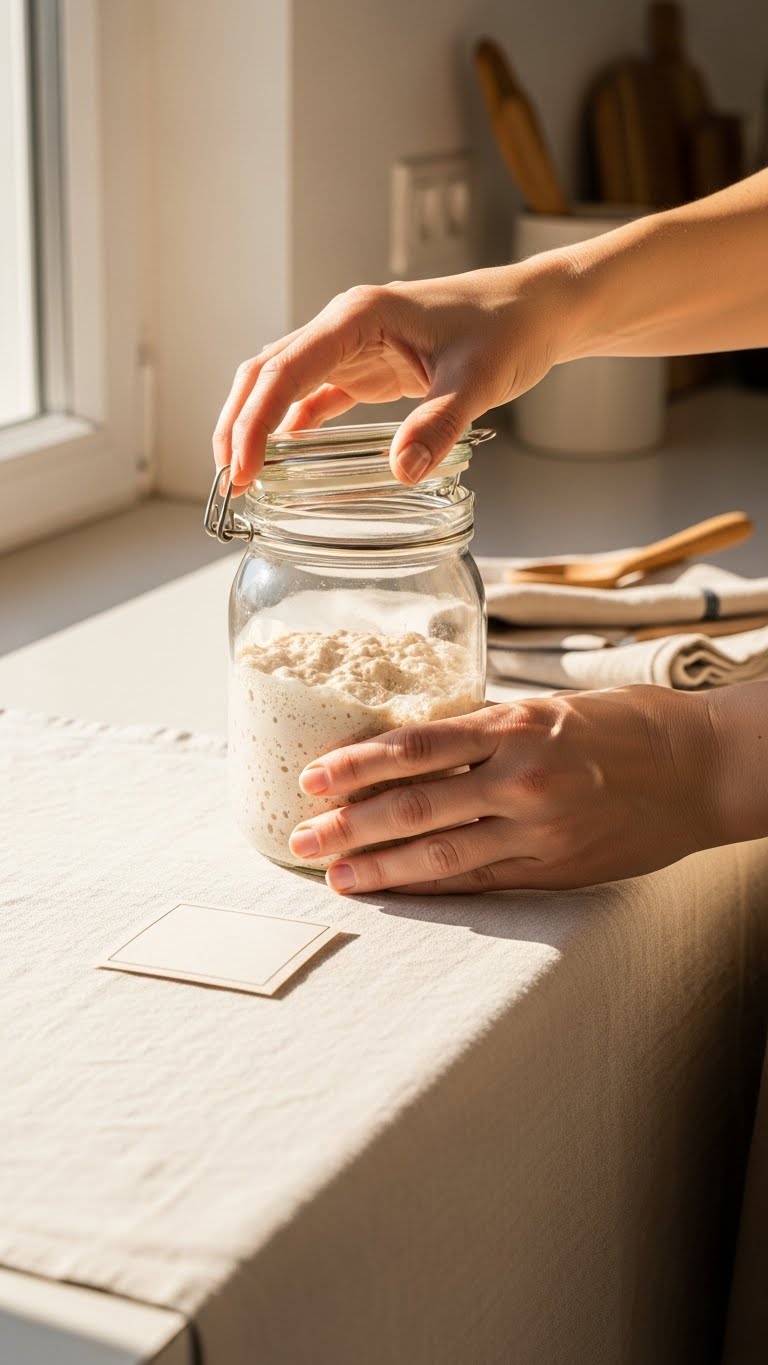
For short trips you can slow the starter instead of fully drying it. The goal is to slow activity without killing the culture.
- Feed the starter to strength 12–24 hours before you leave so it’s active then beginning to slow.
- Refrigerate the jar once it peaks. Keep it chilled at around 4°C (39°F).
- Pack the chilled jar into a small cooler bag with an ice pack if you'll be in a warm car or plane cabin.
Quick checklist:
- Feed: 1:2:2 (starter:water:flour) for a hearty peak.
- Chill after peak to slow fermentation.
- Keep jar upright and sealed, but leave minimal headspace to avoid leaks.
Warning: if you expect bumpy travel, wrap jars in a small towel and place in a rigid container to prevent breakage.
Long Trips: Drying and Transporting a Sourdough Starter

Drying is the most reliable method for long trips or when you need a lightweight backup.
- Spread 20–50 g of starter thinly on parchment paper.
- Let it air-dry 24–48 hours until brittle and flaky.
- Break into pieces and store in an airtight bag or jar. Keep cool and dry.
To revive:
- Rehydrate 25 g dried starter with 50 g lukewarm water. Stir and wait 1 hour.
- Add 50 g flour (your usual mix) and mix to a batter.
- Feed every 12–24 hours until active (usually 2–5 feedings).
Tip: pack a small bag of flour so you can feed and rebuild strength faster after arrival.
Traveling Step-by-Step (Car, Plane, or Train)
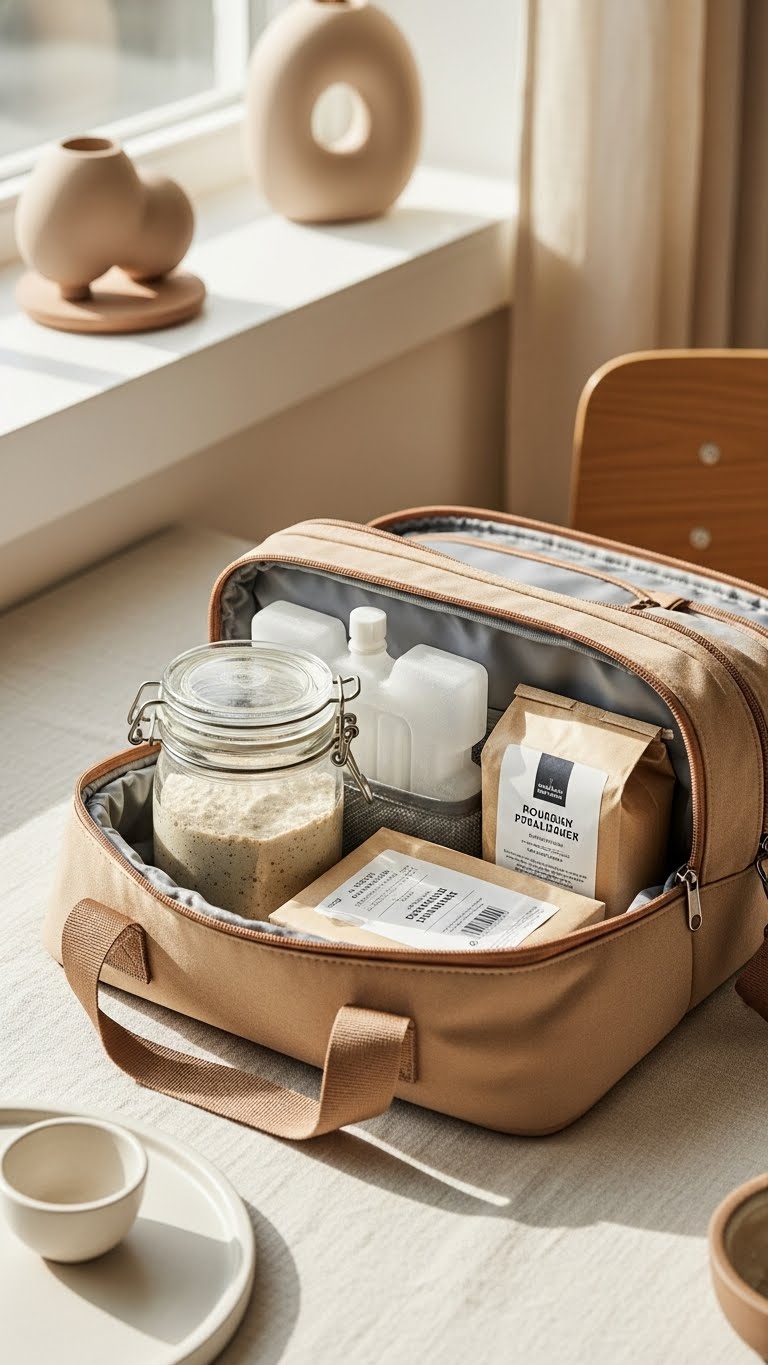
- For car/train: keep the jar in a cooler bag with an ice pack and out of direct sun. Check on it during long drives.
- For flights: check airline and TSA rules first. If allowed, pack starter in checked luggage in a sealed jar, or carry dried starter in carry-on as a food item.
- On arrival: let the jar warm to room temperature for 1–2 hours, then feed at 1:2:2 and watch for bubbles.
Pro tip: carry a small jar of extra flour and a resealable bag for emergency feedings.
Troubleshooting and Revival Tips

- No bubbles after revival? Feed with warmer water (about 28–30°C / 82–86°F) and keep it in a warm spot.
- Off smell (putrid or pink)? Discard—this indicates contamination.
- Too thin after rehydration? Switch to thicker feeds (1:1:1) until it regains structure.
- Short on time? Use dried starter for longer storage and plan 2–3 solid feedings on arrival before baking.
Be patient—reviving a dried or chilled starter can take 2–5 feedings. Track progress with a label and stirring line on the jar.
You can travel without giving up your sourdough. With the right prep—either chilling for short trips or drying for long ones—you’ll come back to a starter that bakes reliably. Pin this guide for your next trip, save it for later, and share with friends who bake on the go. Which travel method will you try first?