
You love the smell of fresh sourdough but worry your loaves lack a crisp, blistered crust. A bread cloche solves that by trapping steam and mimicking a professional steam oven. This guide shows you exactly how to use a bread cloche for sourdough baking, step-by-step, so you get an artisan crust and open crumb at home.
You'll learn what to prep, how to preheat and load the cloche, precise bake times, and troubleshooting tips. Read on and you'll bake a showstopping loaf you can pin, save, and share.
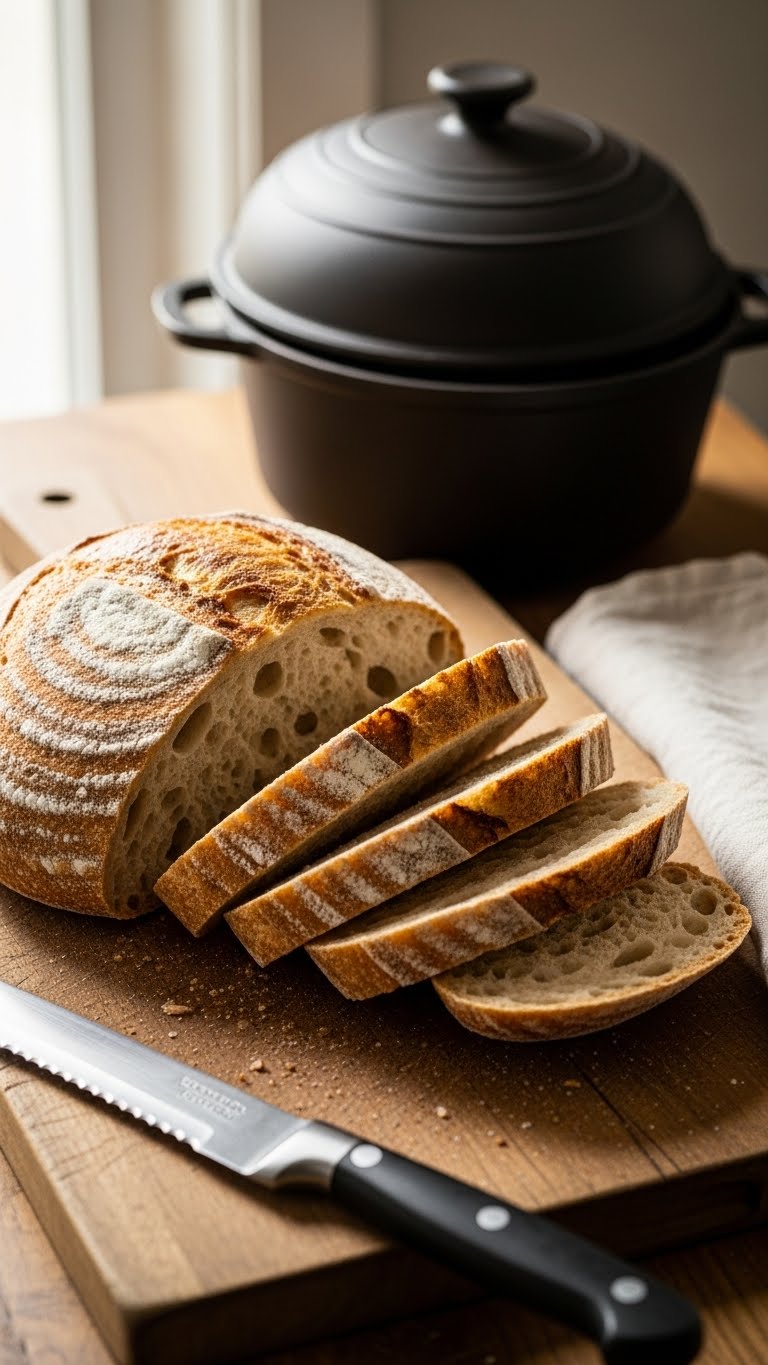
What You'll Need for Sourdough in a Bread Cloche
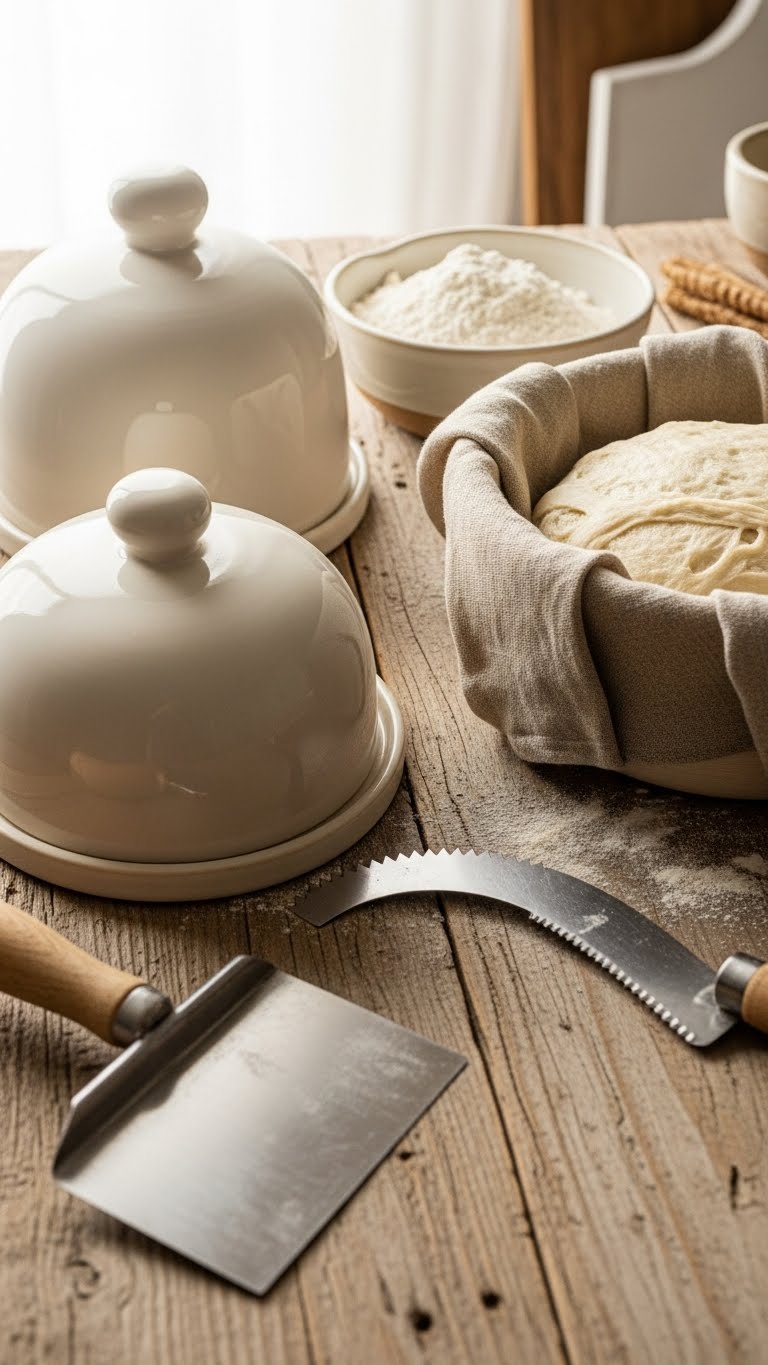
- Bread cloche (ceramic or cast-iron) — makes crust crisp.
- Banneton or proofing basket lined with linen.
- Parchment paper for easy transfer.
- Lame or sharp blade for scoring.
- Oven thermometer recommended.
- Sourdough boule ready for final proof.
Quick tips:
- Preheat the cloche at 450°F (230°C) for 30 minutes.
- Use lightly floured linen in the banneton to prevent sticking.
- Keep your workspace near the oven for quick transfer.
Getting Started: Prep and Preheat
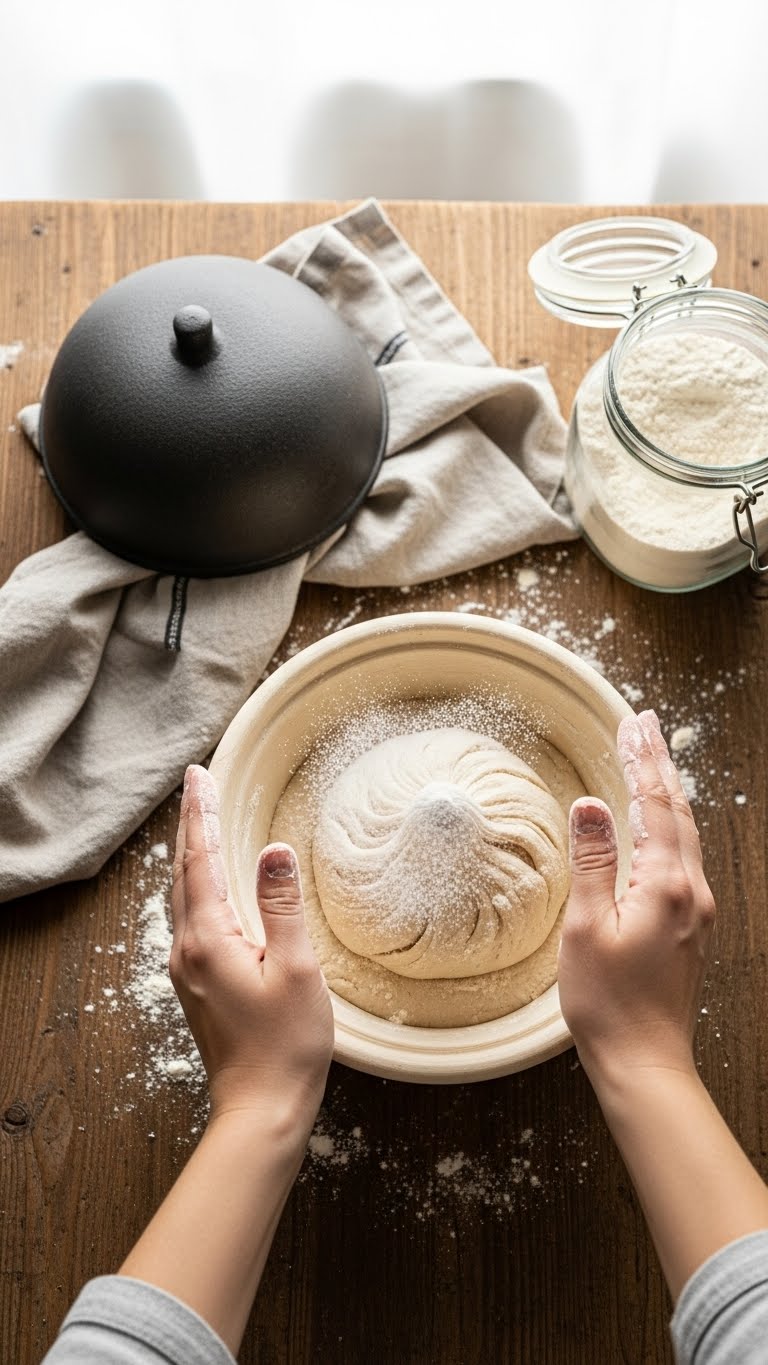
- Score your final-proofed boule with a sharp lame. Aim for 1/4–1/2 inch deep cuts.
- Slide the dough onto parchment paper for an easy lift.
- Place the cloche base in the oven and preheat both base and lid to 450°F (230°C) for 30 minutes.
- Use an oven thermometer to confirm the temp. A well-heated cloche equals better oven spring.
Warnings:
- Don’t try to put a cold cloche into a hot oven; thermal shock can crack certain ceramics.
- Use oven mitts and handle the hot lid carefully.
How to Bake Sourdough in a Bread Cloche (Step-by-Step)
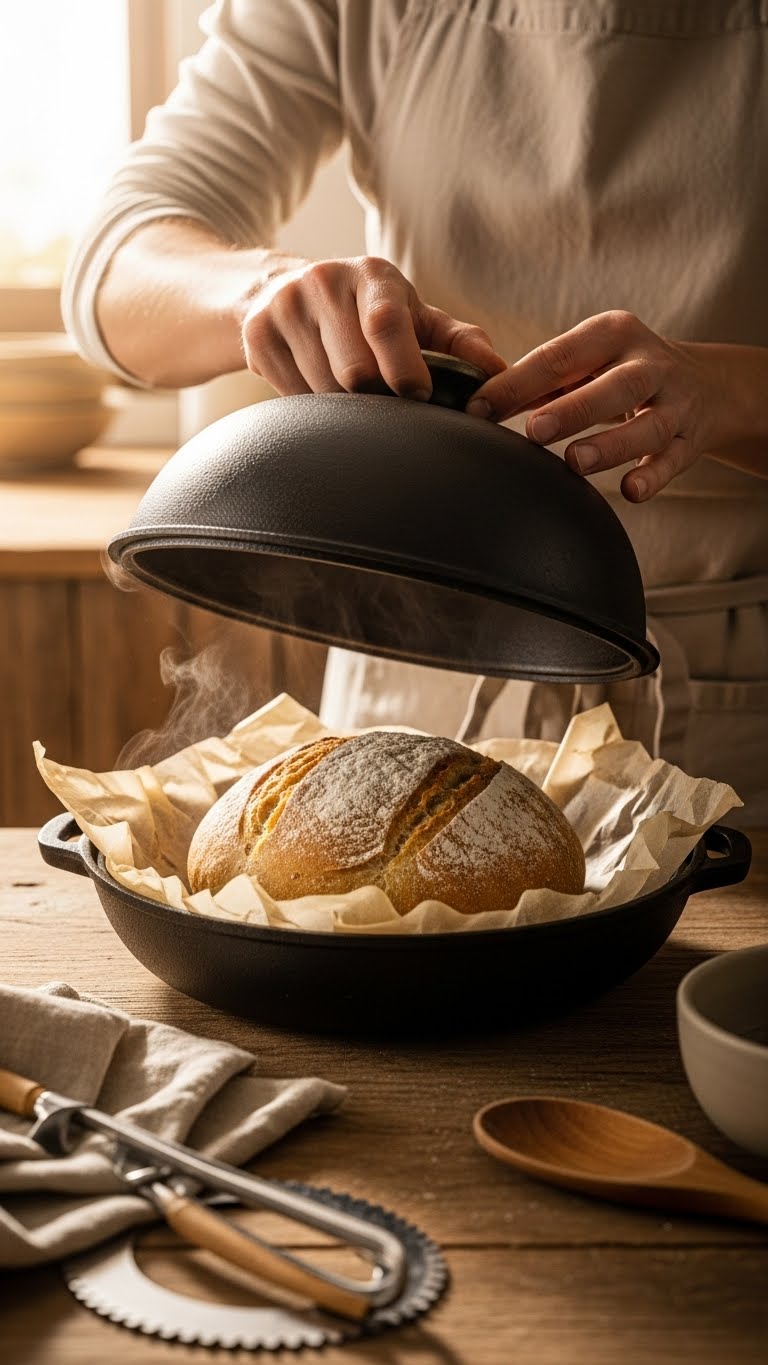
- Gently place the parchment with the scored dough into the hot cloche base.
- Cover with the lid immediately to trap steam.
- Bake covered at 450°F (230°C) for 20–30 minutes. This creates steam and boosts oven spring.
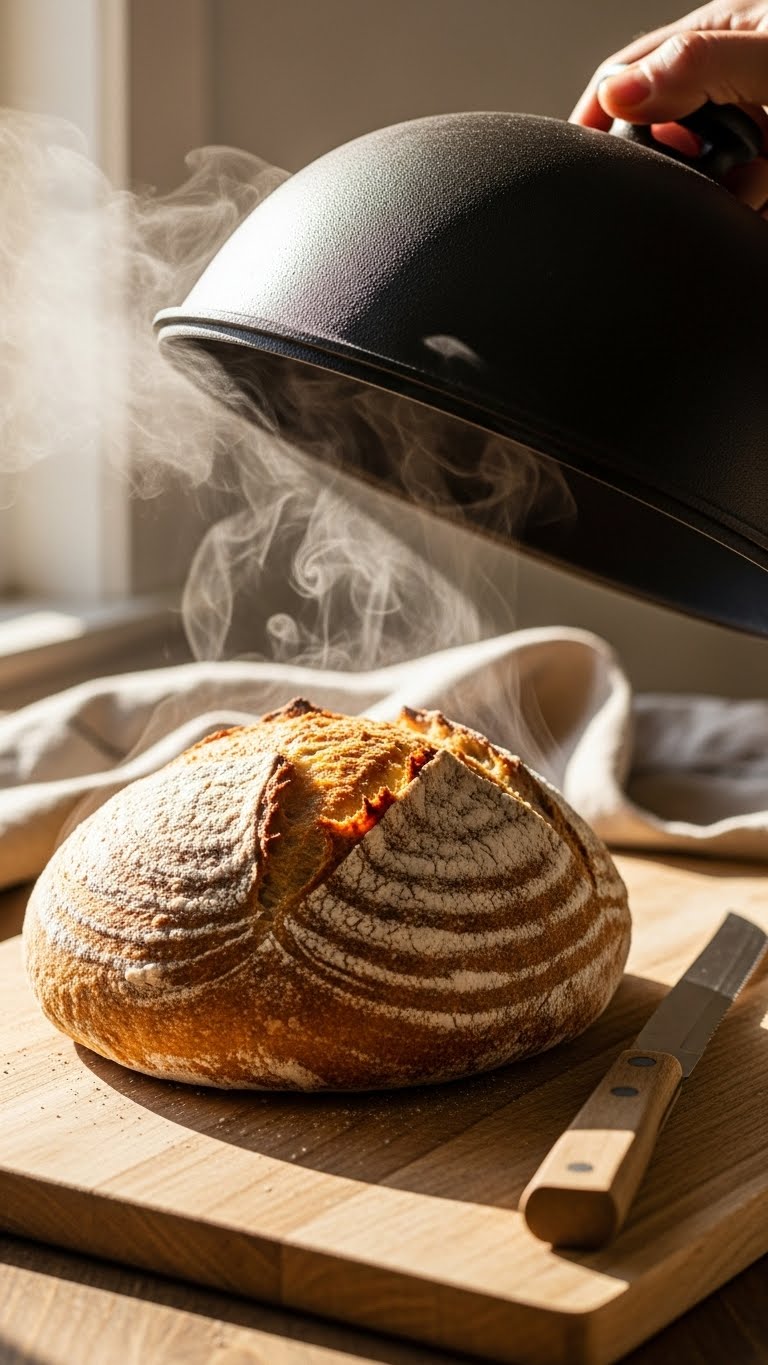
- After 20–30 minutes, remove the lid (use mitts) and bake uncovered for 15–25 minutes, until the crust is deep golden-brown and internal temp hits 205–210°F (96–99°C).
- Transfer loaf to a cooling rack and cool at least 1 hour before slicing.
Pro tricks:
- Rotate the cloche halfway through uncovered bake for even color.
- If your cloche is small, reduce dough size to 700–900g for consistent results.
- For extra crispness, tap the loaf base—if it sounds hollow, it’s baked through.
Troubleshooting Common Issues & Extra Tips
Problem: Dense crumb or poor oven spring
- Cause: underproofed dough or cloche not hot enough.
- Fix: Give longer final proof and confirm cloche is at 450°F (230°C) before loading.
Problem: Sticking to cloche base
- Cause: insufficient flour in banneton or wet dough surface.
- Fix: Dust banneton well and use parchment paper to lift dough.
Problem: Cracked or blistered cloche
- Cause: thermal shock or rapid temperature changes.
- Fix: Always preheat cloche gradually and avoid sudden cold water contact.
Time-savers:
- Par-bake larger batches: cool baked loaves, freeze, and reheat in a covered cloche for 10–12 minutes at 375°F (190°C).
- Use a proofing basket liner for faster release and less flour mess.
Let success look like: a deep golden, blistered crust, an audible hollow when tapped, and large irregular holes in the crumb. That’s what you get when you follow this how to use a bread cloche for sourdough baking process.
Warm up your oven, dust your banneton, and try this tonight. You'll be amazed at the crust and crumb you can get with one simple tool.
Your turn—ready to bake with your cloche? Pin this guide for your next sourdough bake and save it for quick reference. Which tip will you try first: longer preheat, parchment transfer, or the lid-off finish? Share and tag a friend who needs this recipe-ready guide!