
You love sourdough but worry about overworking your arms or inconsistent results. Learning how to use a stand mixer for sourdough dough gives you consistent gluten development, faster mixing, and cleaner counters — without losing the slow-fermented flavor you want. In this guide you’ll get clear steps, exact speeds, and timings so you can mix, autolyse, and knead with confidence. By the end you’ll know when to stop the mixer, how to check the dough, and simple troubleshooting tips.
What You’ll Need (ingredients + tools)
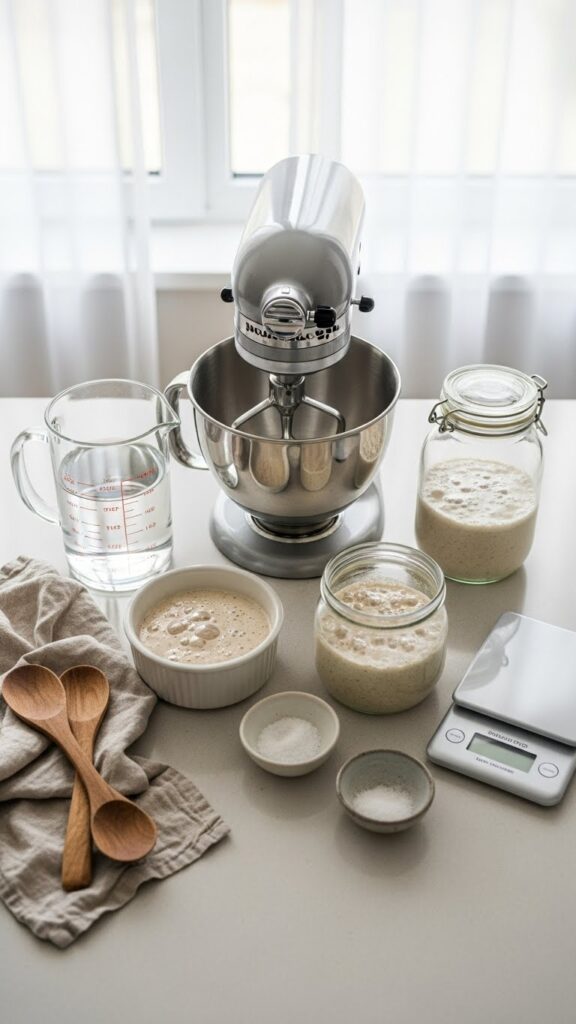
- Tools:
- Stand mixer with dough hook
- Digital scale (accurate to 1 g)
- Bowl scraper, bench scraper, and kitchen towel
- Large mixing bowl if you prefer to autolyse outside the mixer
- Ingredients (for one standard loaf):
- 500 g bread flour
- 350 g water (70% hydration)
- 100 g active starter (fed 4–8 hours before)
- 10 g fine sea salt
- Prep:
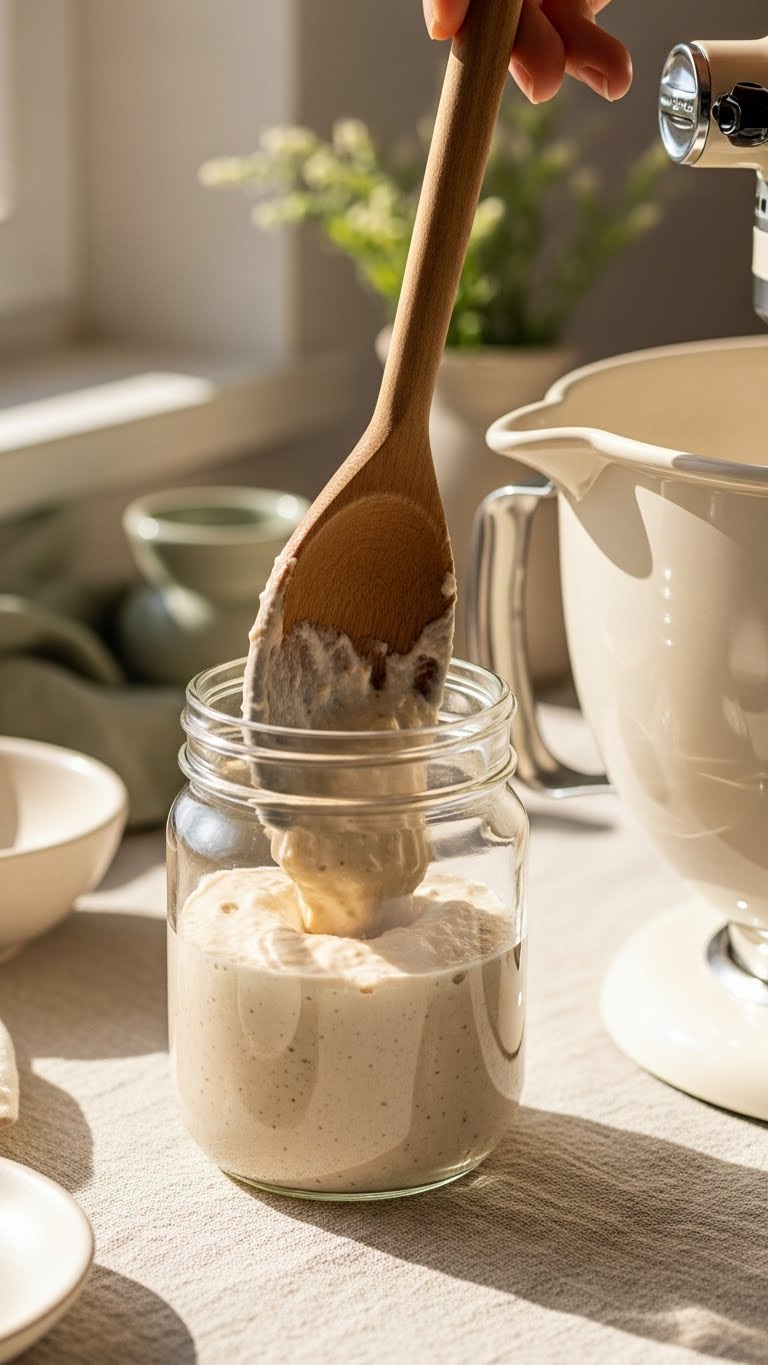
- Feed your starter so it’s bubbly (active) when you begin.
- Room temperature ingredients work best for predictable fermentation.
Getting Started (autolyse and starter prep)
Start with an autolyse: mix the flour and water, then rest 30–60 minutes. Autolyse helps gluten form without overworking the dough and reduces mixer time.
- Combine 500 g flour and 350 g water in the mixer bowl on low speed for just 10–15 seconds to hydrate, or mix by hand.
- Cover and let rest 30–60 minutes.
- After autolyse, add 100 g active starter and 10 g salt.
Why this helps: autolyse gives you easier mixing and a more open crumb with less machine time.
The Technique Step-by-Step (mixing with a stand mixer)
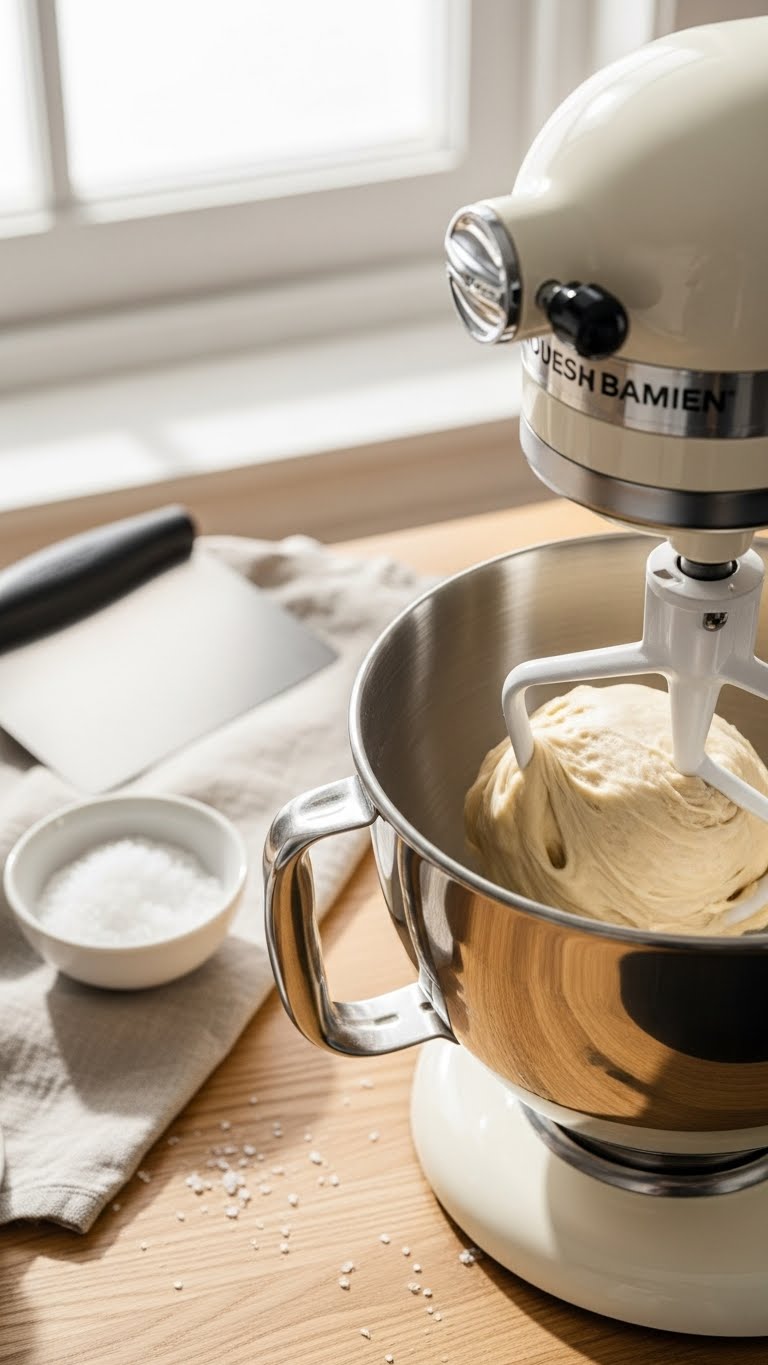
- Attach the dough hook and add autolysed flour-water, then starter and salt.
- Mix on low speed (Speed 1) for 2 minutes to combine.
- Increase to medium-low (Speed 2) and knead for 4–6 minutes total. Look for a smooth, slightly tacky ball that pulls away from the bowl.
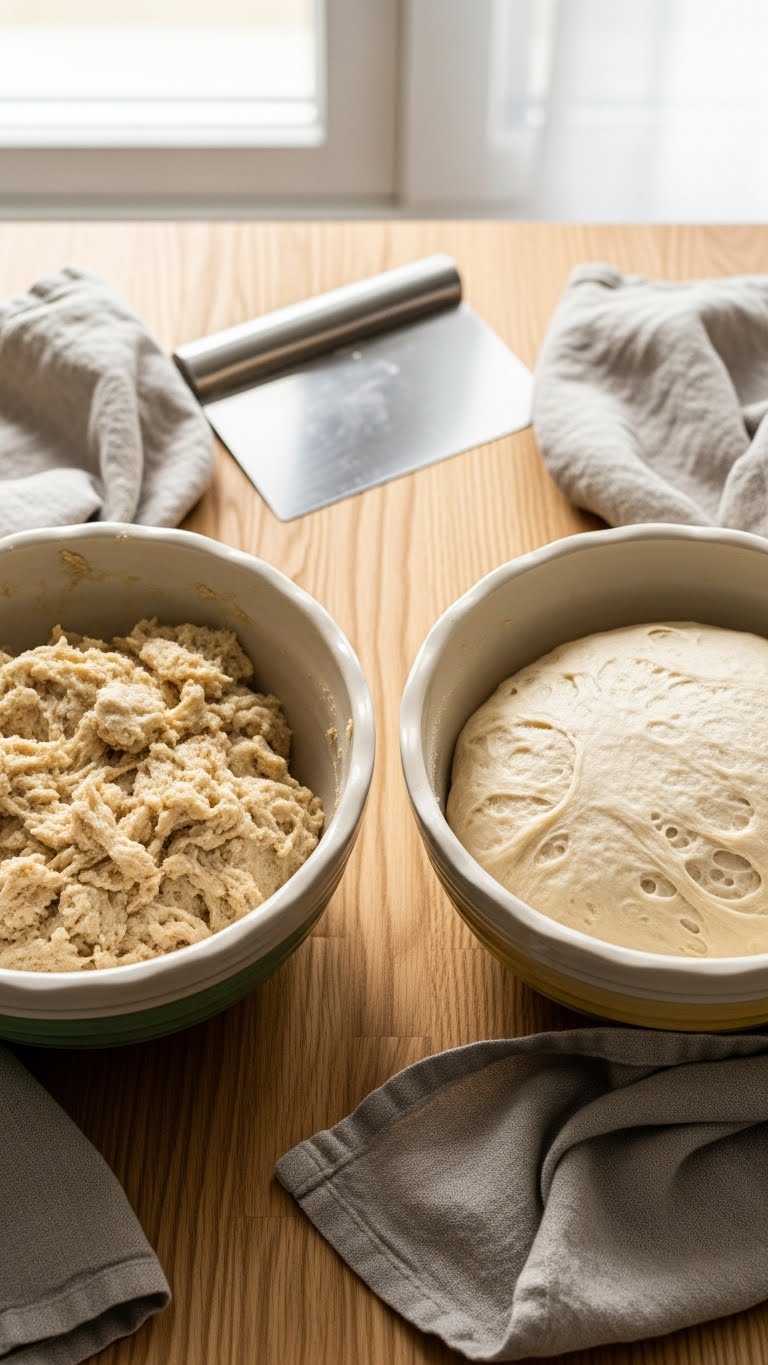
- Stop and do the windowpane test:
- Pinch a small piece and stretch thin. If it stretches without tearing, gluten is developed.
- If it tears quickly, mix an extra 1–2 minutes.
- Transfer dough to a lightly oiled bowl, cover, and bulk ferment at room temp 3–5 hours, folding every 30–60 minutes for the first 2 hours if needed.
Tips:
- Avoid mixing longer than needed — over-kneading can warm dough and tighten the crumb.
- If dough is too sticky, add 10–20 g flour in small increments; too dry, add 10–20 g water.
Troubleshooting Common Issues (texture, speed, dough behavior)
- Dough too wet and slumping?
- Let it rest 10–15 minutes (autolyse extension) then try another short mix.
- Dough tears during windowpane test?
- Mix 1–2 more minutes on low; let dough rest 20–30 minutes for gluten to relax.
- Mixer overheating or straining?
- Pause, scrape bowl, rest mixer for 5–10 minutes, then resume. Use pulses if needed.
- Over-kneaded dough feels too tight and warm?
- Let it cool in the fridge for 30–60 minutes before bulk fermenting to relax gluten.
Quick pro tip: use the mixer for initial gluten development, then rely on folds during bulk ferment to build structure without overworking.
Serving, Storage, and Make-Ahead Tips
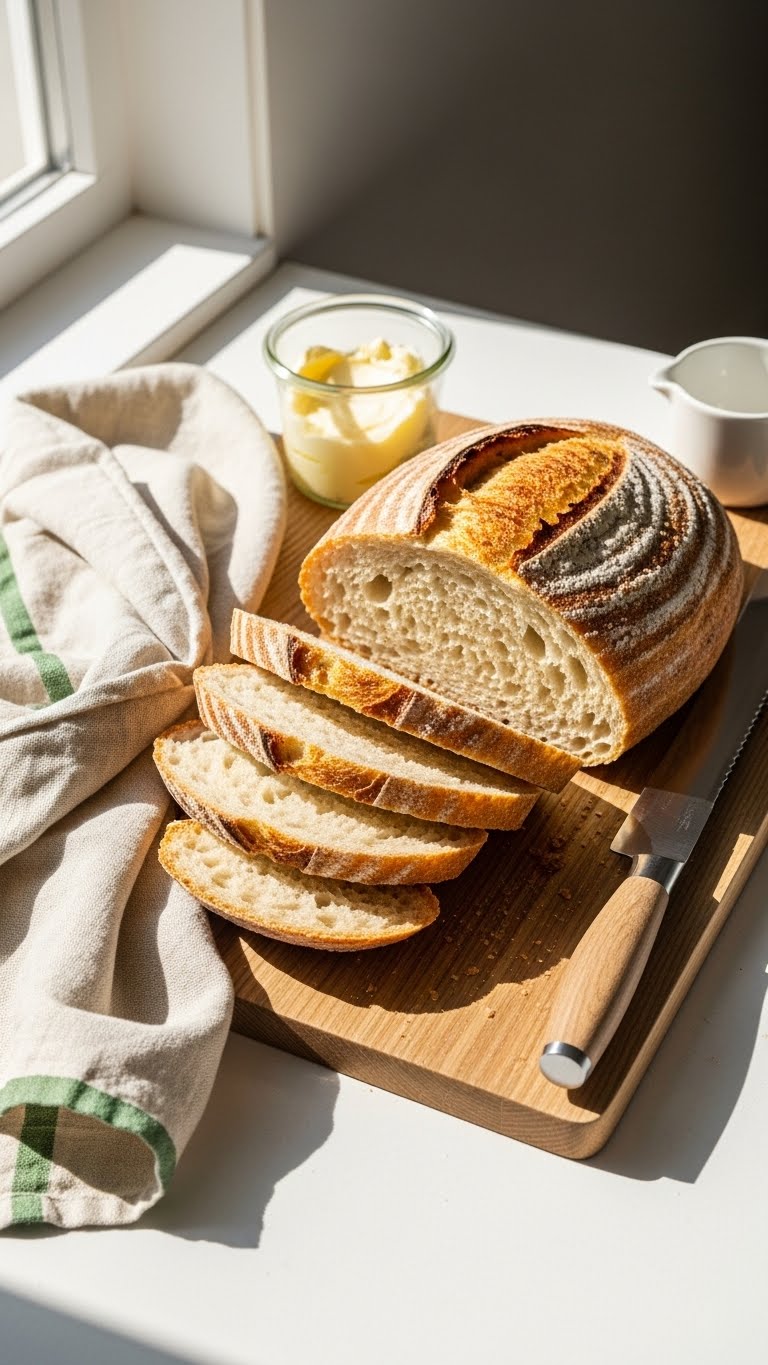
- Bake a standard loaf at 230°C / 450°F with steam for 20 minutes, then reduce to 200°C / 400°F for 20–25 minutes.
- Store at room temperature in a paper bag for 2 days, then wrapped for longer storage.
- To freeze: slice, wrap tightly, freeze up to 3 months. Toast slices straight from frozen.
- Make-ahead: shape and retard in the fridge overnight for deeper flavor and easier scheduling.
You now know how to use a stand mixer for sourdough dough without losing flavor or texture. Pin this guide for your next bake and save the mixing speeds and times — they’ll be your best quick reference. Which tip will you try first? Ready to make this happen? Let’s do it!