
Did you know that the origins of Italian breadsticks date back to the Roman Empire? These delightful snacks have evolved over time, showcasing regional variations that reflect Italy's rich culinary landscape. Whether you prefer the crispy grissini of the north or the softer versions from the south, there's a style for every palate. Curious about how to make them or their nutritional benefits? Let's explore the world of Italian breadsticks further.
History
When you think of Italian breadsticks, you might picture a crunchy, golden treat perfect for dipping in olive oil. Their history is rich, tracing back to ancient origins during the Roman Empire. Fixed in the culinary tradition, these breadsticks were initially made for preservation and easy transport.
As time passed, regional variations emerged across Italy; you'll find them crispy and thin in the north, while the south offers softer, thicker versions.
Whether you're enjoying grissini in Turin or taralli in Puglia, each variation has its own story and flavor. This diversity reflects Italy's regional ingredients and baking methods, making Italian breadsticks not just a snack, but a delicious piece of culinary history you'll love to savor.
Recipe
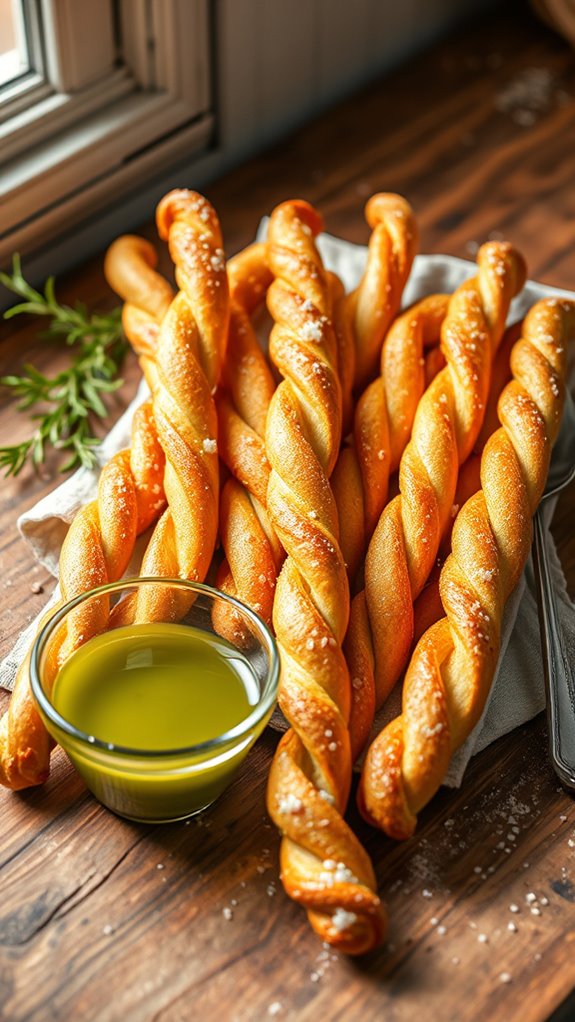
Italian bread sticks, often referred to as "grissini," are a delightful and crispy snack that hails from the northern regions of Italy. These slender, crunchy breadsticks are perfect as an appetizer, alongside a meal, or even as a standalone treat enjoyed with dips.
The beauty of making your own Italian breadsticks is in their simplicity, as they require basic ingredients that you probably already have in your pantry. Making breadsticks at home not only allows you to customize the flavor but also to enjoy the heavenly aroma of freshly baked bread wafting through your kitchen.
This recipe is straightforward and ideal for both novice and experienced bakers. With a little bit of time and some basic techniques, you'll have a batch of golden-brown, crispy breadsticks that are sure to impress family and friends.
Ingredients:
- 2 cups all-purpose flour
- 1 teaspoon instant yeast
- 1 teaspoon salt
- 1 tablespoon olive oil
- 3/4 cup warm water (about 110°F)
- 1 teaspoon garlic powder (optional)
- 1 teaspoon Italian seasoning (optional)
- Extra olive oil for brushing
- Coarse sea salt for sprinkling on top
Combine the flour, yeast, salt, and any optional seasonings in a large mixing bowl. Gradually add the warm water and olive oil, mixing until a cohesive dough forms. Knead the dough on a floured surface for about 5-10 minutes until it becomes smooth and elastic.
Place the dough in a lightly oiled bowl, cover it with a clean cloth, and allow it to rise in a warm place for 1 hour or until doubled in size. Once risen, preheat your oven to 400°F (200°C). Roll out the dough to about 1/4 inch thickness, then cut it into thin strips, twisting each strip slightly.
Arrange the strips on a lined baking sheet, brush with olive oil, and sprinkle with coarse sea salt. Bake for 12-15 minutes or until golden brown and crispy. Let cool before serving.
When making Italian breadsticks, feel free to experiment with flavors by incorporating different herbs and spices into the dough or toppings. Parmesan cheese, sesame seeds, or even crushed red pepper can add unique tastes.
Ascertain not to over-bake the breadsticks, as they can quickly go from perfectly crispy to overly hard. Store any leftovers in an airtight container to maintain their crunchiness, or enjoy them fresh for the best flavor! Happy baking!
Nutritional Guide
Baking your own Italian breadsticks isn't just about enjoying their delightful crunch; it's also worth considering their nutritional value. Each breadstick typically contains about 80-100 calories, depending on the ingredients you choose.
Using whole wheat flour, for instance, boosts fiber and essential nutrients, making them a healthier option. Incorporating olive oil not only adds a rich flavor but also offers heart-healthy fats.
You can play with spices like rosemary or garlic, which bring additional antioxidants and flavor without many calories. By being mindful of ingredients, you can create a snack that satisfies your cravings while providing significant ingredient benefits.
Final Thought
While savoring the crunch of freshly baked breadsticks, it's easy to appreciate not only their delightful taste but also the joy of creating them at home. Your own kitchen can transform simple ingredients into a crispy, garlicky treat that pairs perfectly with a variety of dishes.
Remember these cooking tips: let your dough rest for ideal flavor and roll each stick to even thickness for consistent baking.
When it comes to serving suggestions, dip them in marinara or a zesty herb-infused olive oil to elevate your experience. You can even sprinkle some grated Parmesan or crushed herbs on top before baking for extra flair.
Whether as an appetizer or a side, homemade breadsticks are sure to impress!